REDRAW-BODY-BG-INSTANTID


詳細
ファイルをダウンロード (1)
モデル説明
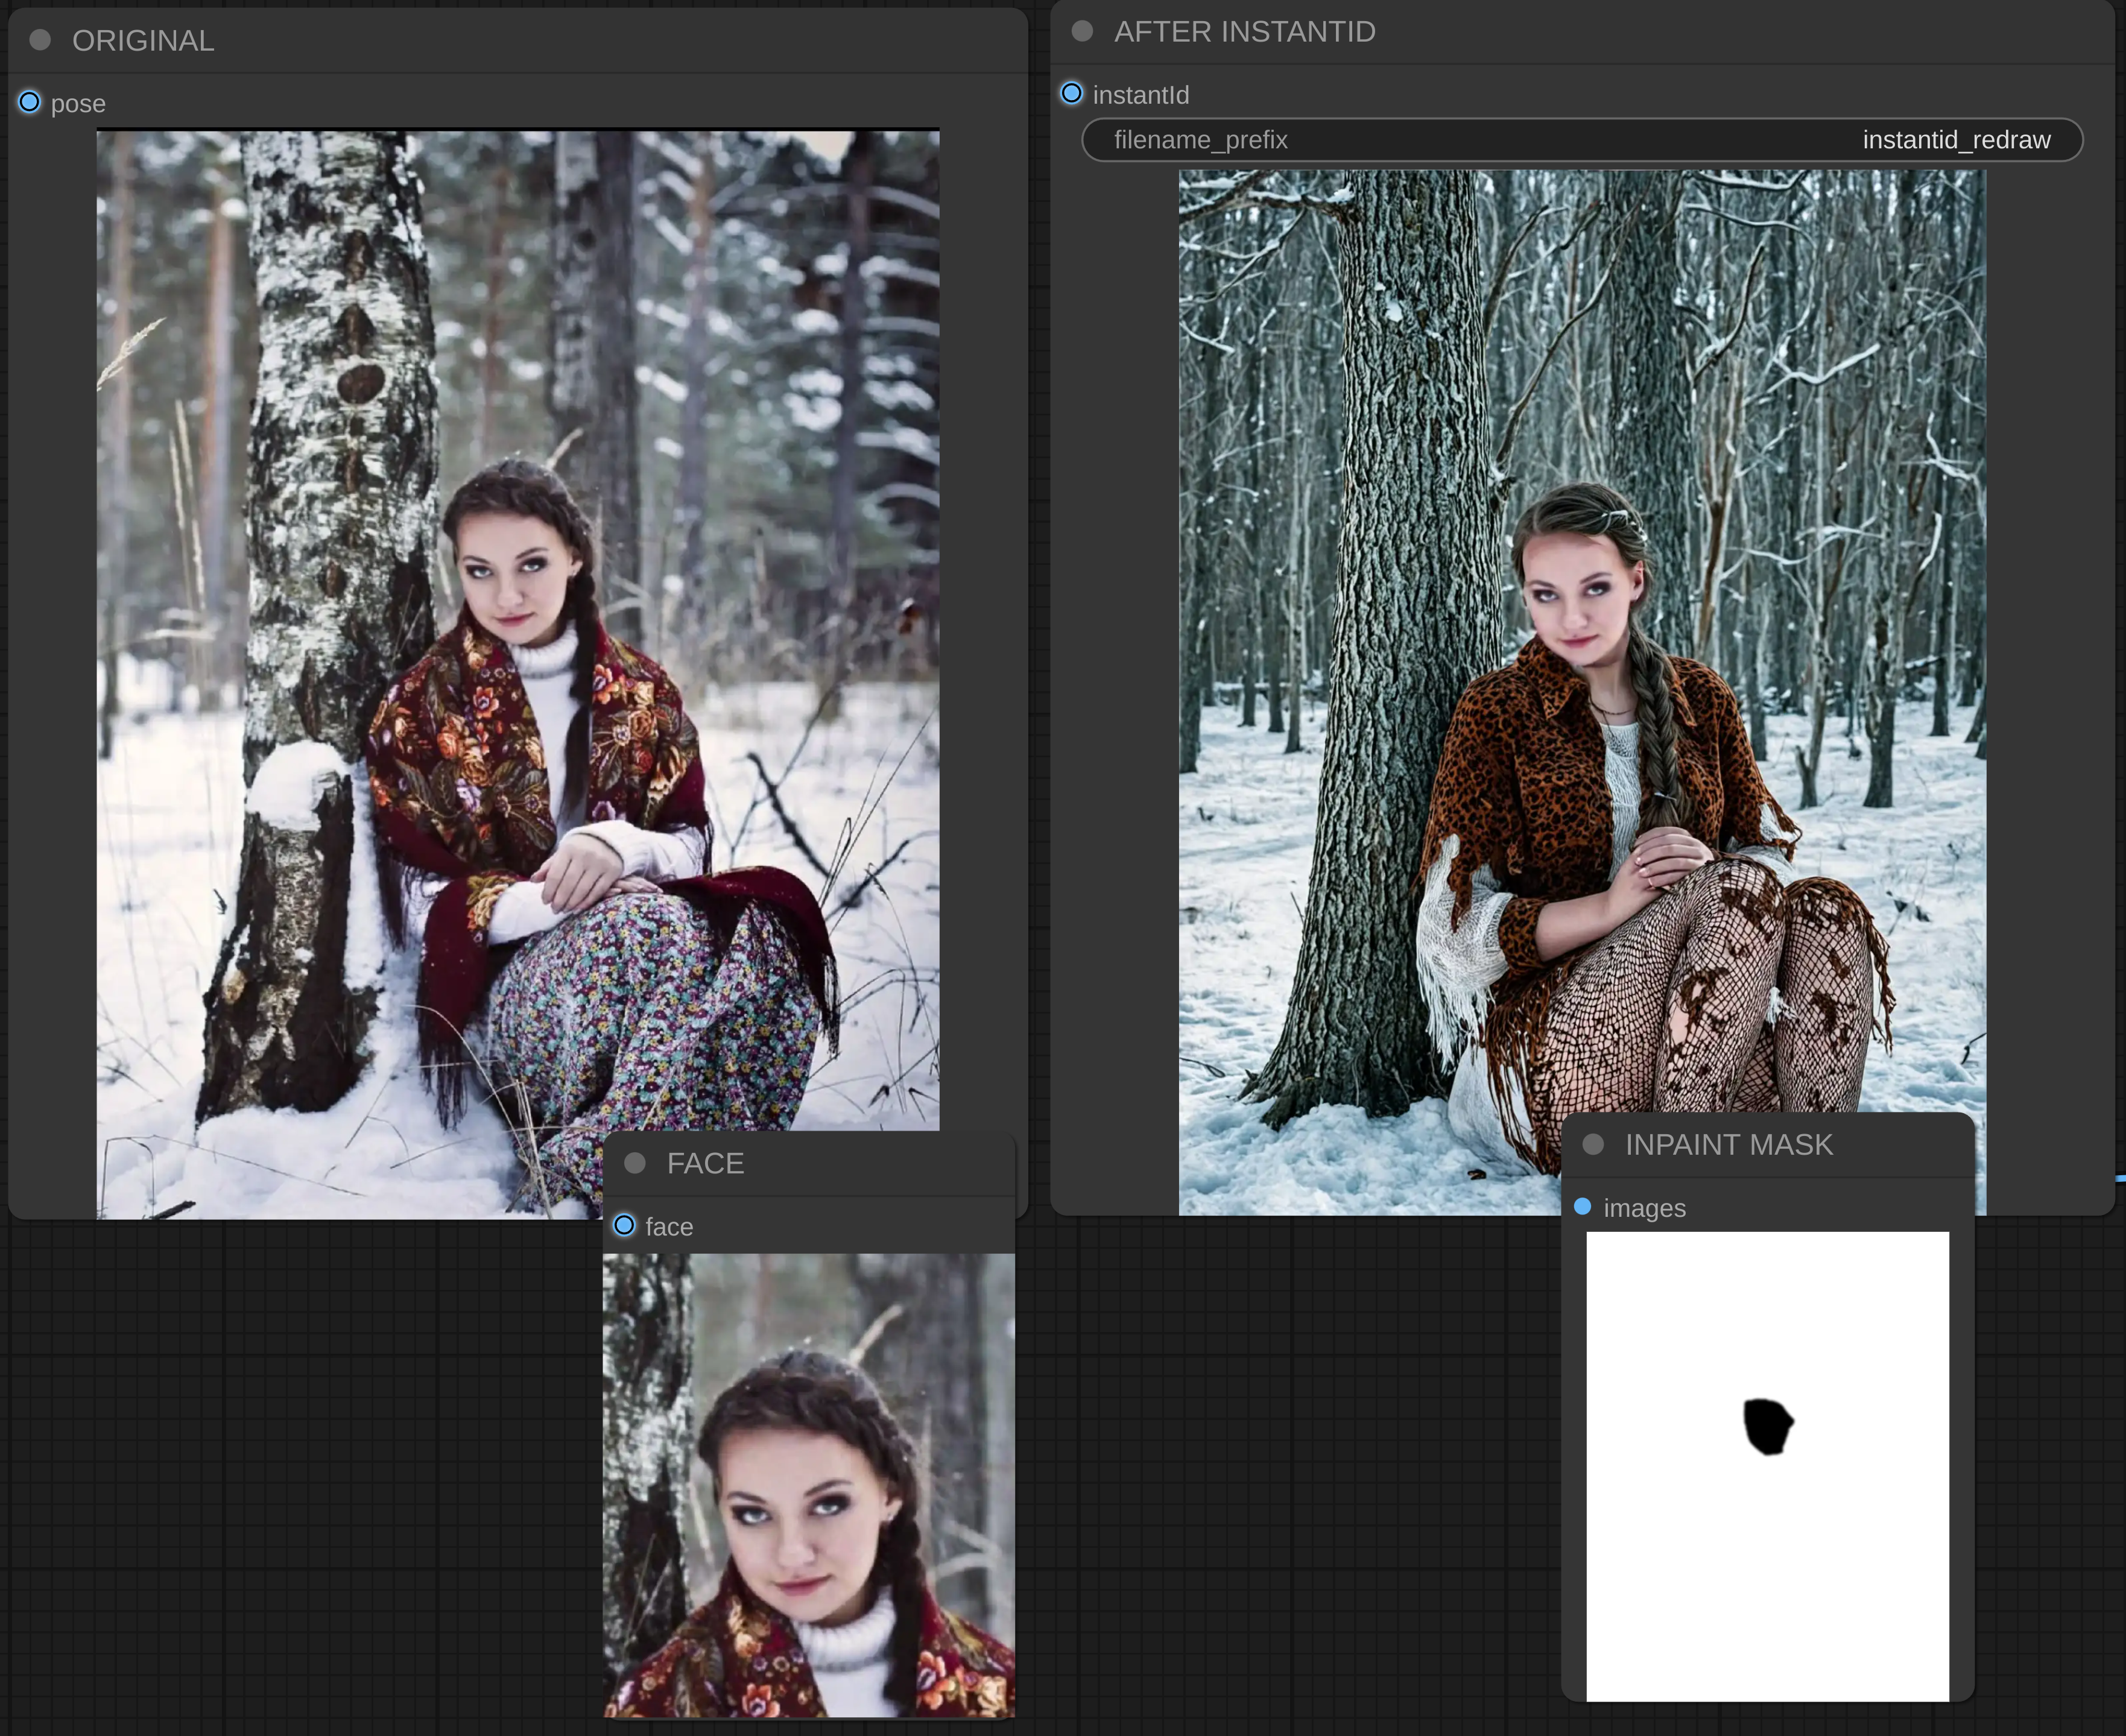
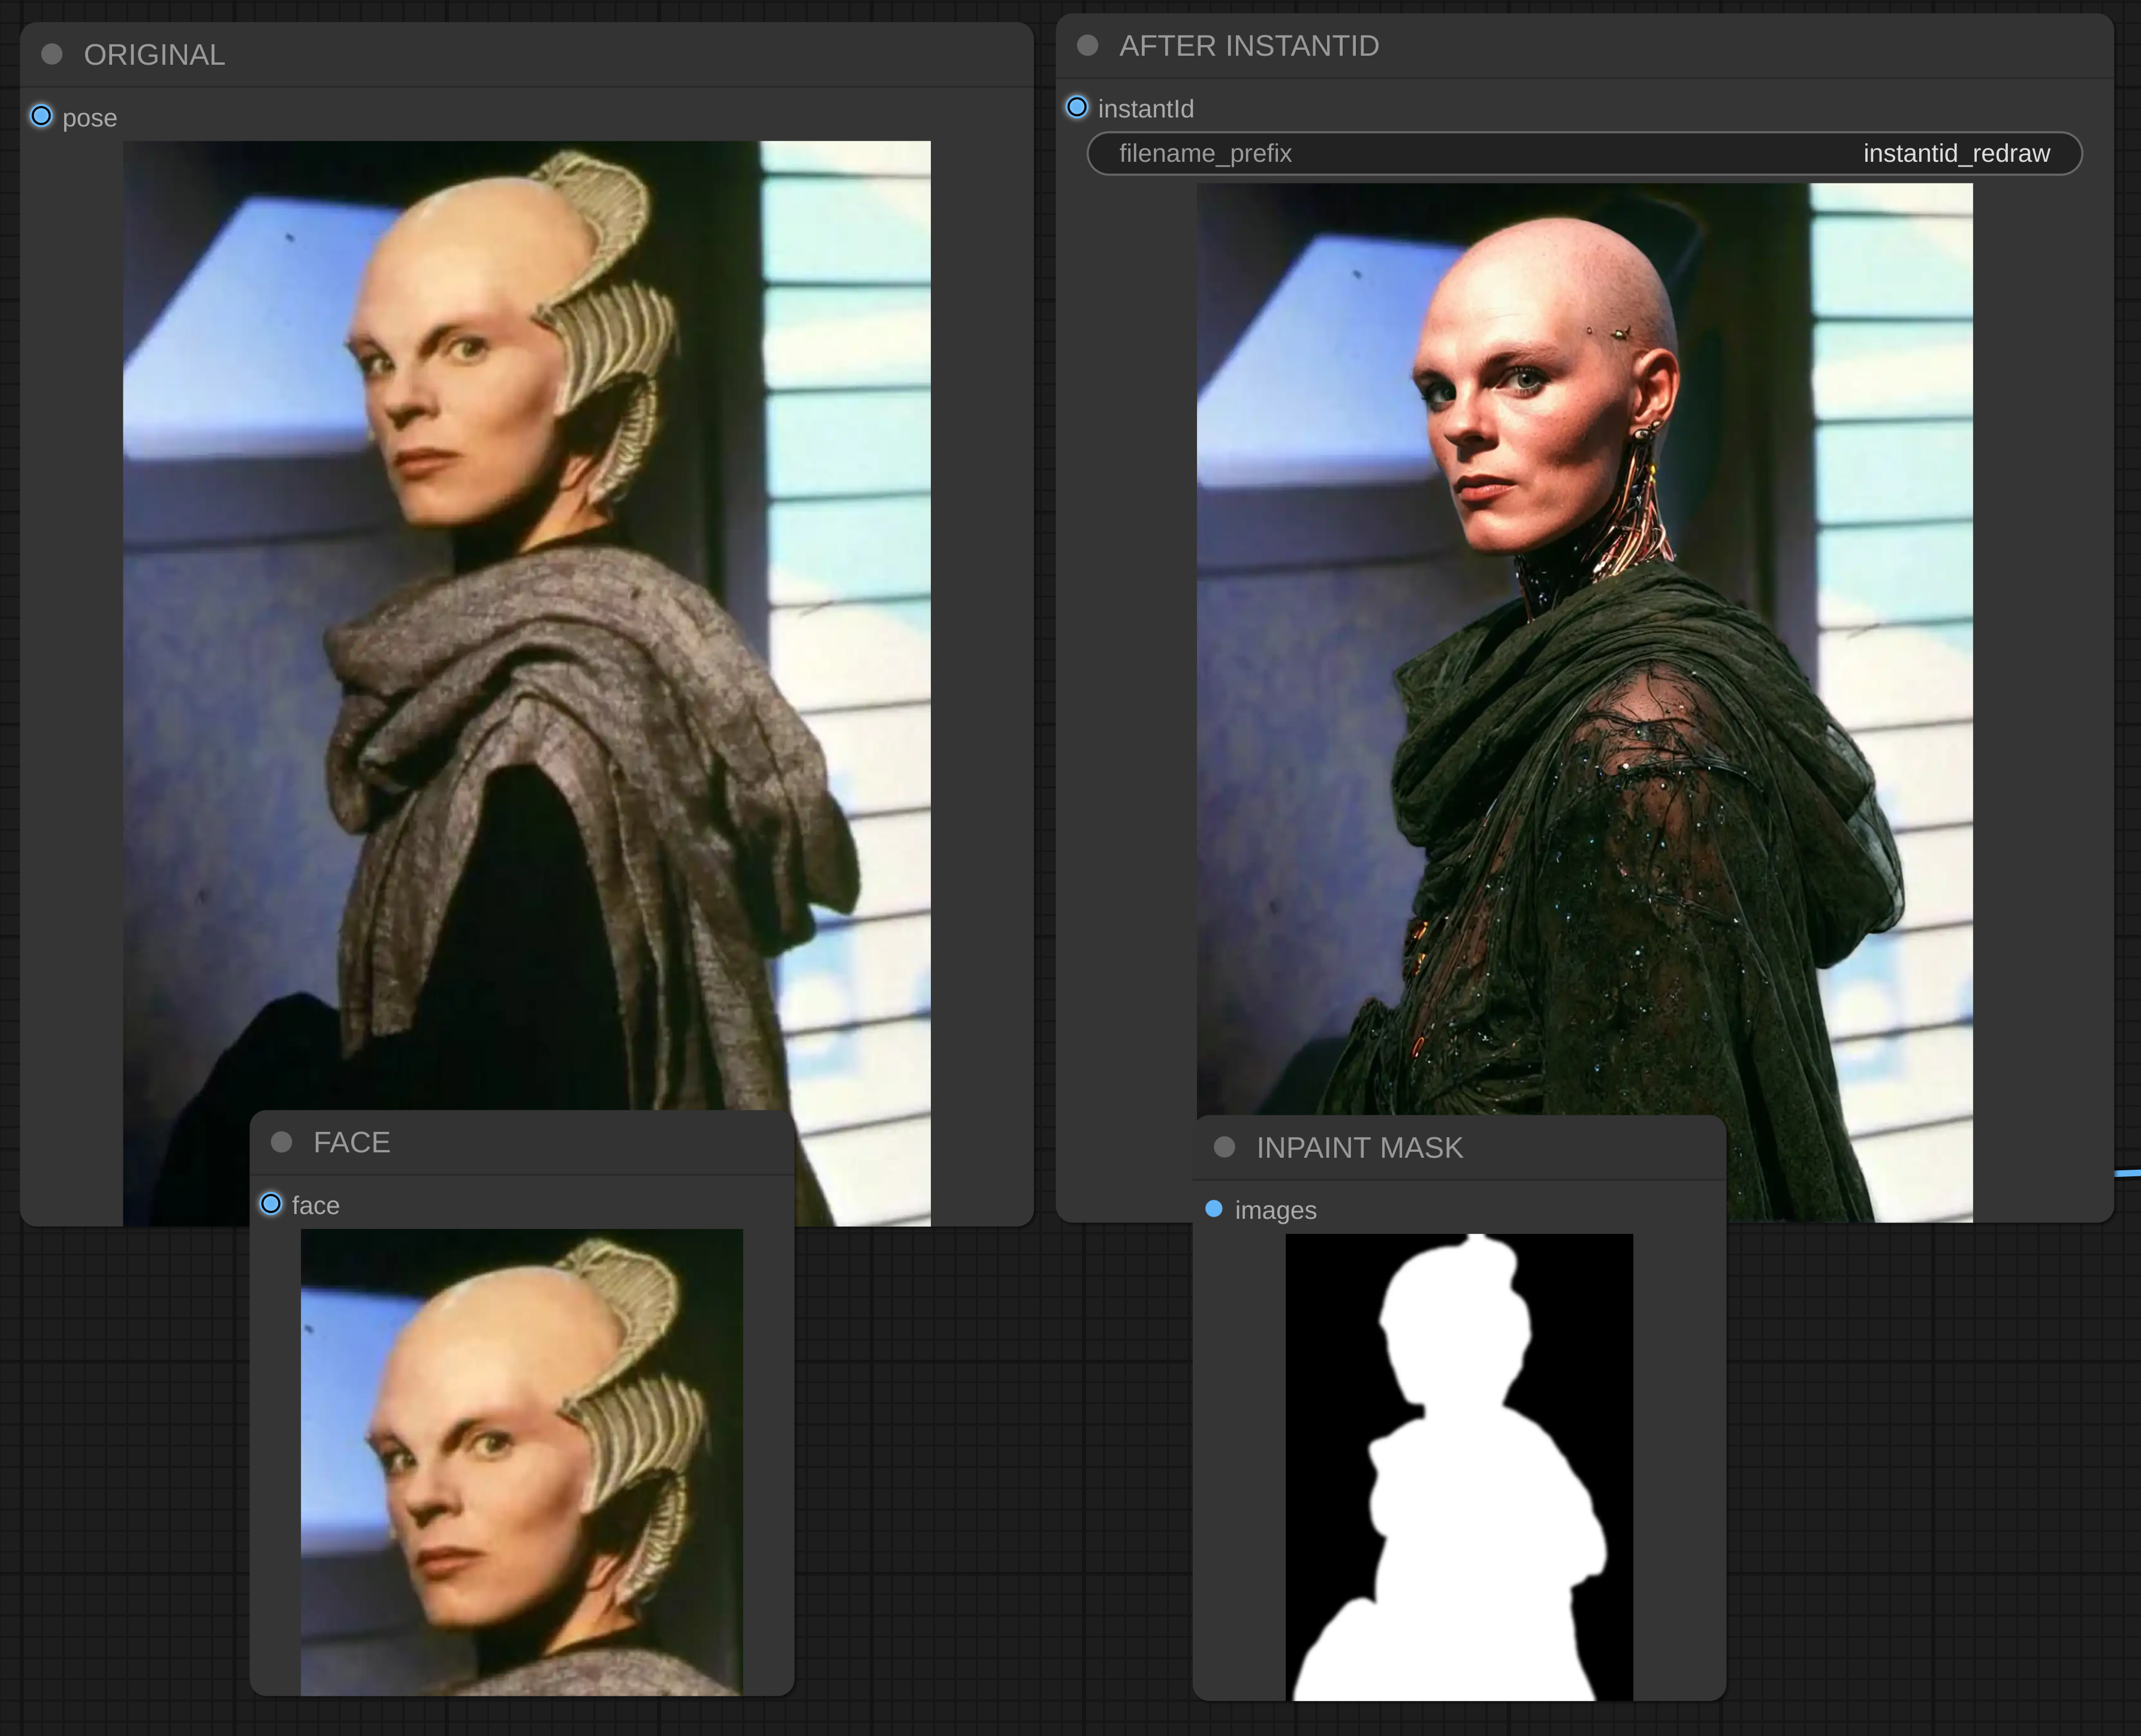
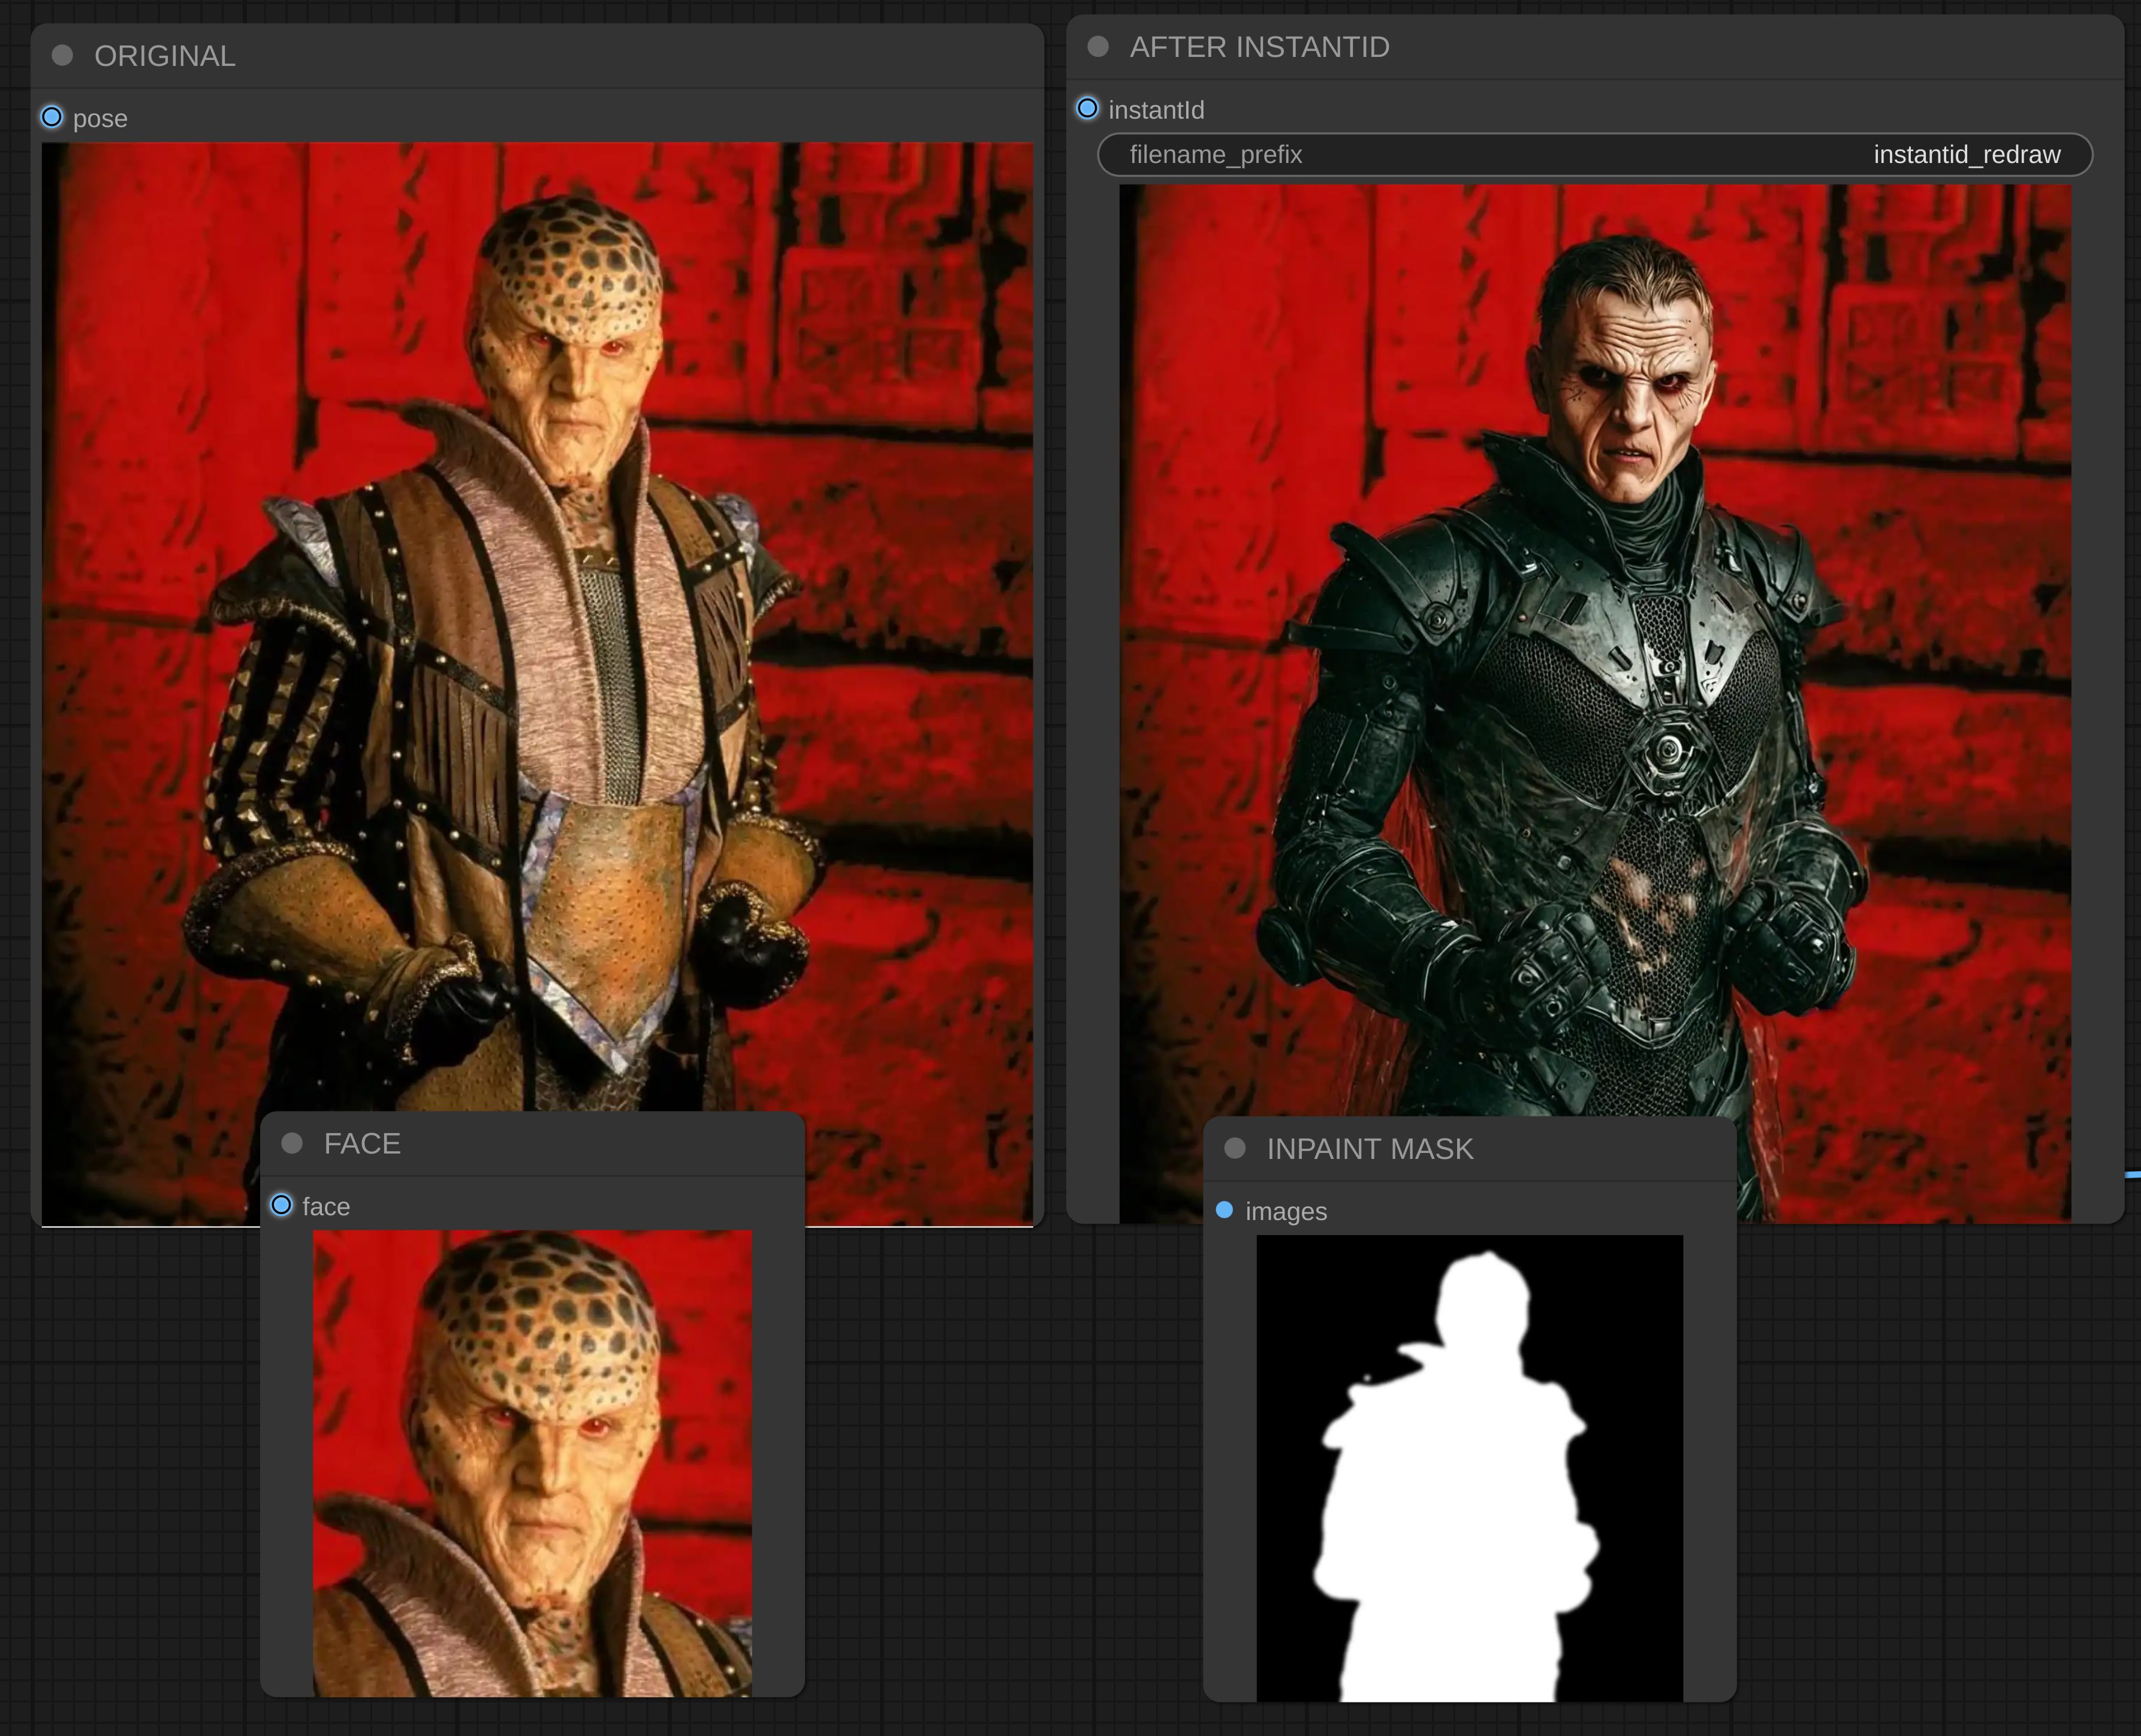
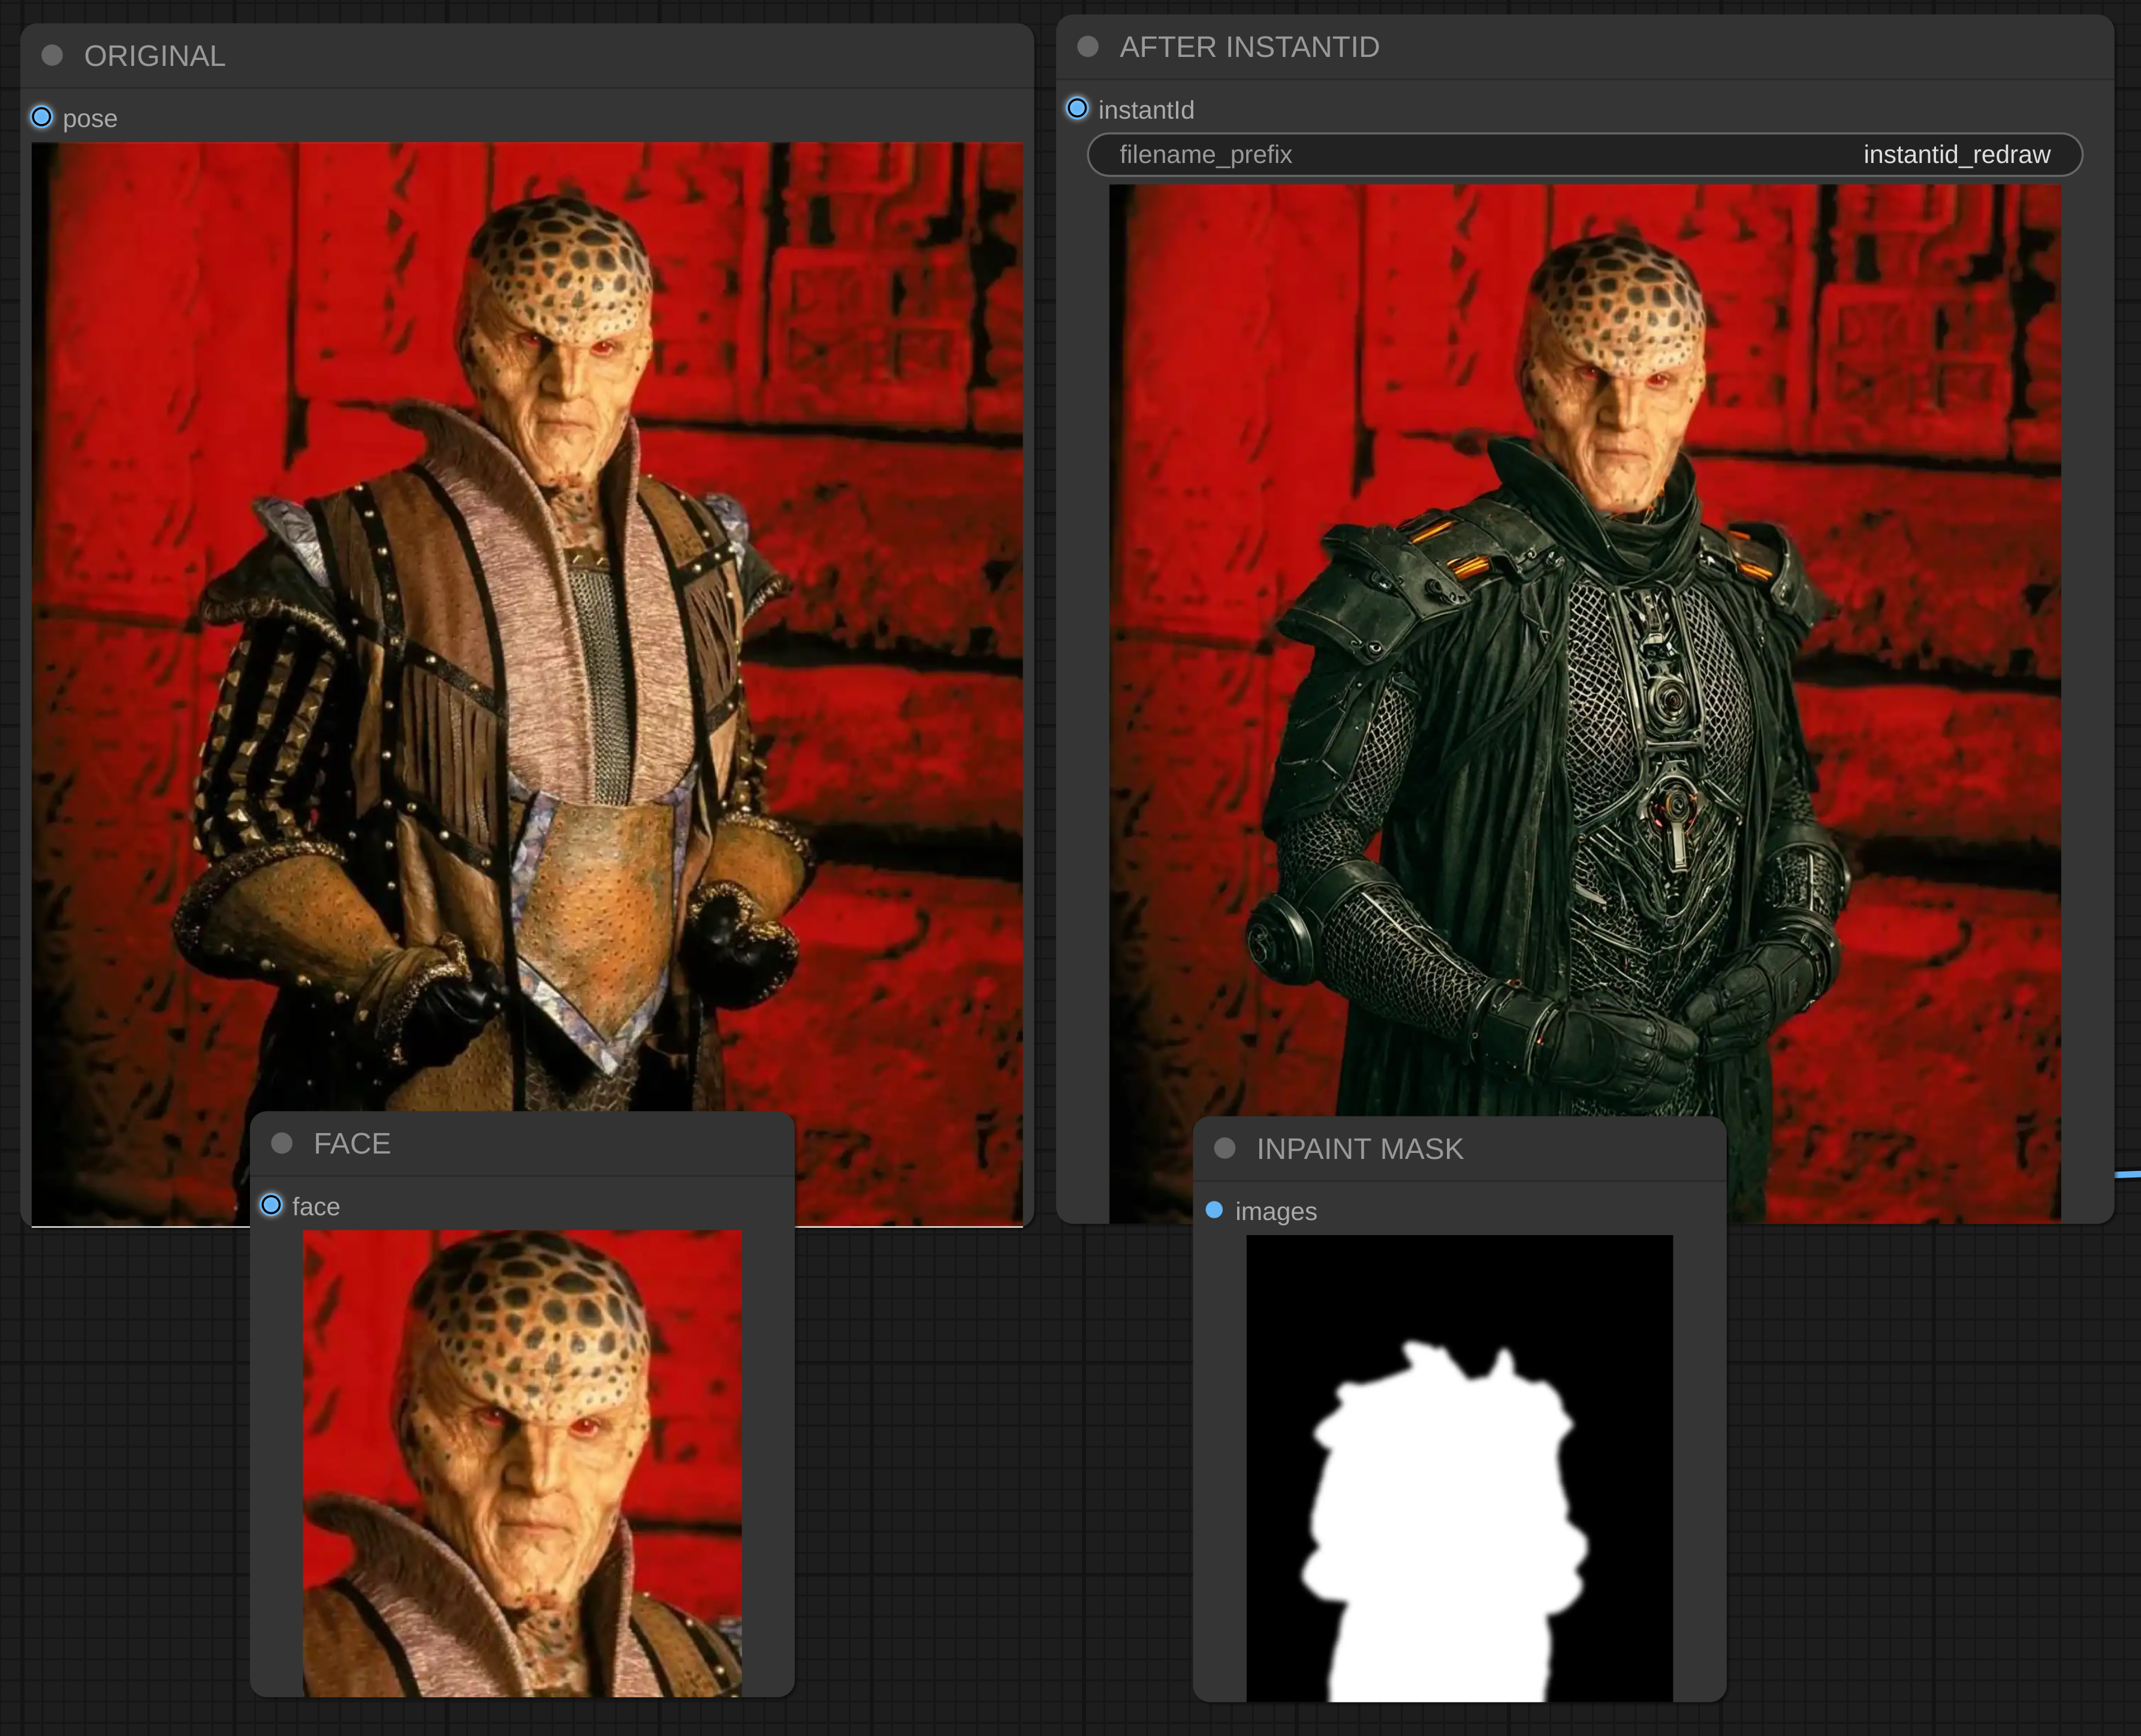
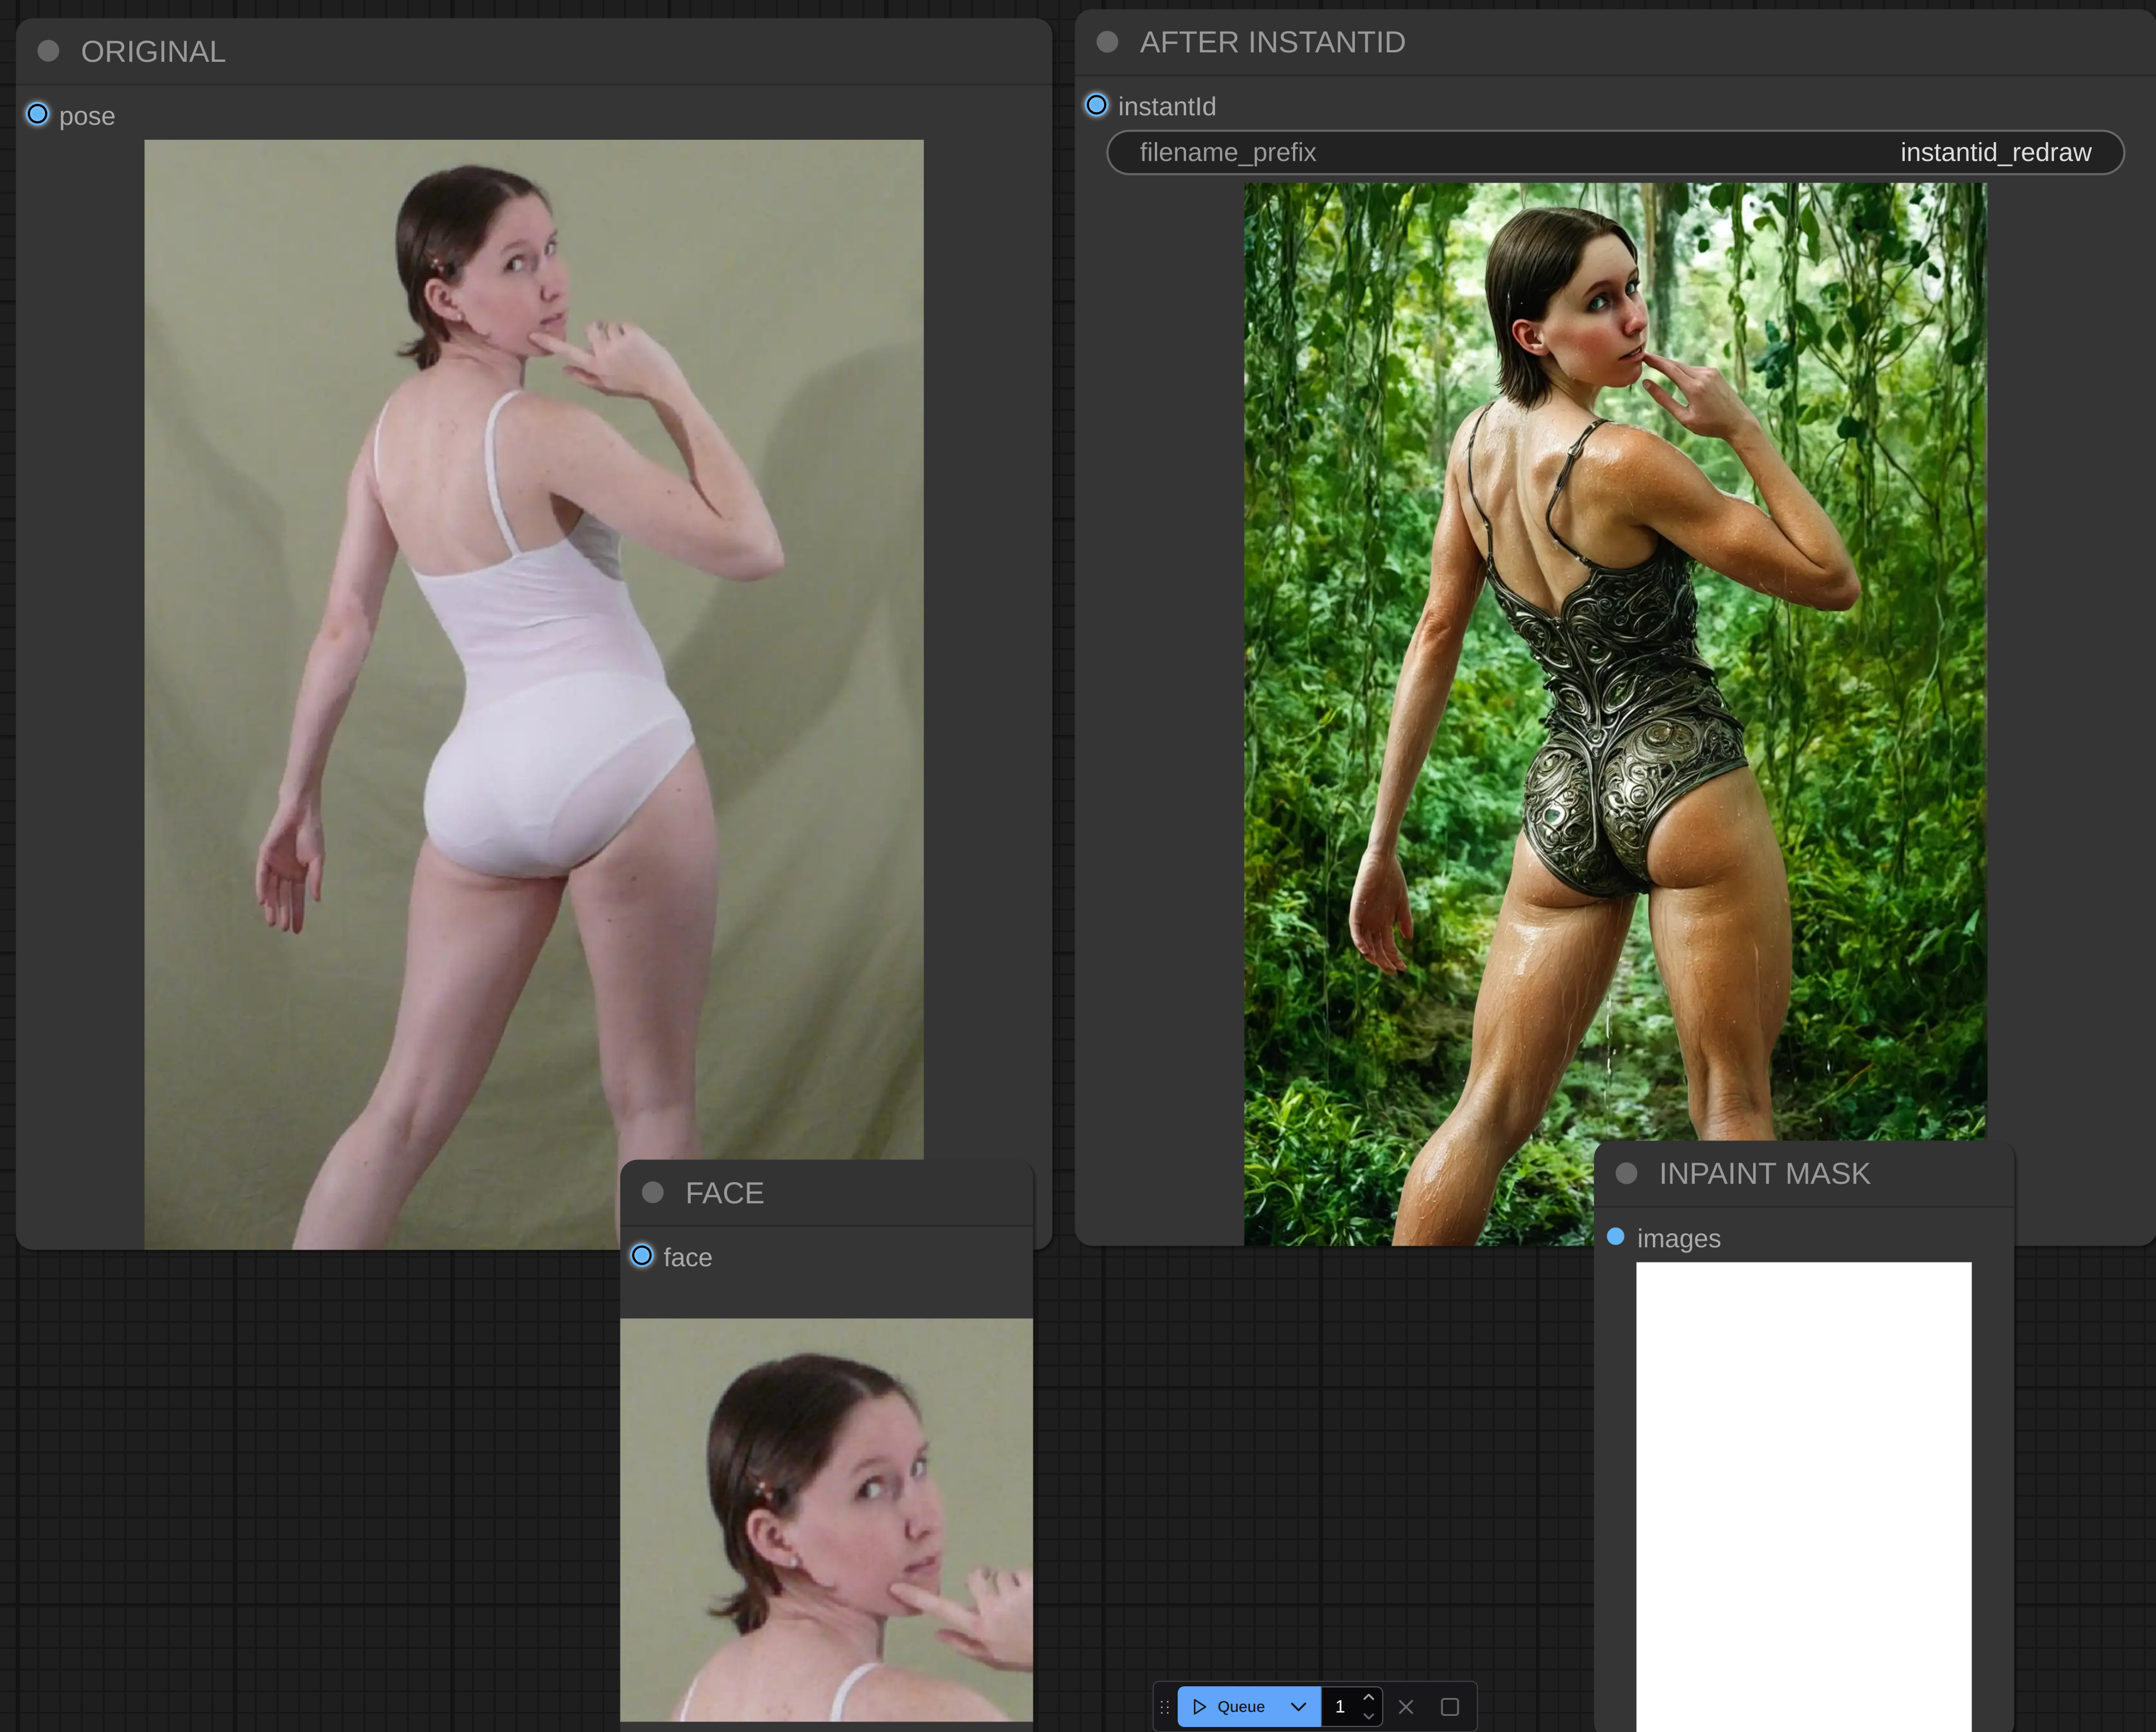
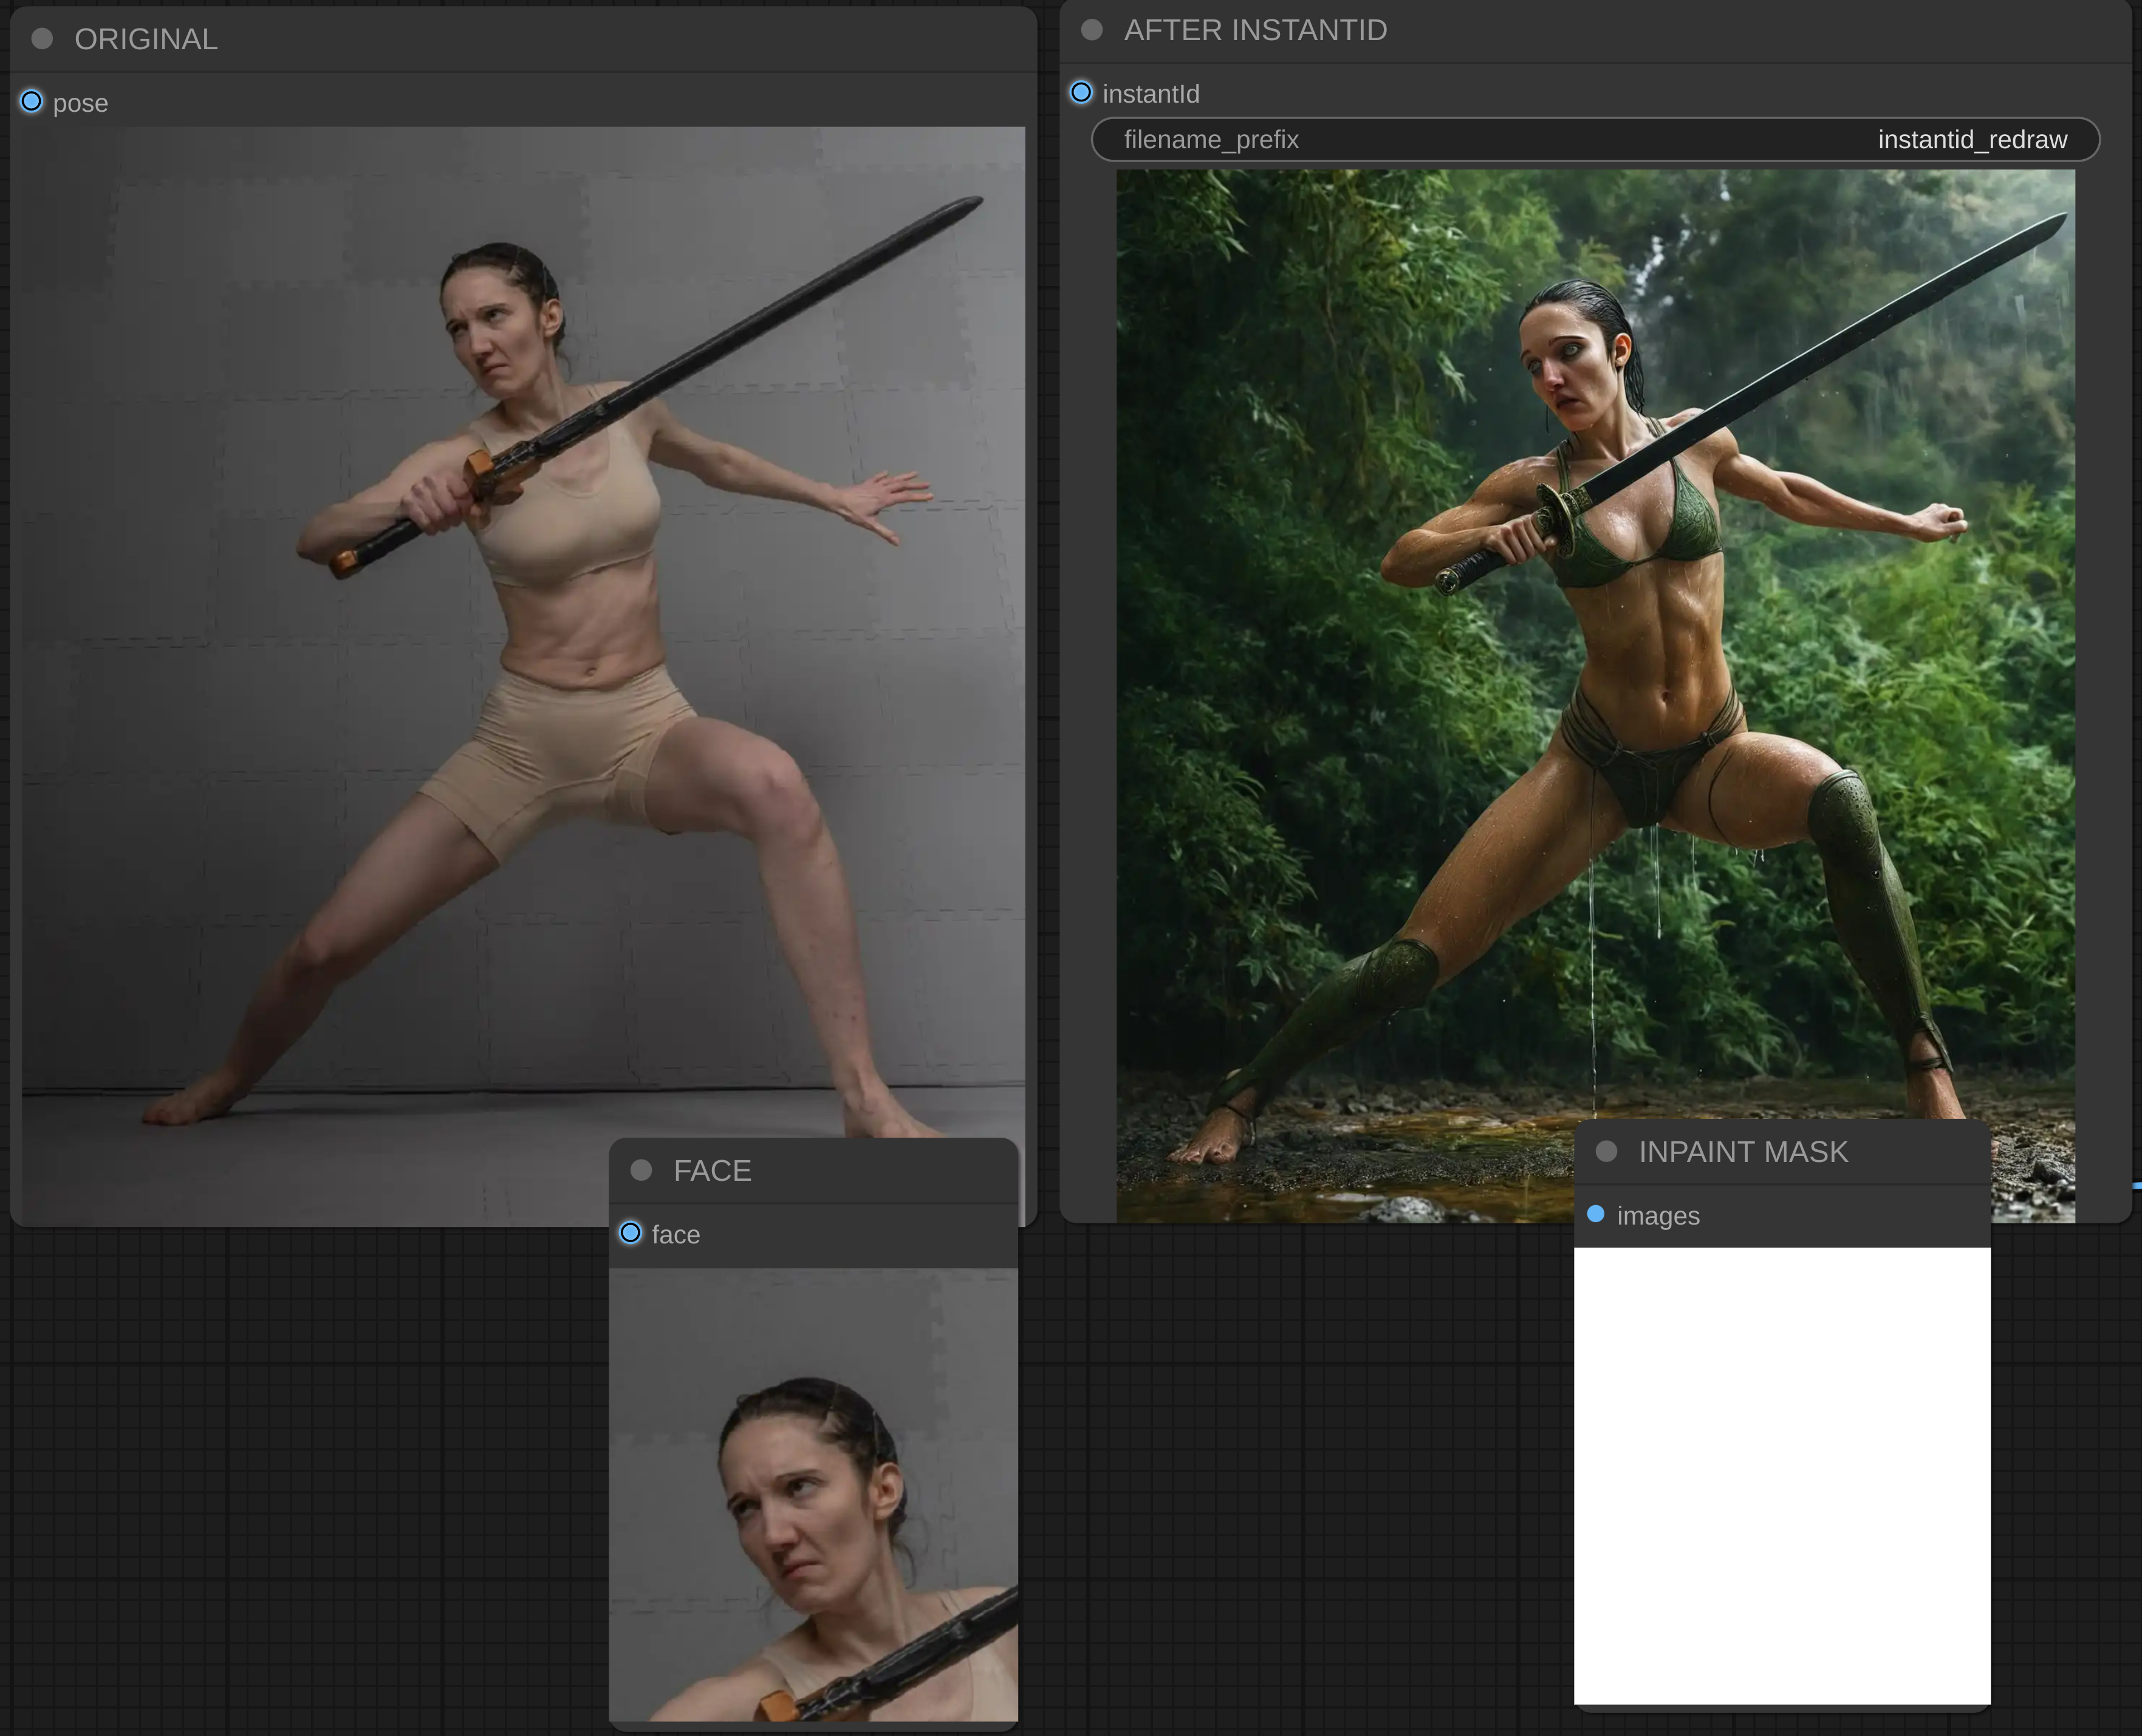
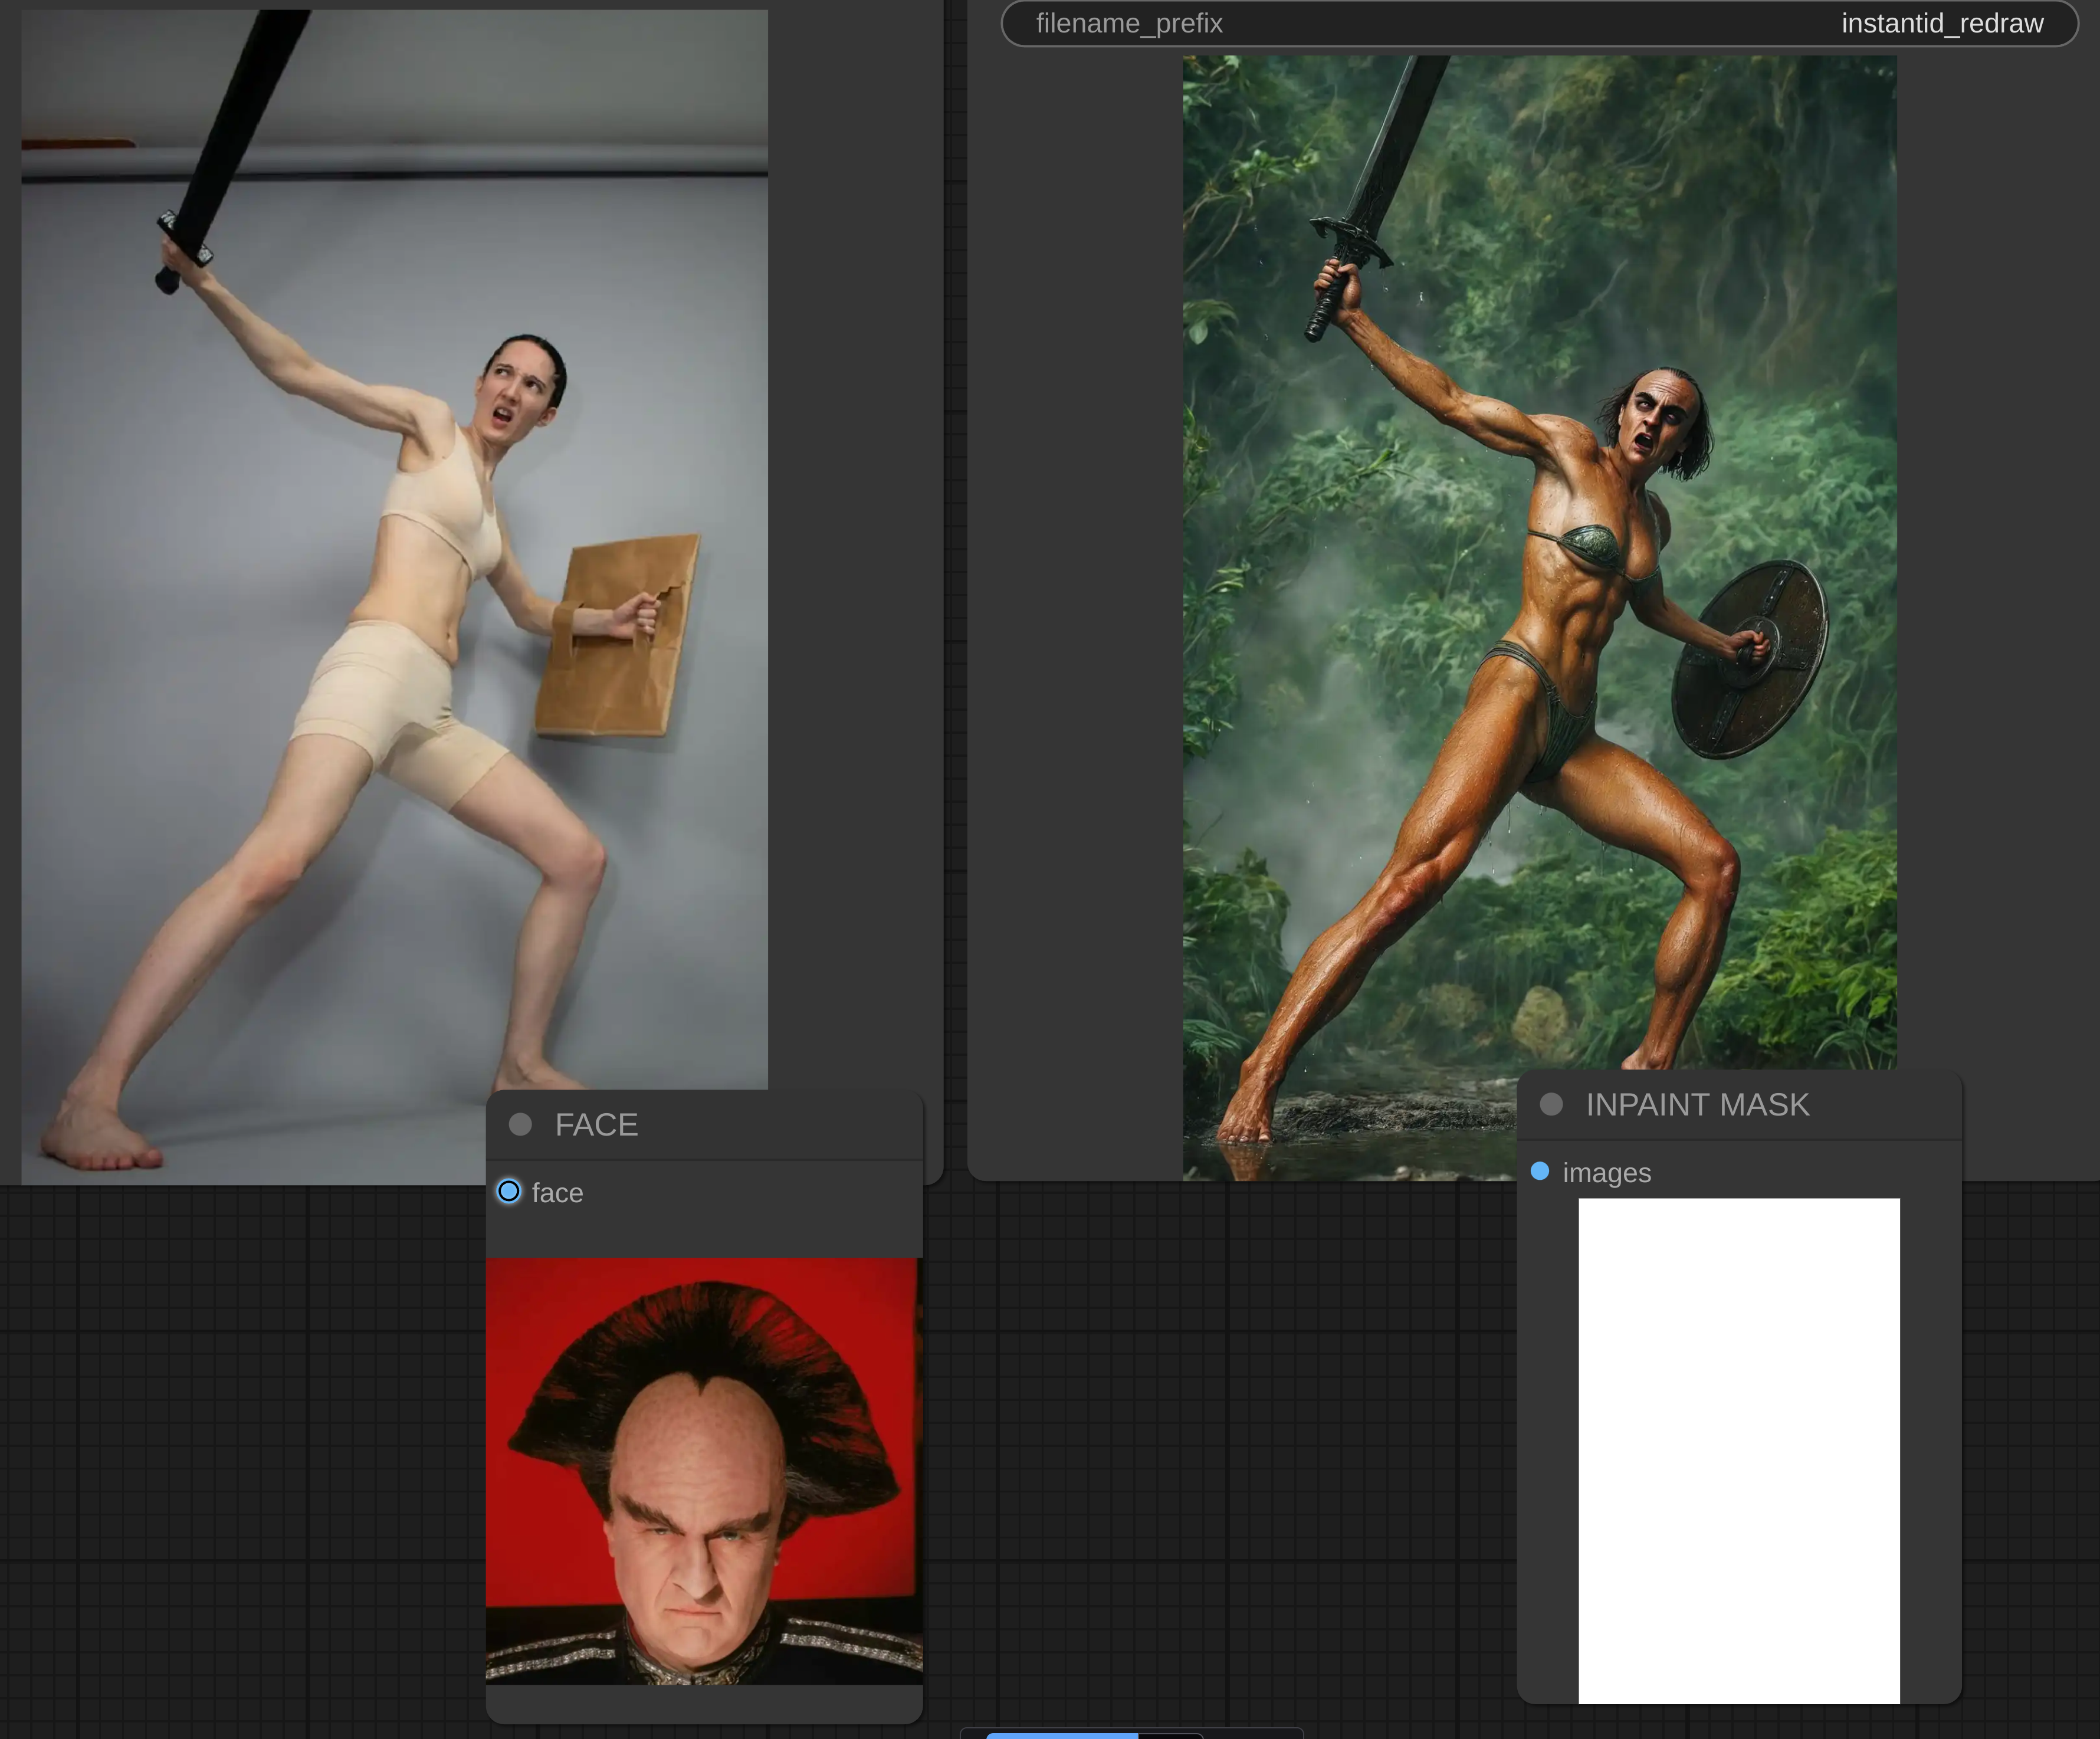
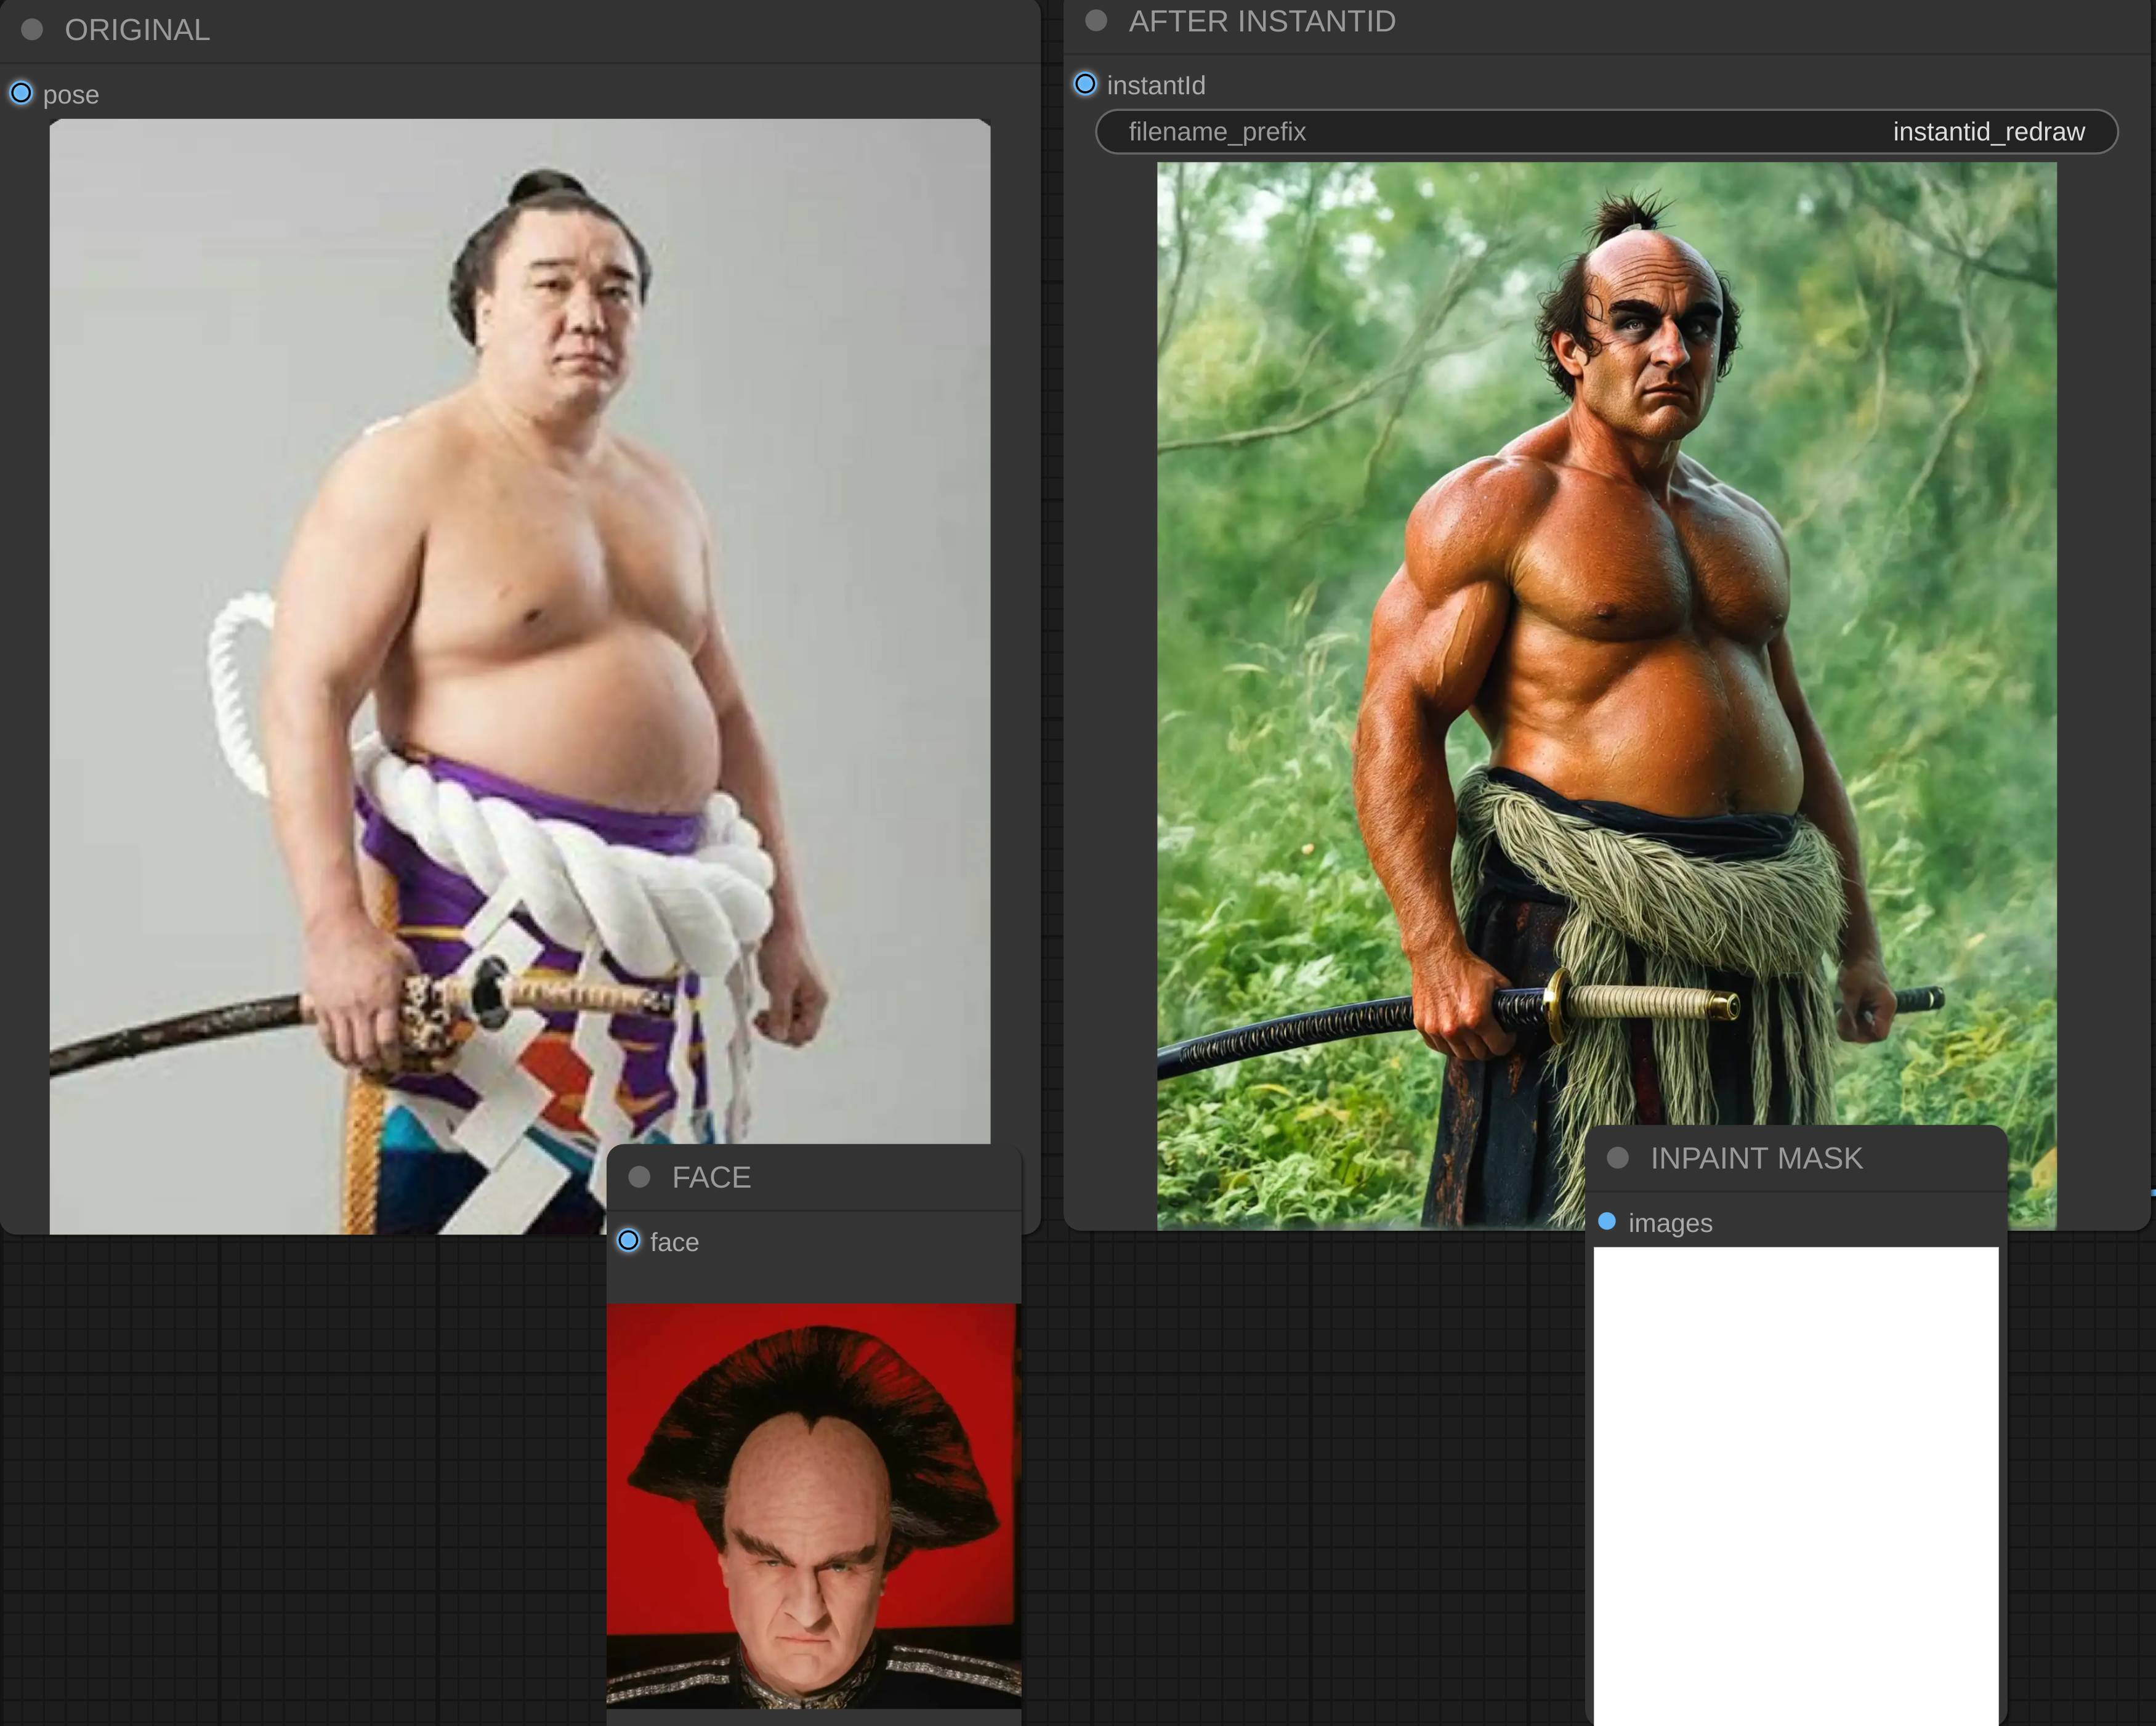
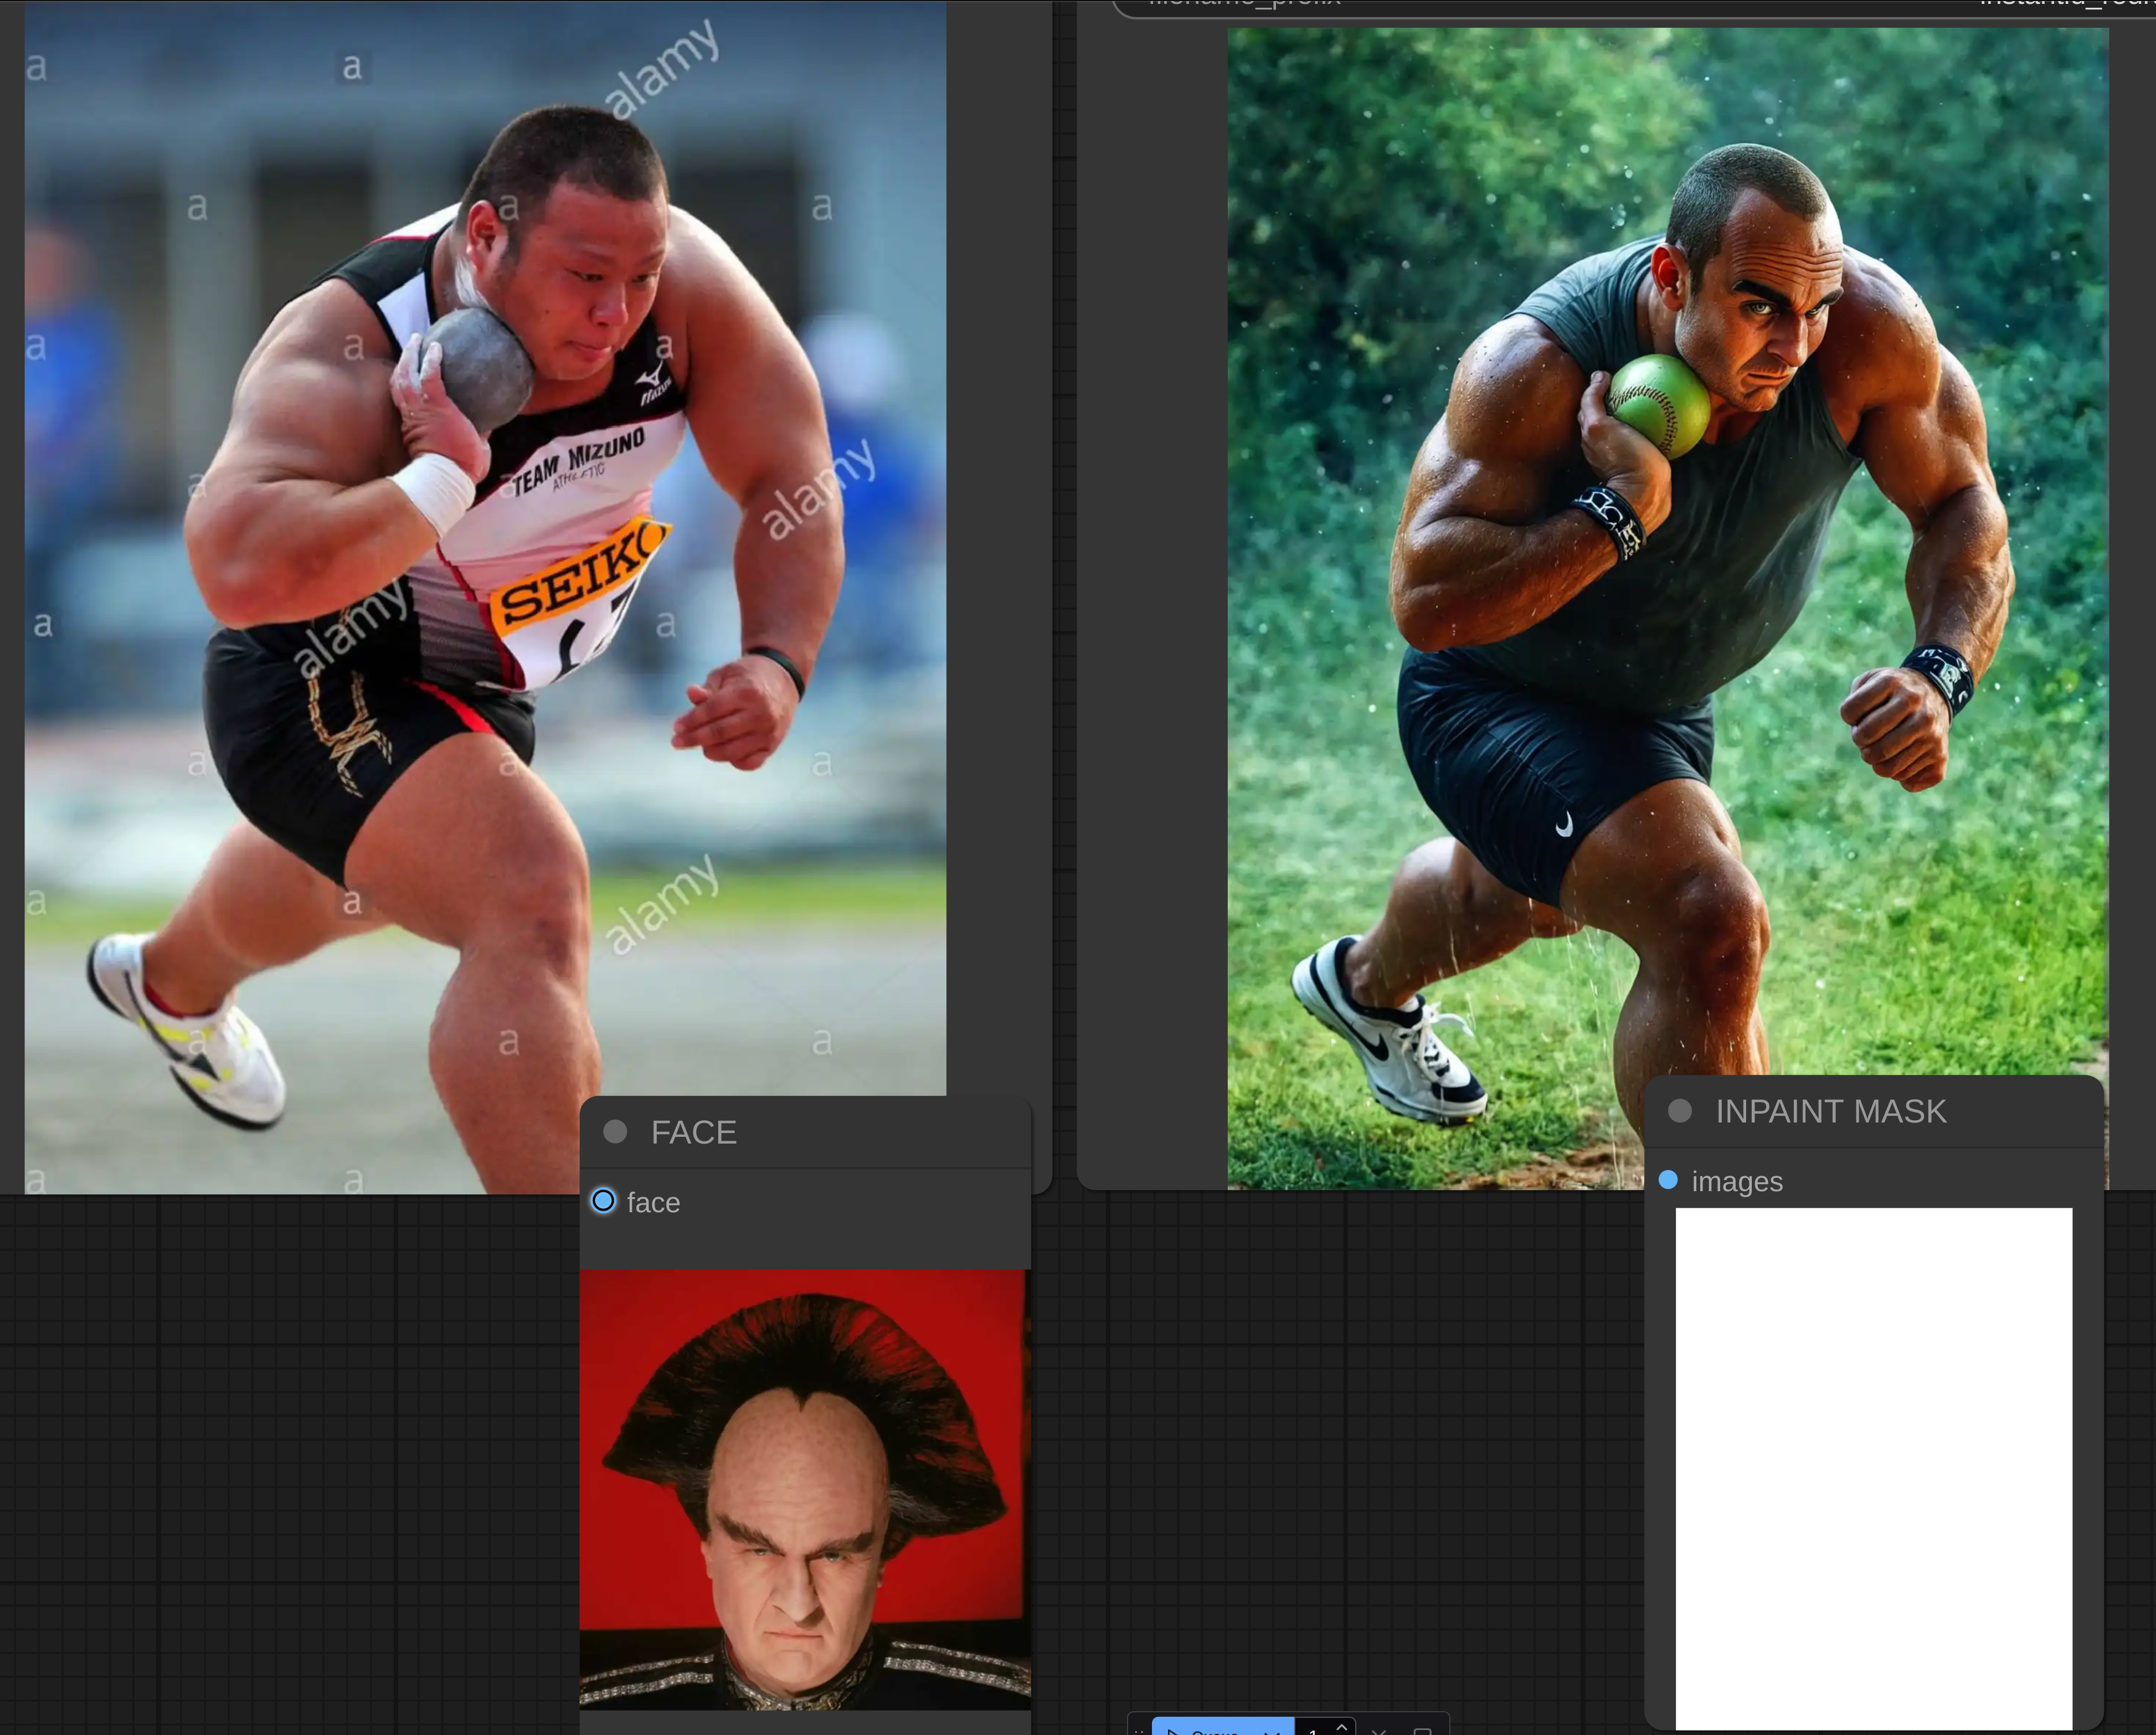
TL;DR; on original image redraw body and/or background according to your prompt.
Help
Please consider to share some Gold BUZZ with me or post some images, or do any other interactions producing the Blue BUZZ. It helps me to pay for training on CivitAI and produce datasets for training. Thanks in advance.
How it works?
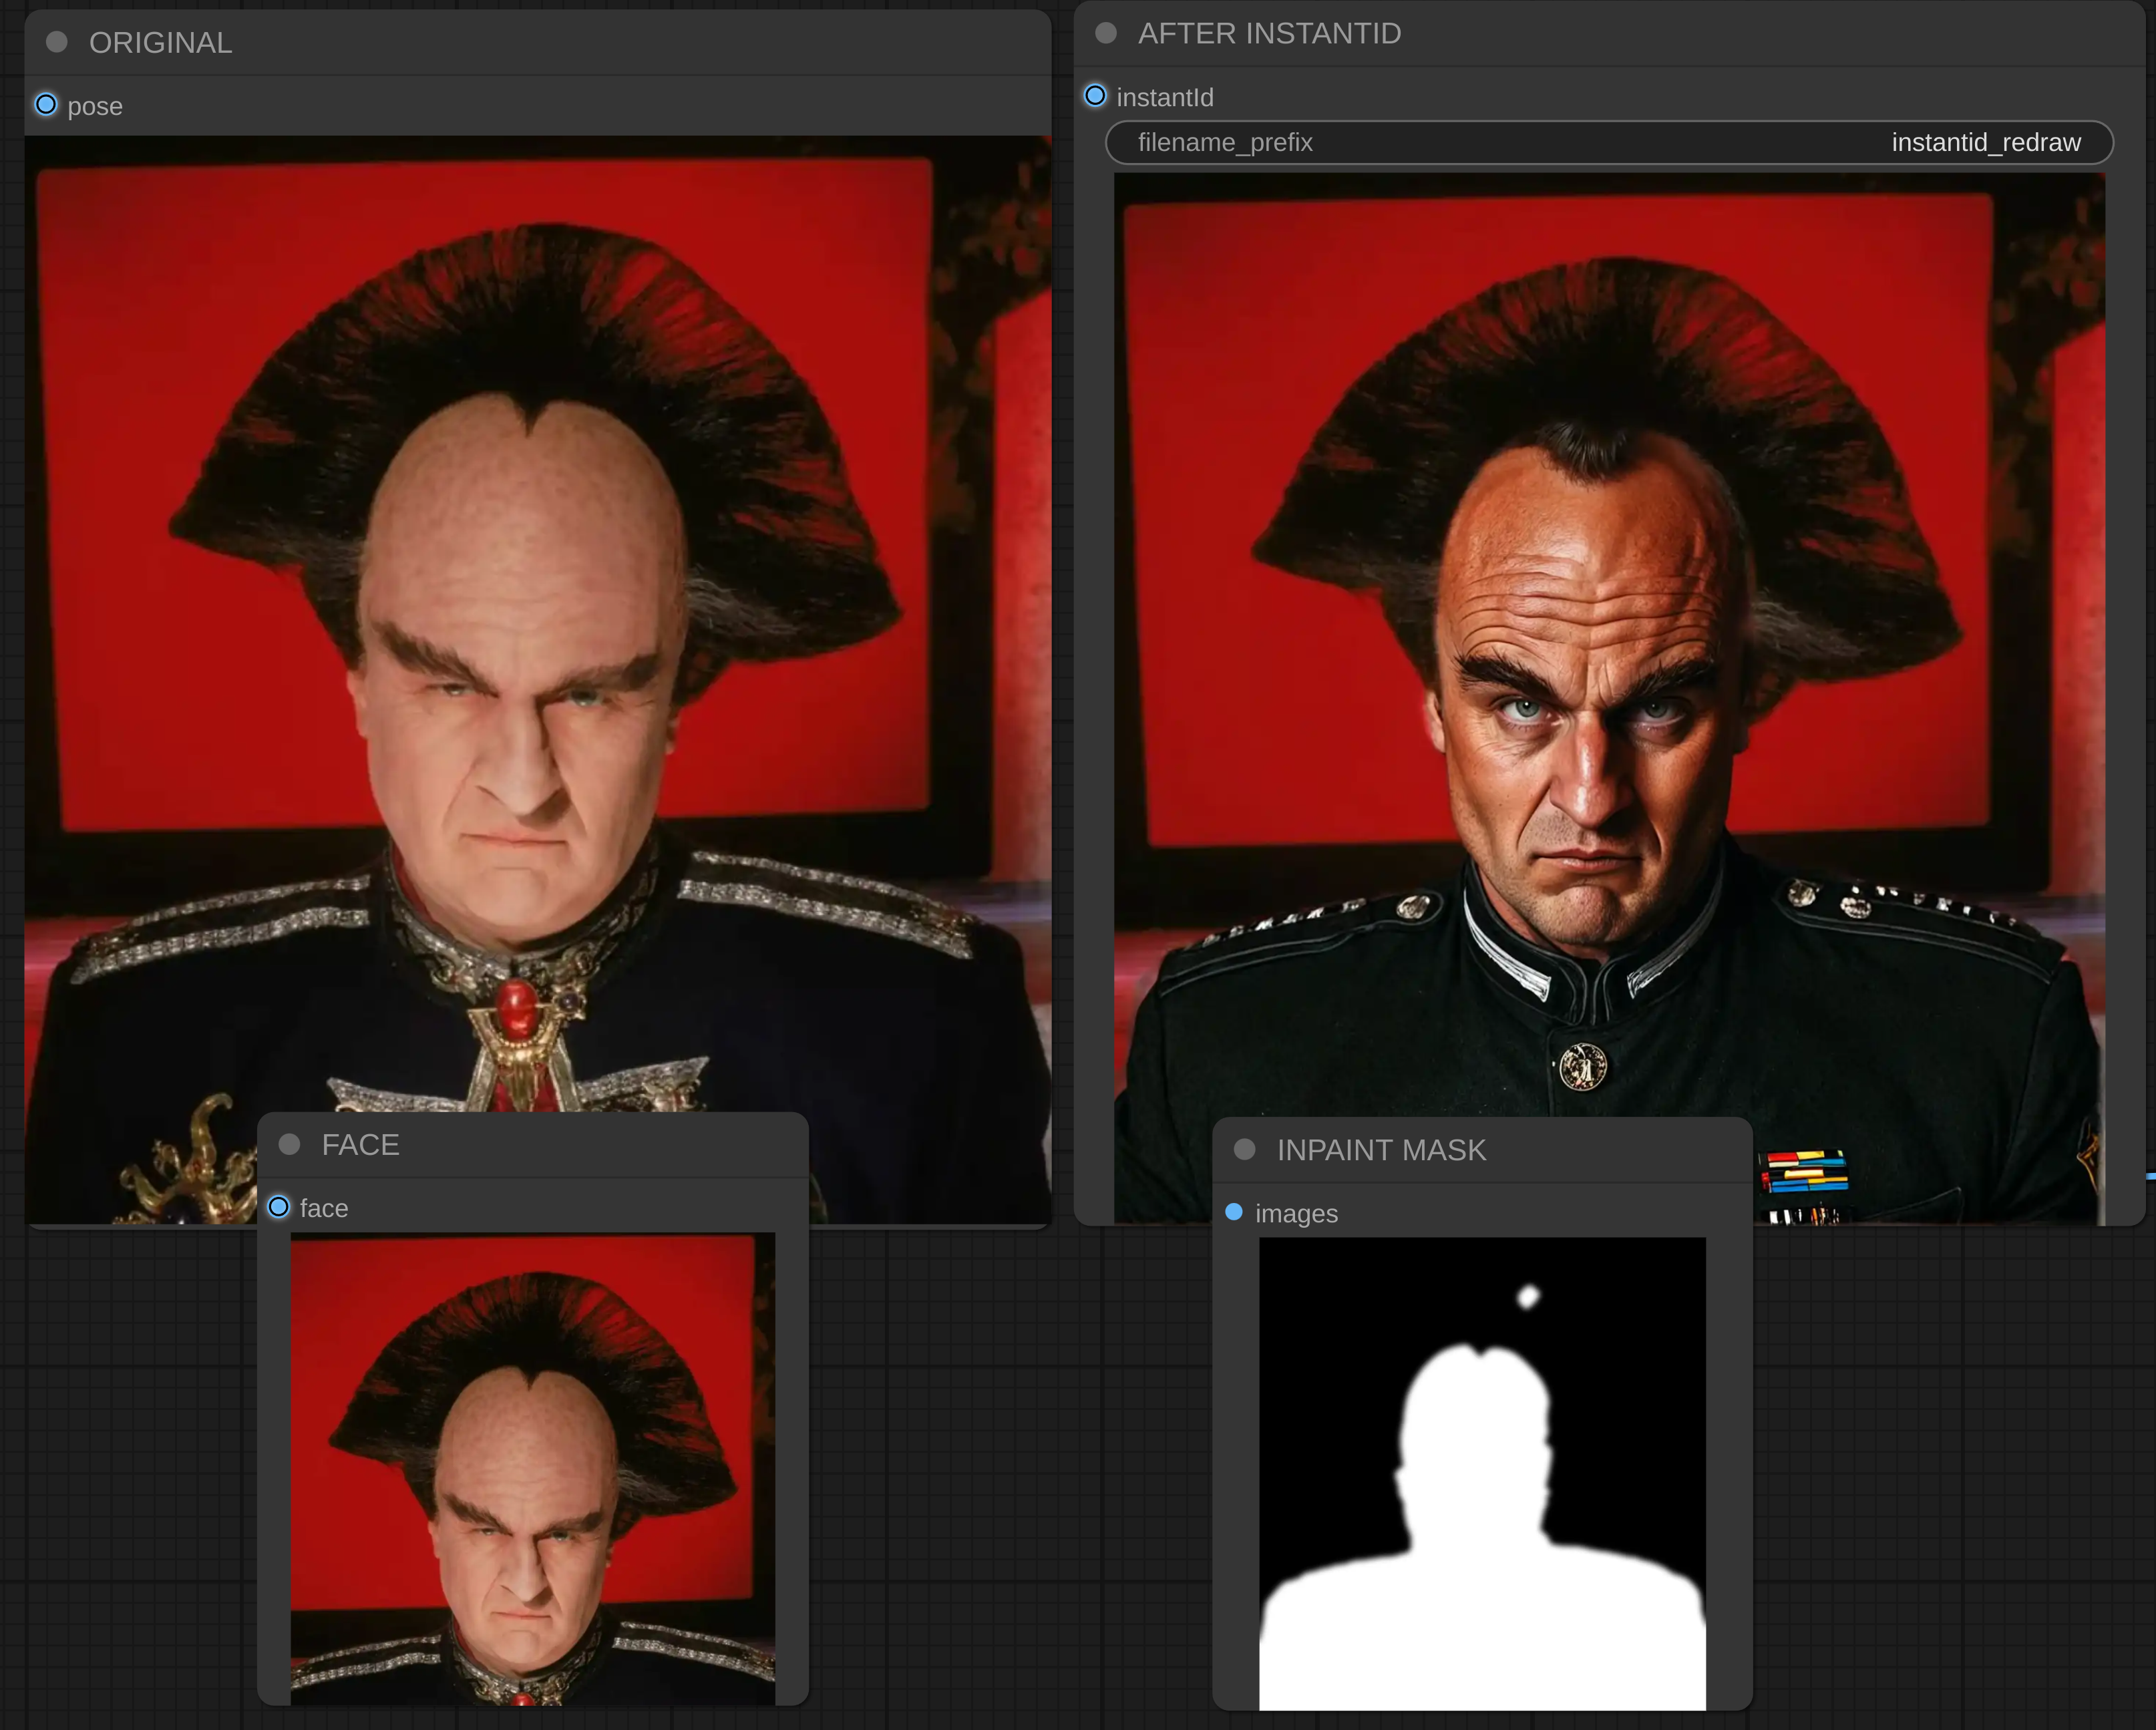
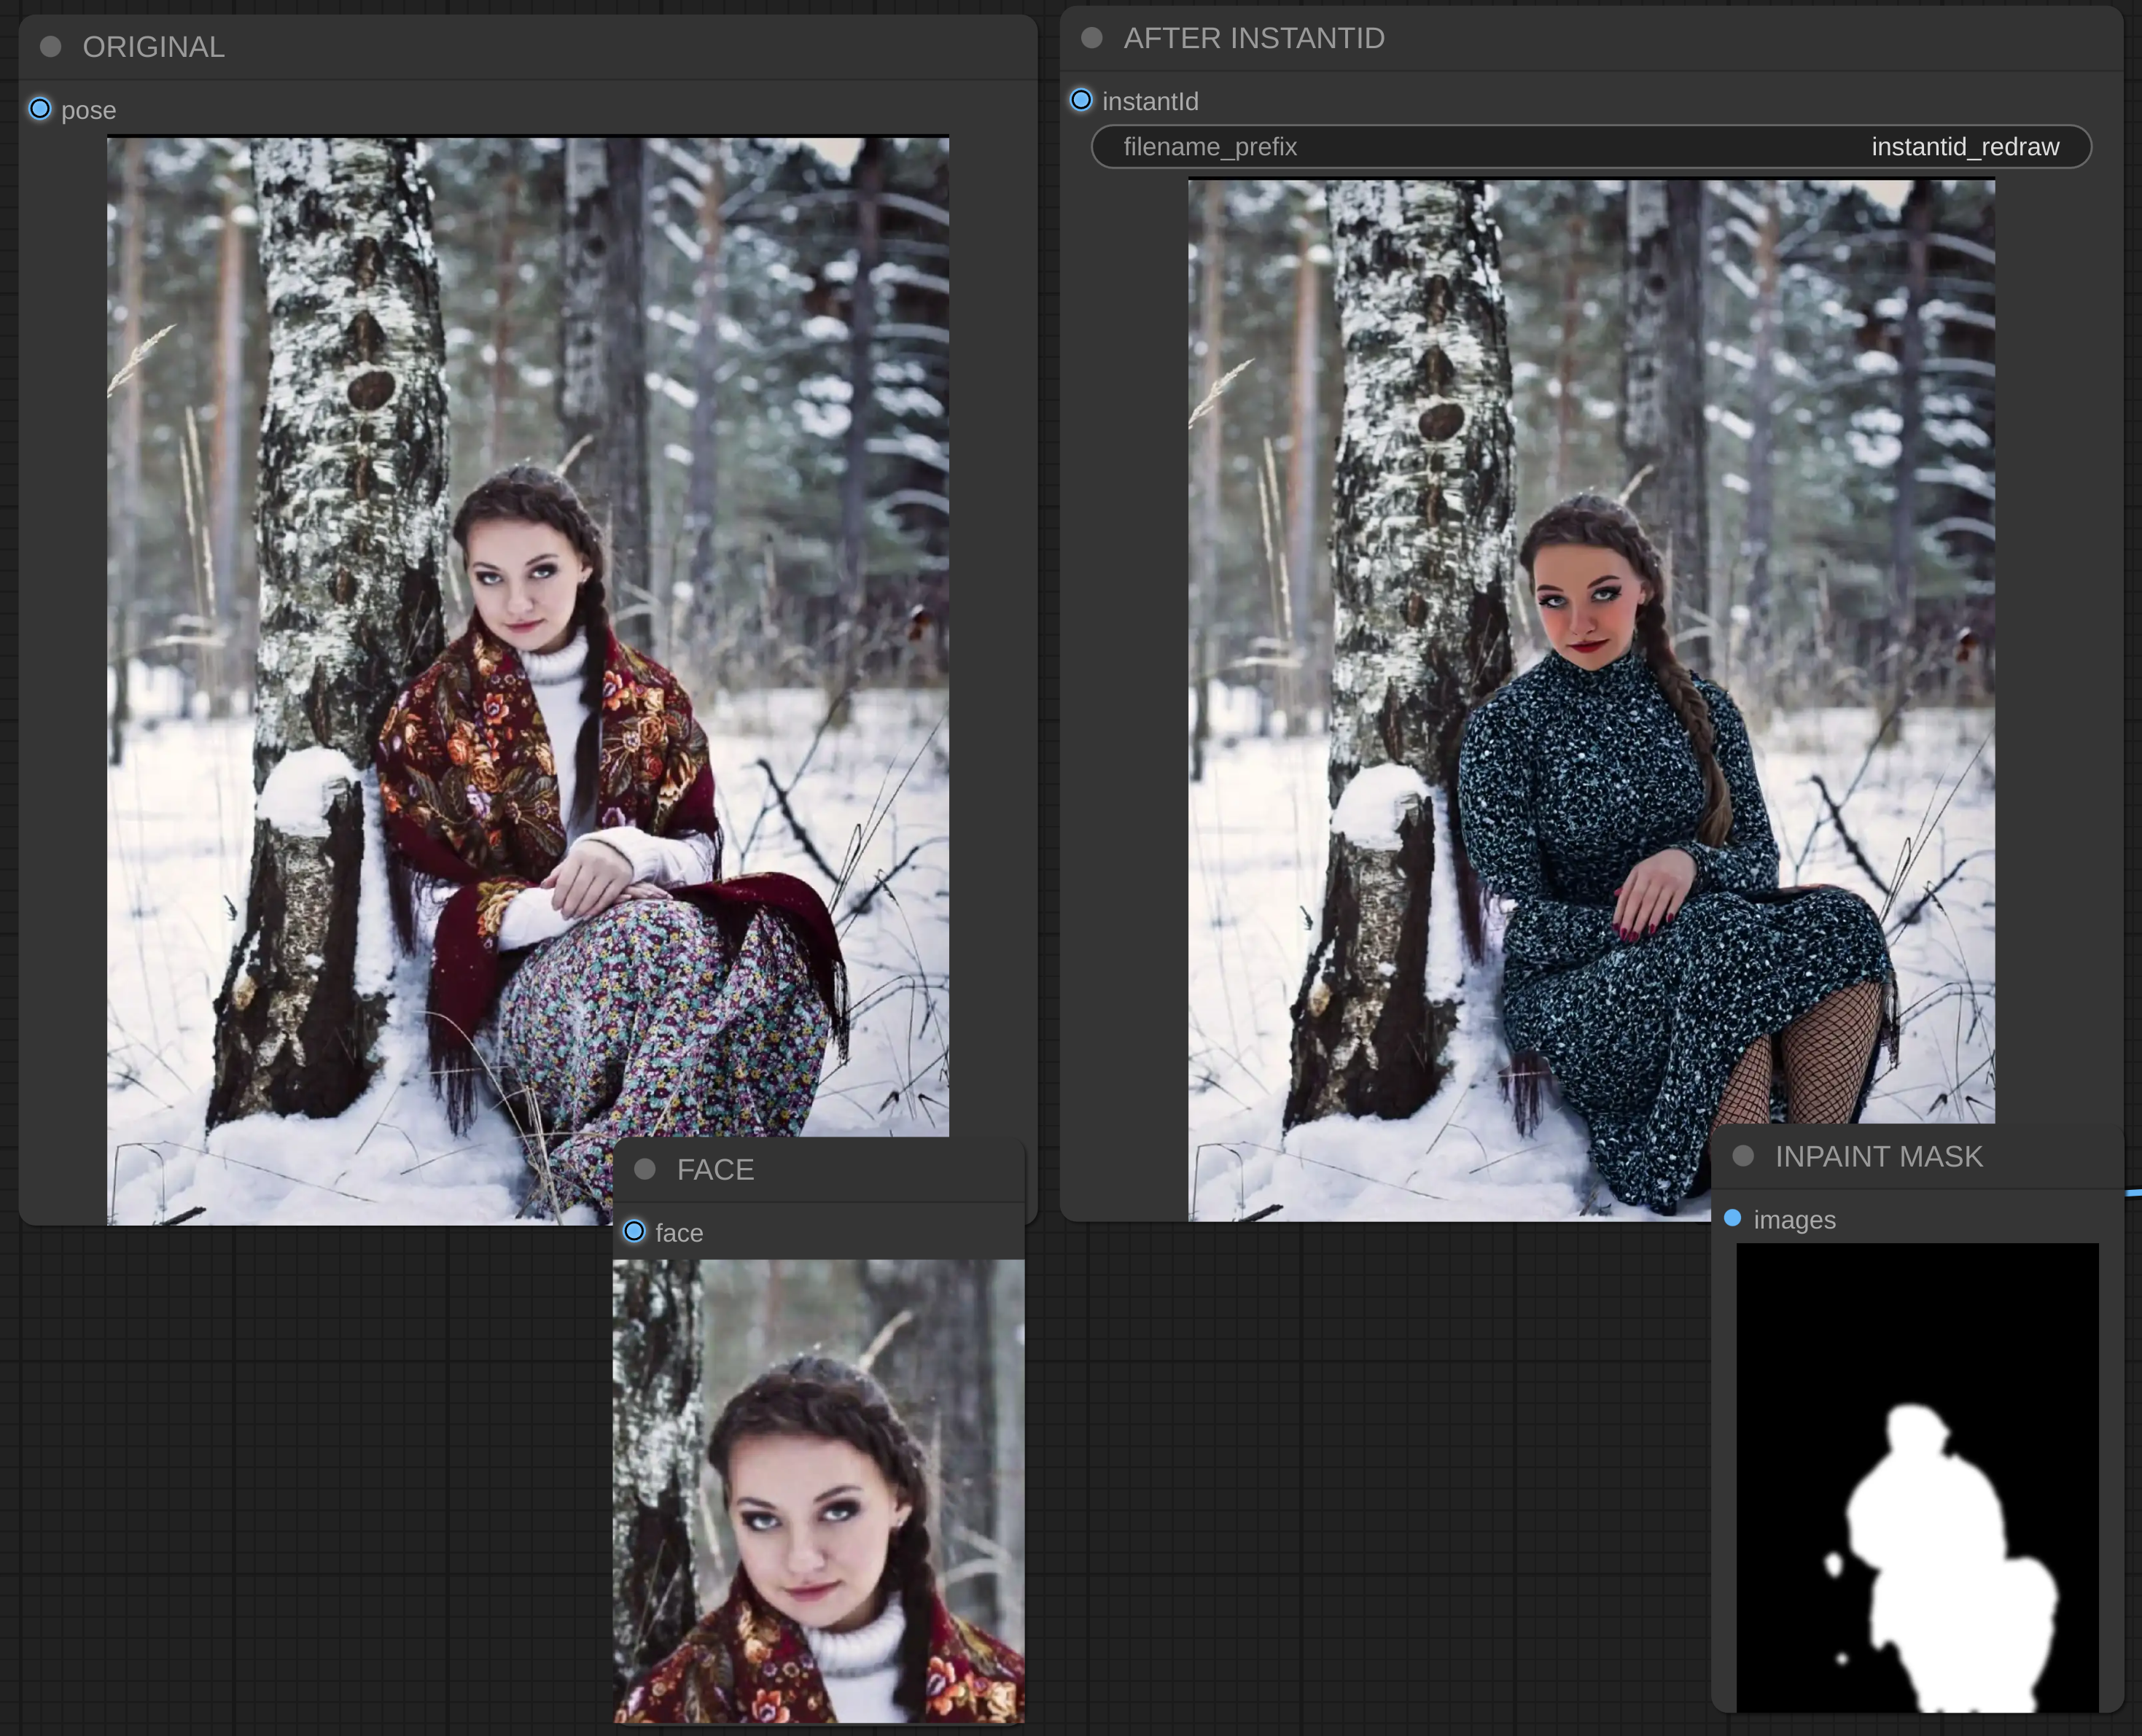
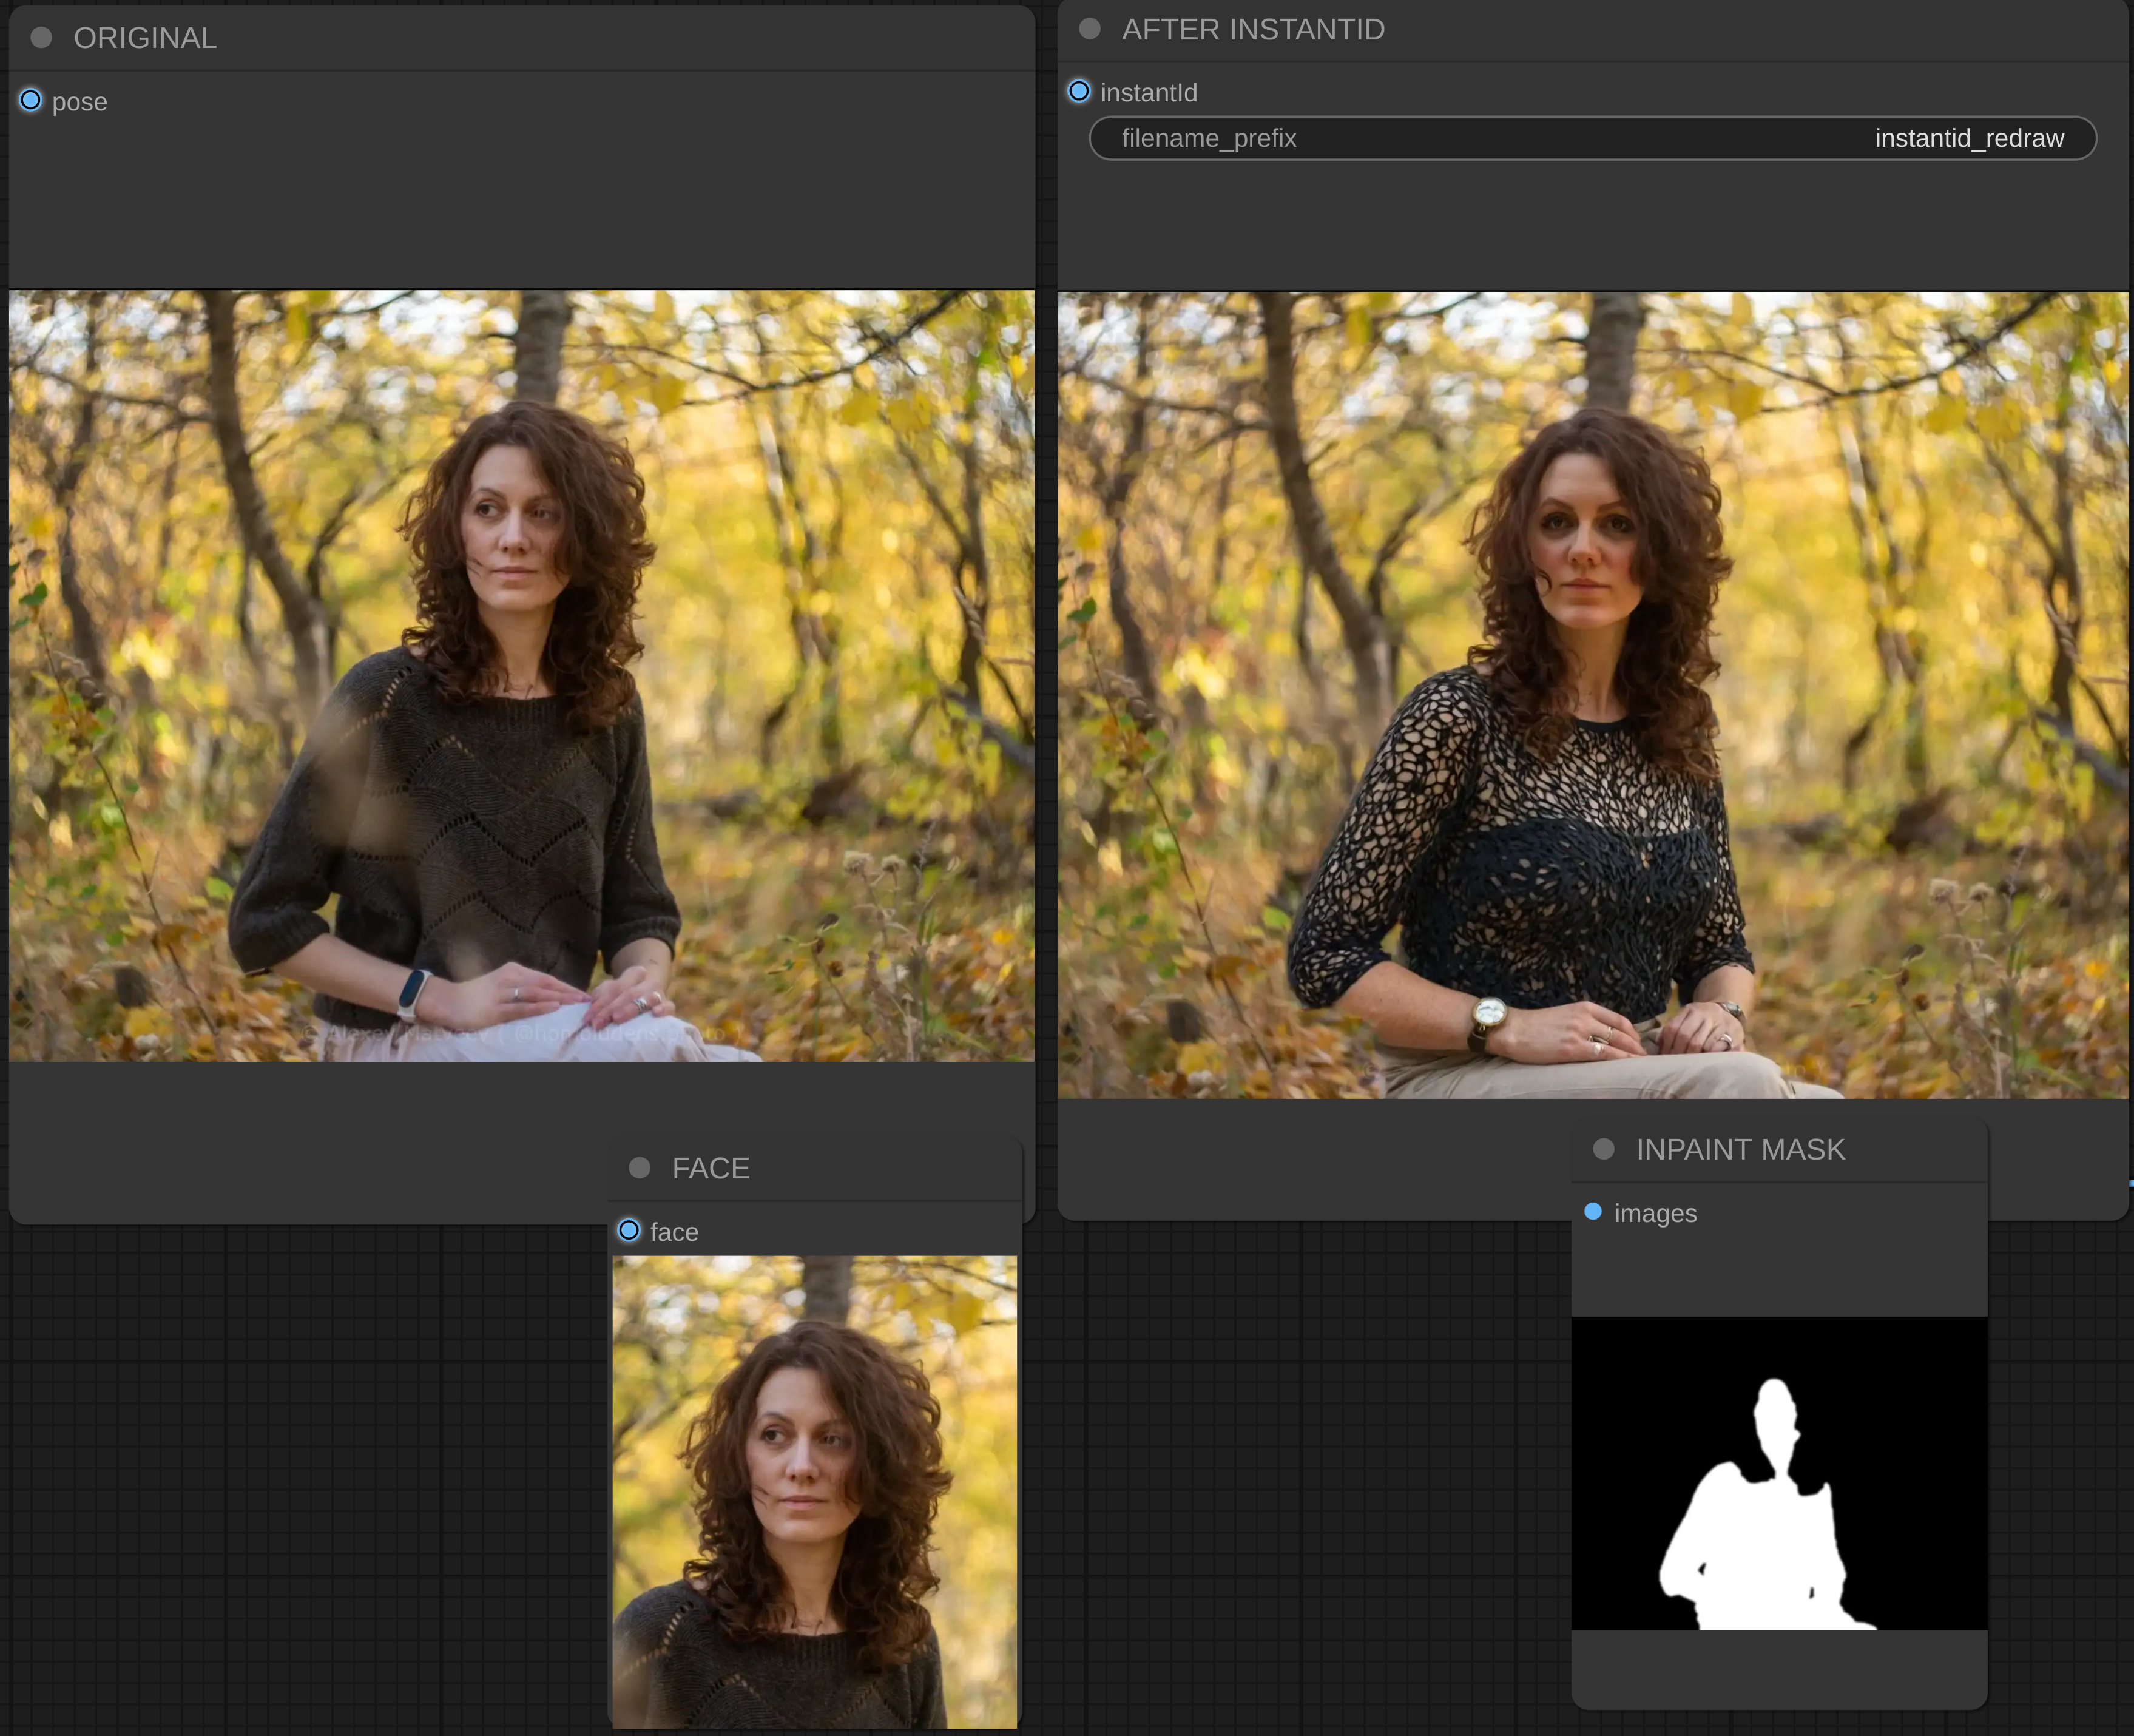
It takes your original image, extracts the face, automatically creates an inpaint mask, creates the face embedding, with selected denoise strength it rewrites everything in mask pass areas.
You can select what to keep untouched: face, background, hair, body, clothes.
You can adjust Face Embedding strength and Denoise strength (how much of original image to keep). You can totally restrict to touch the face (instantid module will take no effect if face removed from inpaint mask).
You can also adjust the base resolution for all rendering operations.
How to use
In the most cases you just need to edit the Blue "WD14 Caption" node and the Green node "USER INPUT". You need to put your original image. WD14 captioner will create a Pony Style tags. Then you should take this caption and put it into "WD14 Caption". Then you probably need to remove the tags for the things you don't want to see in final result. In "USER INPUT" you should put a permanent prompt with things to add (which aren't present on original image or some styling prompt).
Modify "tags to exclude" of the WD14 Tagger node to streamline you process. Once you add all tags to exclude, you can just connect WD14 Tagger with "Join String List > arg2" and stop editing anything.
After the first run and first edit of WD14 Caption you can leave it as is and edit the "USER INPUT" only. Or you can adjust the WD14 Caption more. As it is the secondary part of the prompt, it might be better to put styling there instead of "USER INPUT".
If you decided to rewrite the face with InstantID, then you might get image with the face which not 100% same as the original. In that case you can replace original image with first result (right click -> Copy (Clipspace) -> Paste (Clipspace) on original image node). Then you need to adjust the mask to keep some elements you satisfied with. Also you can play with Denoise on KSampler and weight on Apply InstantID.
Please note, if you decide to redraw the background, then make sure the "fill_holes" is switched off on Grow Mask With Blur.
Use cases?
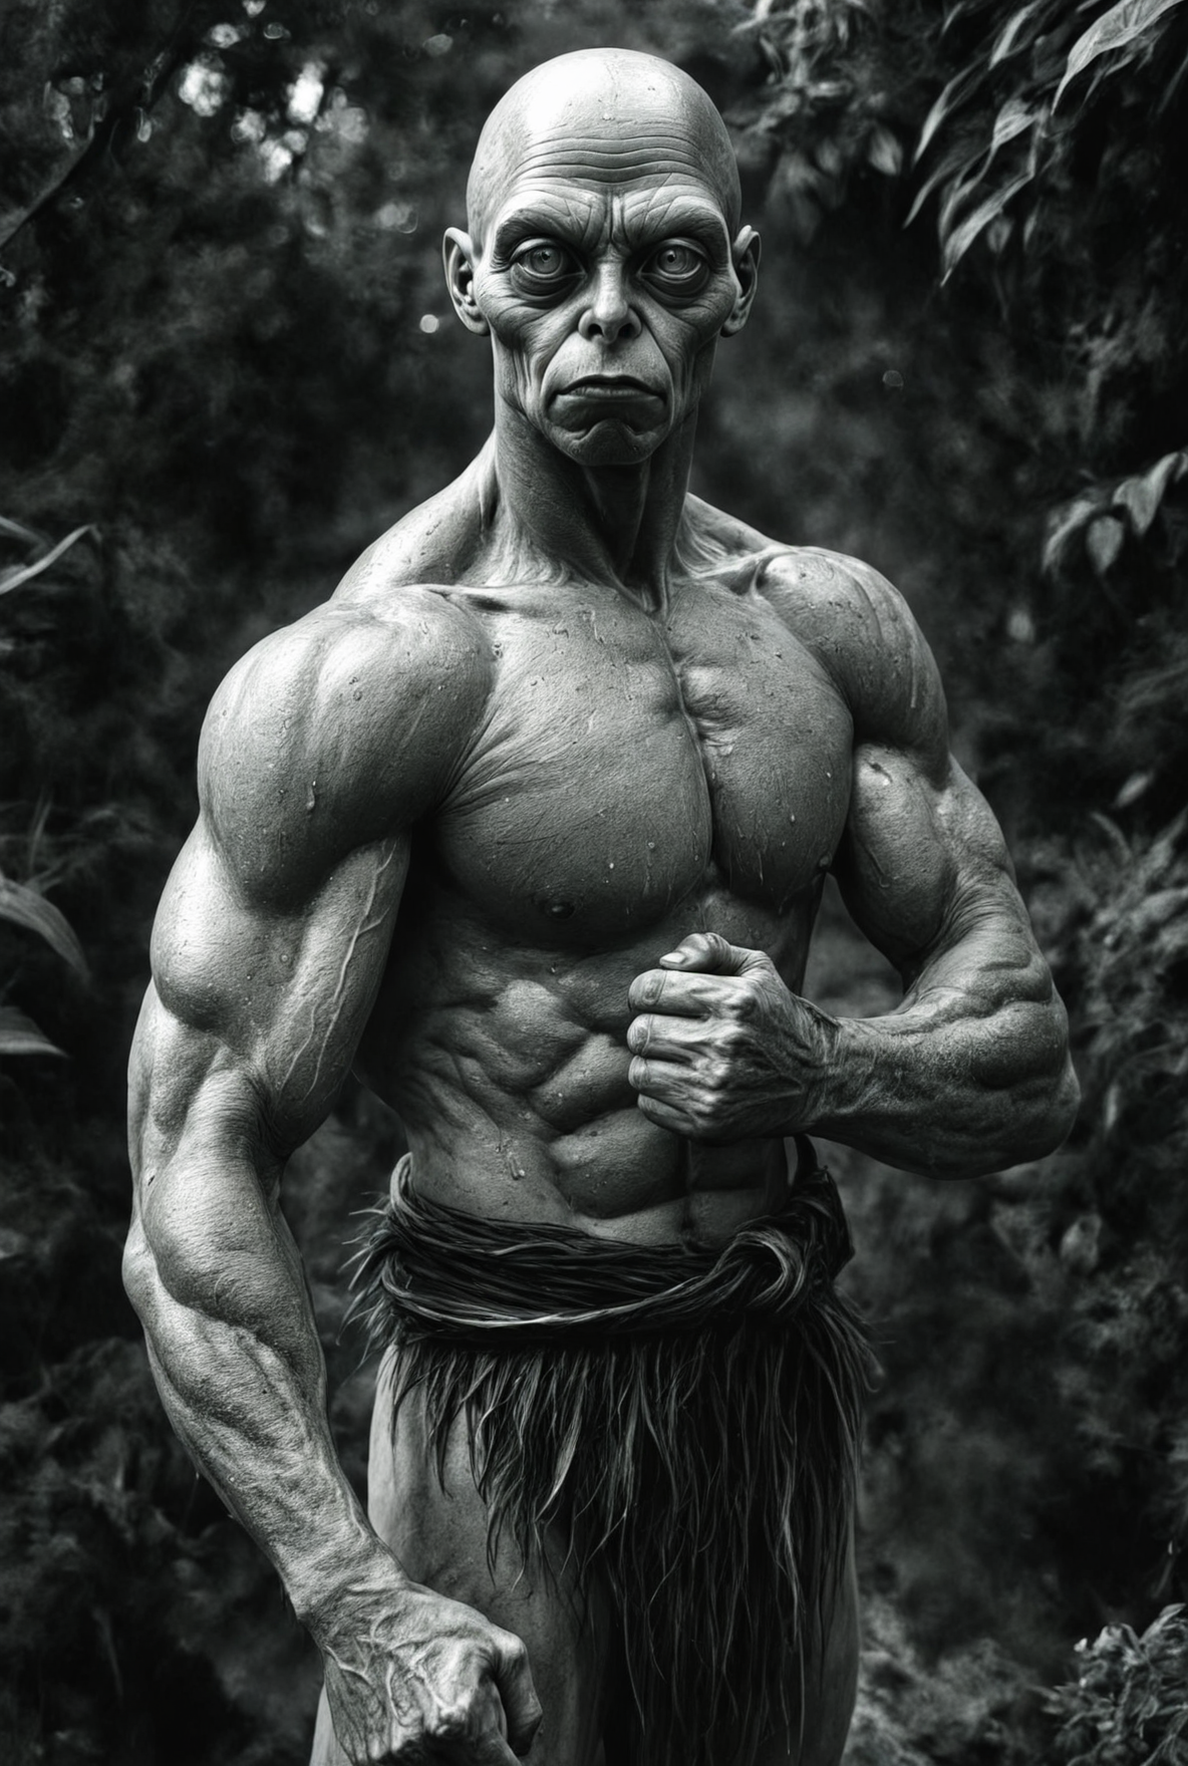
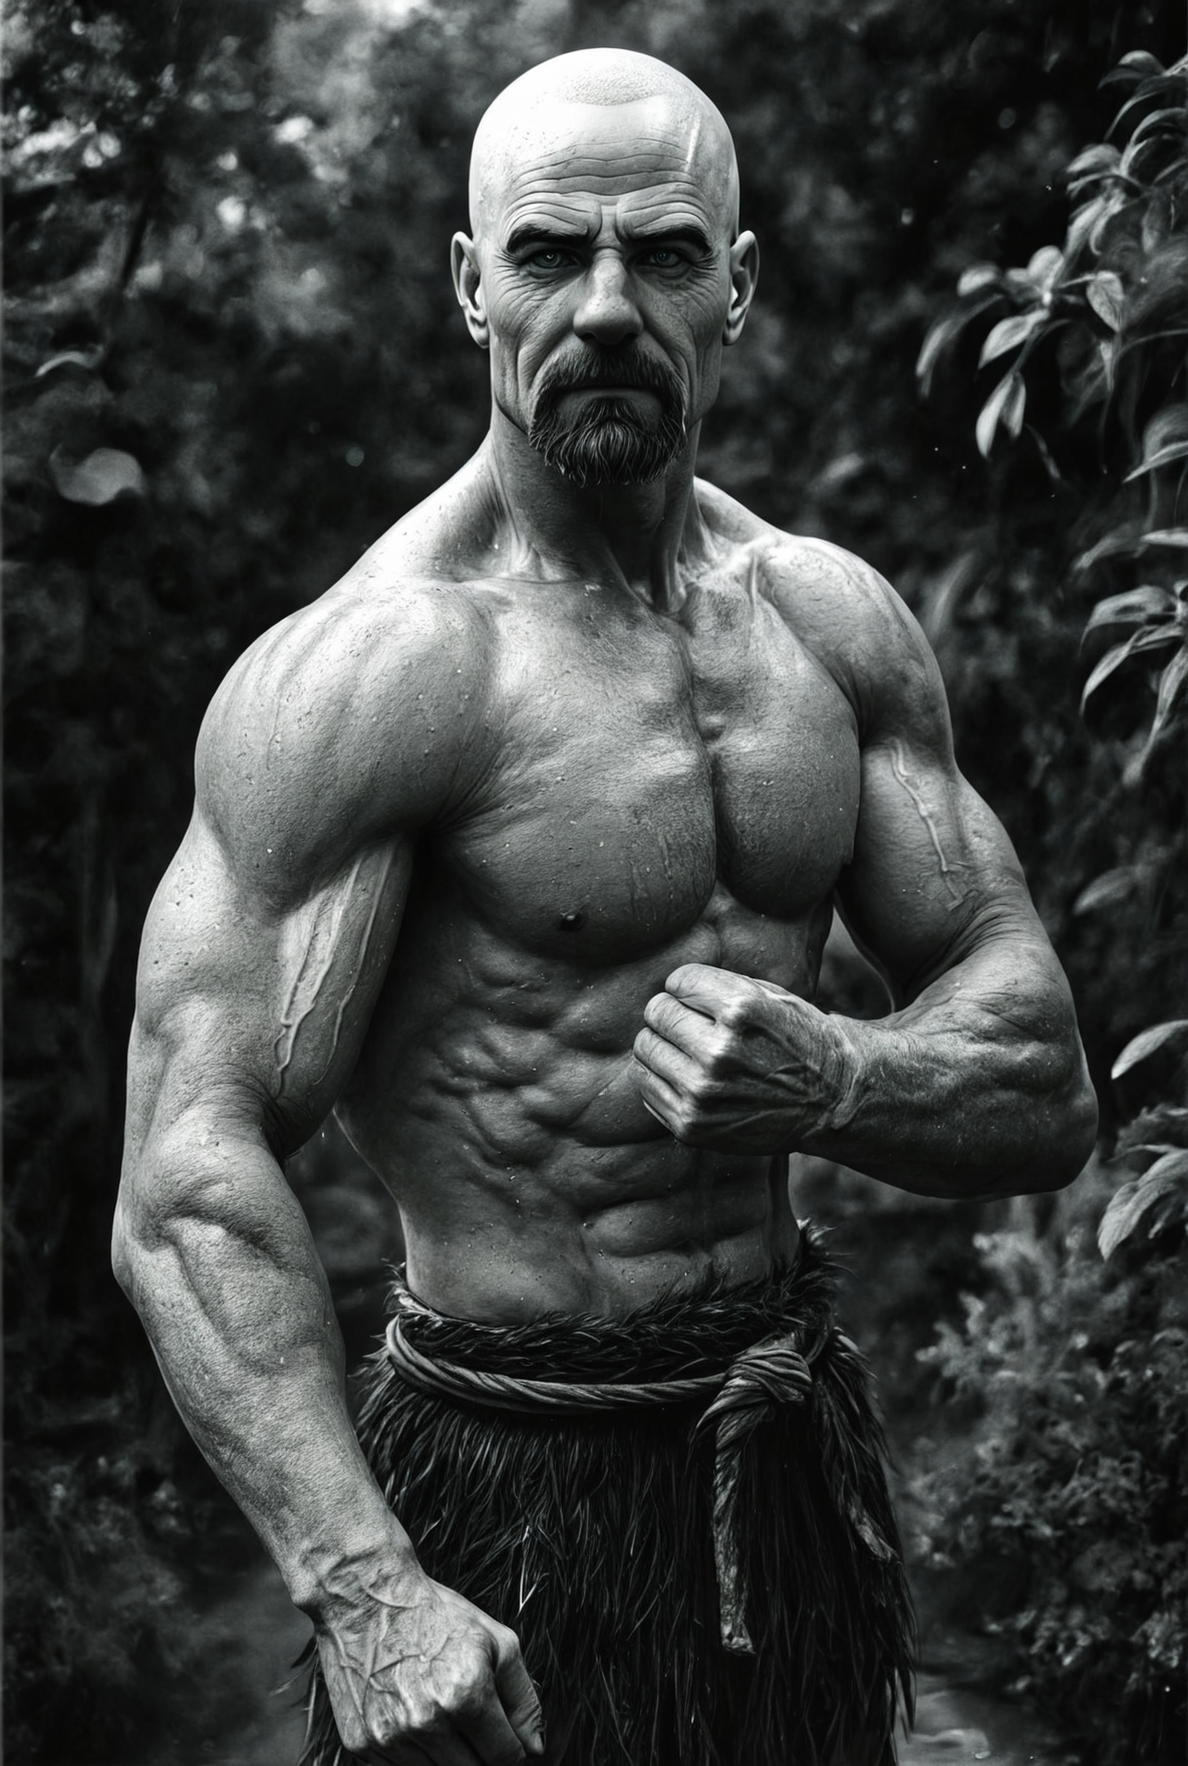
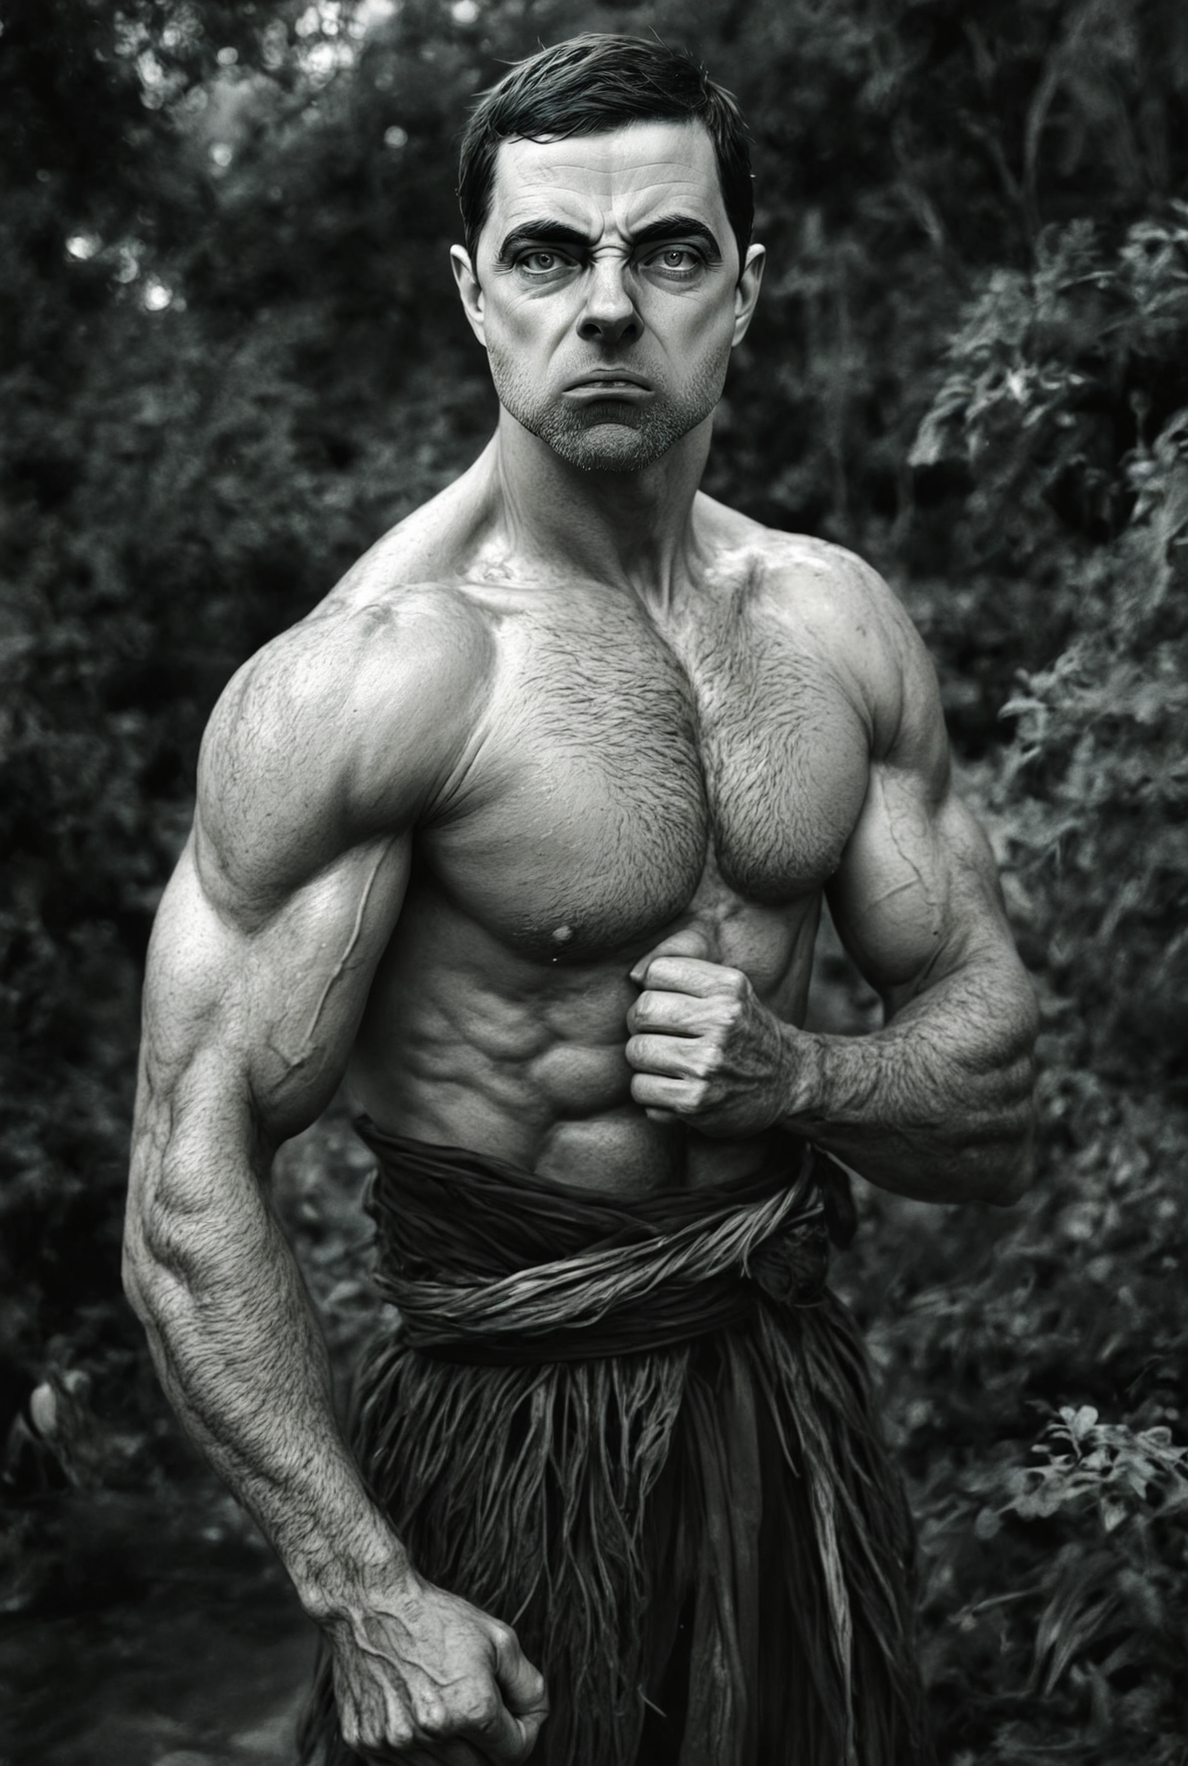
Dress / Body / Background modification. Blurry, low-quality image to hi-res.
Video=2-Video: stylized radraw each frame with character consistency based on InstantID.
Mix one character body with another character face.
How to install / troubleshooting
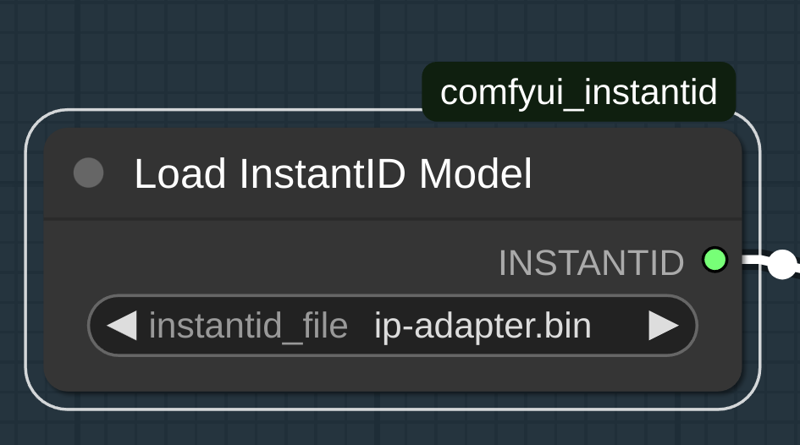
Most tricky part - installing two instantid packages:
https://github.com/cubiq/ComfyUI_InstantID
https://github.com/nosiu/comfyui-instantId-faceswap
Also, you need to install two models:
ip-adapter.bin - it is a special IPAdapter model for SDXL (don't confuse it with standard IPAdapter FaceId models).
 diffusion_pytorch_model.safetensors - a special version of controlnet model for instantid IPAdapter (don't confuse it with controlnet models for IPAdapter FaceID)
Both models mentioned above can be downloaded via Manager in ComfyUI.
Other custom_nodes should can be installed as usual without tricky steps.