Simple Workflow Ready To Use for ComfyUI


詳細
ファイルをダウンロード (1)
このバージョンについて
モデル説明
V2.0!
New improved version with, read the article again for details!
People been asking me how to use and understand the workflows included in my ComfyUI uploads, i must admit those were a mess at times so i've prepared a organized good looking one Ready to use Workflow with focus on new people starting with ComfyUI and Illustrious.
So yeah, let's begin!!
You can get this workflow opening the downloable file or just by drag and drop one of the bird, moth or dragon girls images directly to ComfyUI work area, then you will notice that some Nodes are missing,
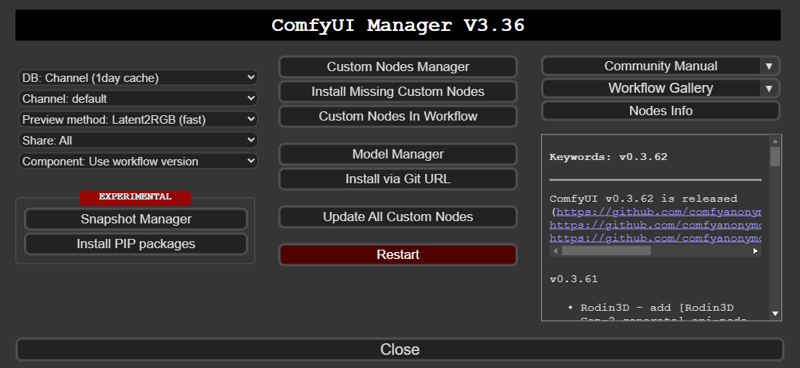
On your Manager, click on "Install Missing Custom Nodes"
This Workflow uses
ComfyUI Impact Pack: uses "Face Detailer" node, similar to civitai face fix
ComfyUI Impact Subpack: uses "UltralyticsDetectorProvider" node, needed by Face Detailer
ComfyUI Lora Manager: uses "Lora Loader" node, for lora management
ComfyUI-Custom-Scripts: uses "Show Text" node, shows the final prompt when using Wildcards
mikey_nodes: uses "Wildcard Processor" node, its Wildcard itself
Install all of them, restart and you're now ready to gen!
This is what you will see if everything went right

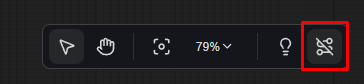
If you want to see the links between nodes to edit something, just click here
Lets explain simply and quickly what we have here
1. Main
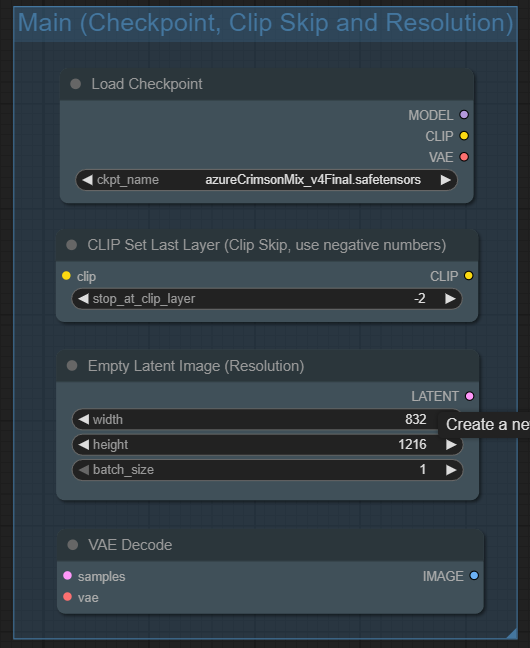
Load Checkpoint: Its your checkpoint model, like WAI-NSFW, Hassaku XL, Banana Splitz or Azure Crimson.
Clip Skip: You can use -1 or -2, for Illustrious i almost always use 2
Resolution: Output image resolution, i recommend civitai defaults
VAE Decode: the output of this node is the generated image, then saves and, optionally, makes a High-Res Fix Upscaled version
2. LORAs
In order to use loras, you have to enter to lora manager UI, clicking in the buttom shown below

You will find this UI, its gonna make a first check to add metadata to your already downloaded LORAs,
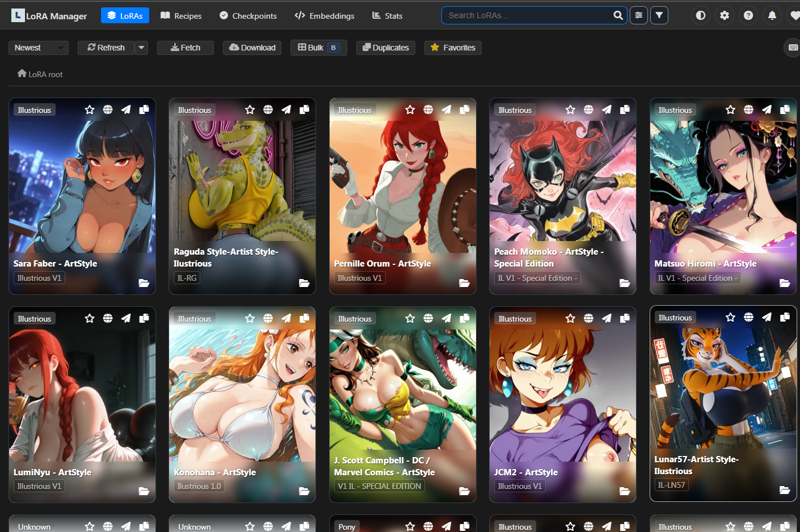
Clicking on a Lora will show you details like trigger words, and you can add some custom parameters and such.
To send a lora to your workflow, click here
 It will show on your Lora Manager box, you can toggle on off, adjust weights and even you can copy trigger words to paste on prompt boxes.

3. Sampler
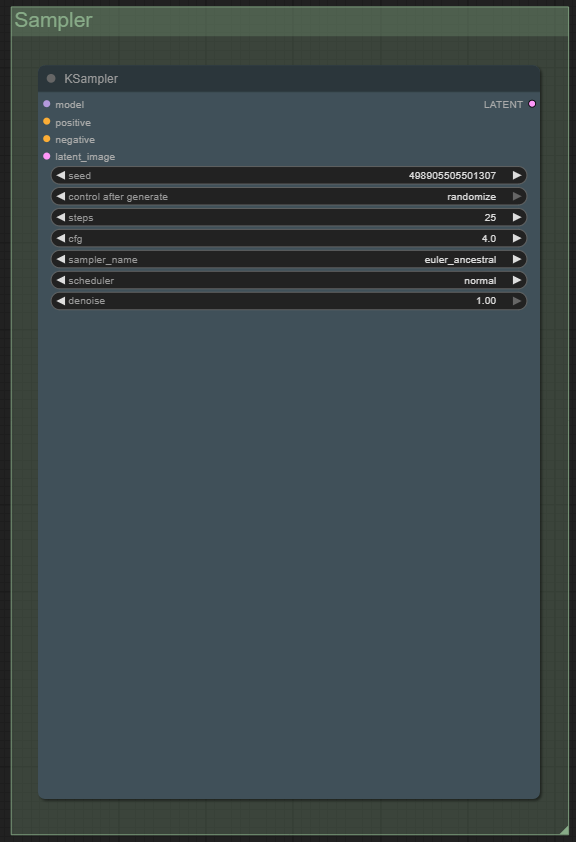
Sampler, here you have
Seed
Steps
CFG
Sampler
Scheduler
4. Prompt

Prompts! Positive is Green, negative is Red
5. Output
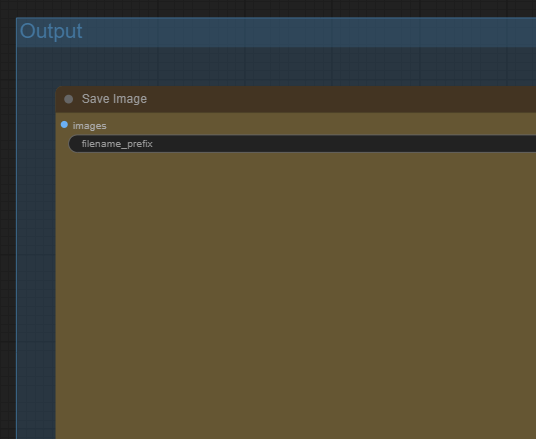
Here you will see your final image
Optional Nodes
6. Face Detailer

FaceDetailer: Like Civitai Face Fix, this generates a better face for characters specially mouth and eyes, it doesn't always works, specially with faces that are facing to sides or away, you will see a crop of the area regenerated below this node
You will see a prompt box, you can put there tags that will help in gen, like eyes colors, eyebrows, teeths, etc. Most of the time i leave blank, but the option is there
SAMLoader and Both Ultralytics should not be touched, those works amazing
7. Upscaler

Load Upscale Model: Is the upscaler model you will use, like Remacri
Upscale Image: Choose your upscaled resolution, try to keep 2x ratios
KSampler: Here are the upscaler sampler parameters.
7. Upscaled Output
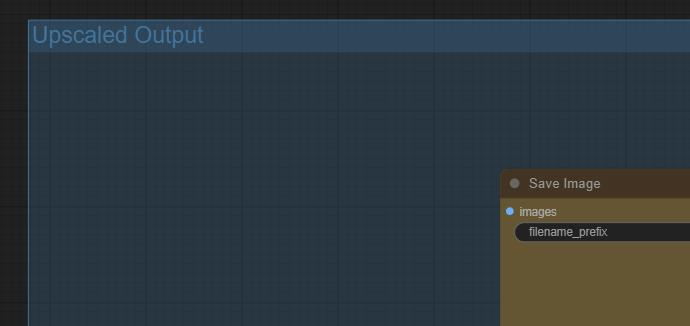
You will see here your upscaled final image
8. Wildcards
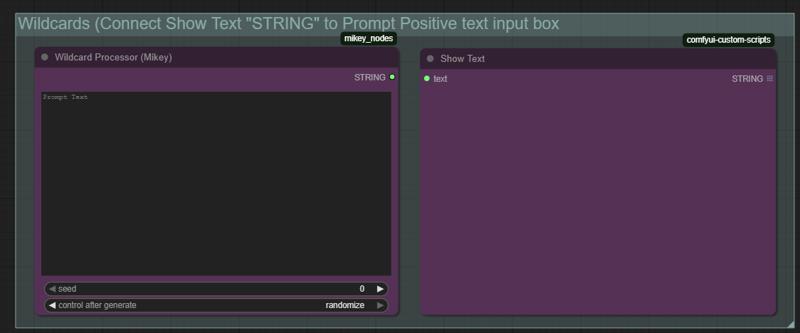
Here you can use Wildcards, text files should be in "ComfyUI/user/wildcards" (create folder if needed)
Text file name will be the "tag" you should use to call it, and in prompt it will be used with "__(tag here)__", if you have a file called "artists.txt" you should use then "__artists__"
For more technical info, go here
GitHub - bash-j/mikey_nodes: comfy nodes from mikey - WILDCARDS
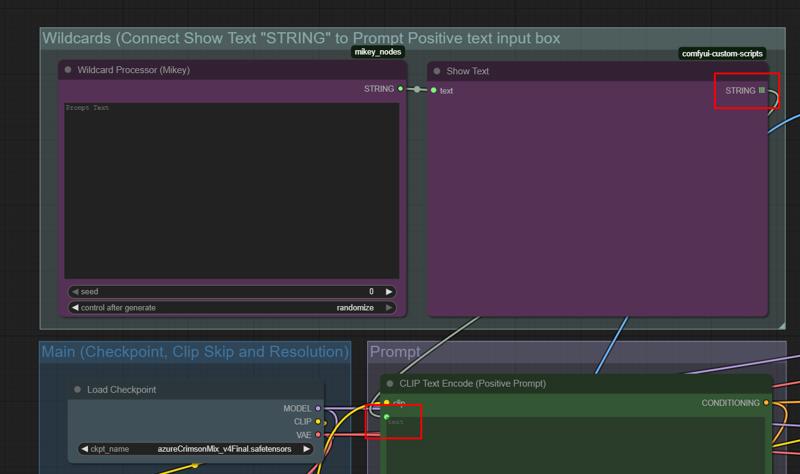 Two connect Wildcards with your prompt, just connect these 2 nodes
IMPORTANT NOTE: If you use wildcards, final image will not have prompt in their metadata, you will have to put it manually when you upload to Civitai, "Show Text" node will display the prompt with the wildcard applied
And thats everything! If you have any question you can write me a DM or ask in the comments