Sexiam - Txt2Img with Upscaler


Details
Download Files (1)
About this version
Model description
🔥 Sexiam’s SDXL Txt2Img Workflow (ComfyUI)
A simple, reliable workflow built for clean detail, strong structure, and automatic Civitai metadata detection.
If you want a workflow that “just works” — clean generations, sharp details, and all your LoRAs + prompts properly detected by Civitai — this walkthrough covers exactly how my setup runs.
V2 of the workflow added the ability to turn off the upscale by model group. In v1 the image wouldn't save.
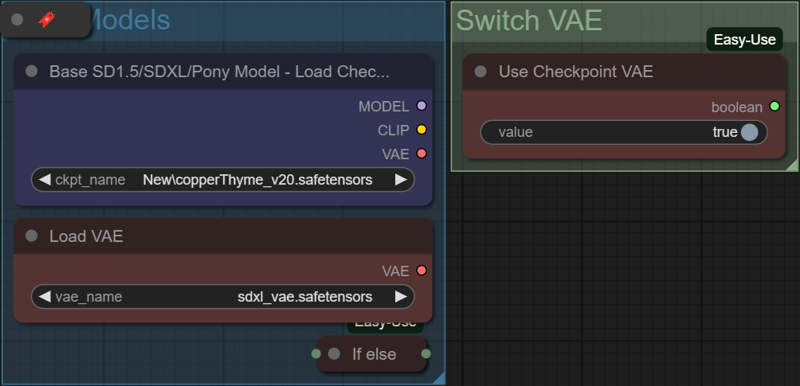
1️⃣ Load Your Checkpoint (and VAE if you want)
Start by loading your SDXL checkpoint.
If you prefer a different VAE, load it here — the toggle swaps between the checkpoint’s VAE and whatever VAE you manually provide.
This gives you full control over color, clarity, and contrast right at the start.
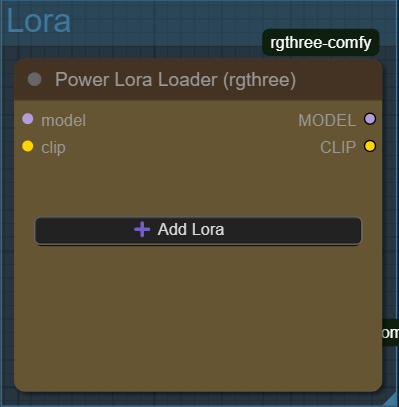
2️⃣ Add Your LoRAs
Hit Add LoRA → pick what you want.
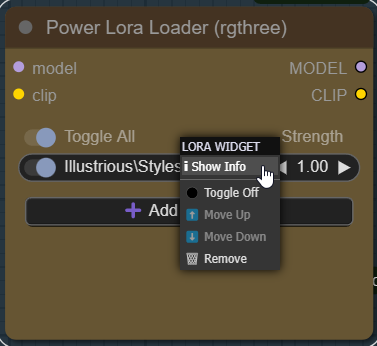
Pro move:
Right-click a LoRA → ComfyUI instantly shows its trigger words.
Copy them into your prompt and you’re already ahead of 90% of users.
3️⃣ Pick Your Image Size (Latent Space)
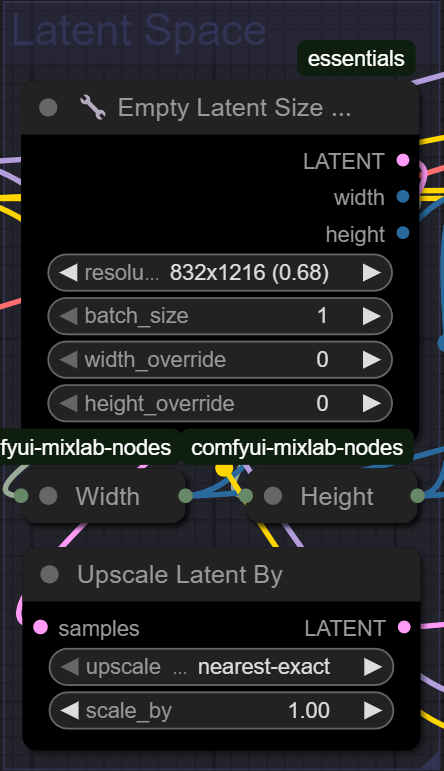
Use the Latent Size Picker to select your standard SDXL 1MP resolutions.
Want more detail in the base generation?
Add Upscale Latent By
Set the value to 1.5×
1.5× is the sweet spot.
Higher than that = more errors, weird proportions, or flat results since SDXL isn’t trained on massive latent sizes.
4️⃣ Write Your Prompts (Positive + Negative)
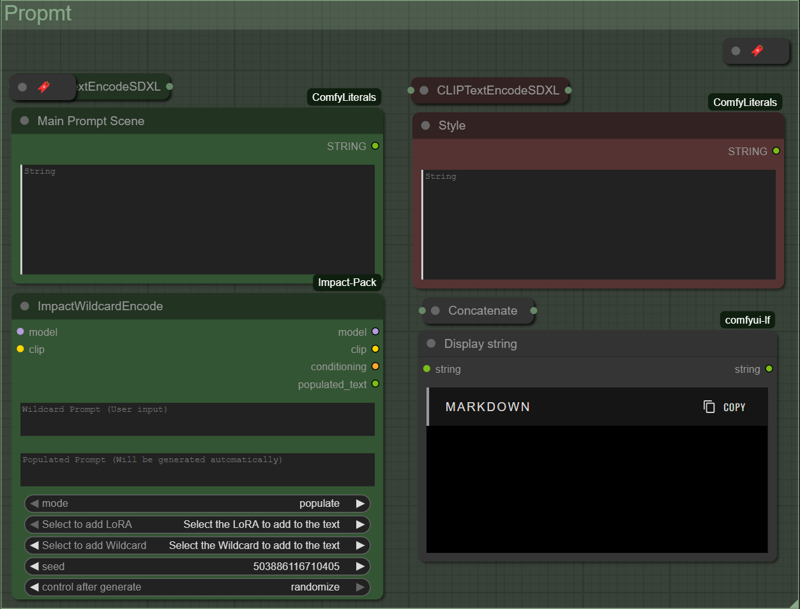
Fill out your positive and negative prompts using the green and red TextEncode nodes.
If you’re planning to post on Civitai:
👉 Use ImpactWildcardEncode
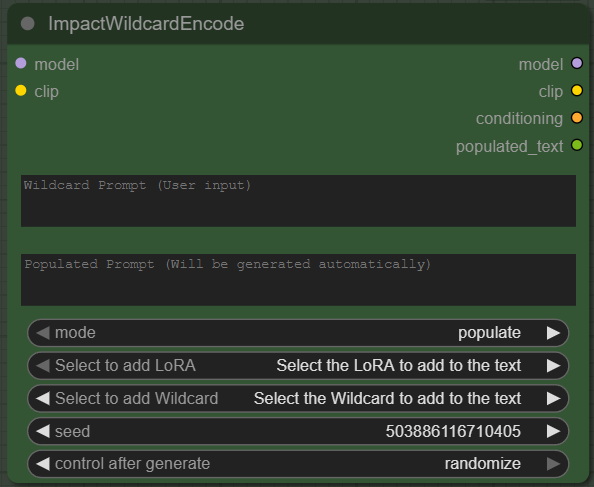
It automatically embeds LoRA filenames into your metadata so Civitai recognizes everything — model, LoRAs, sampler, steps, seed, prompts, the whole stack.
No manual cleanup needed.
5️⃣ Two-Pass KSampler System (The Core of the Workflow)
This is the heart of the setup: a clean, controlled generation pass followed by a refinement pass.

KSampler #1 — Full Generation
Denoise: 1.00
This creates your full image from noise.
Think of it as the “big picture” pass.
KSampler #2 — Refinement
Denoise: 0.45
This tightens edges, improves materials, sharpens lighting, and adds definition without overwriting the original structure.
Together, they give you consistency + clarity without overbaking your images.
6️⃣ Optional: Third Pass + Model Upscaling
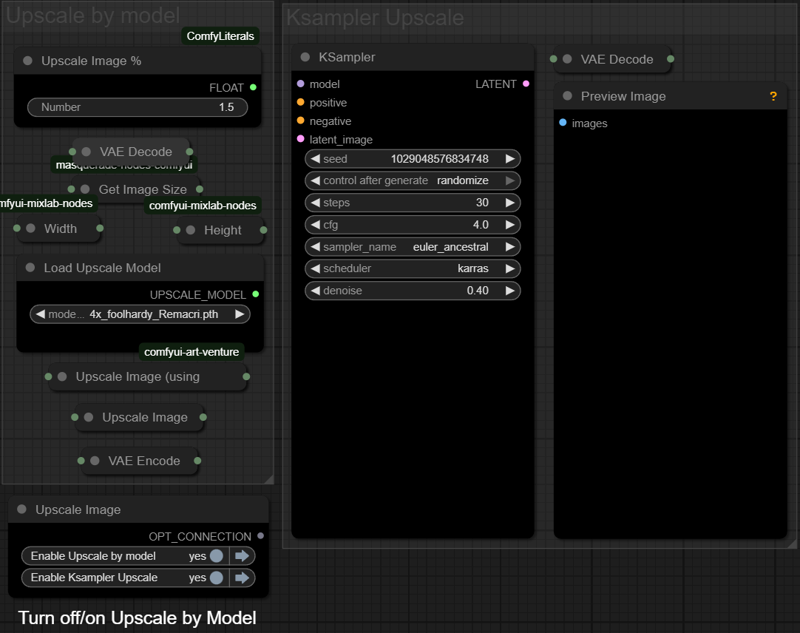
Want a print-ready or ultra-crisp final?
This workflow includes a third KSampler connected to a full Upscale By Model system:
Third sampler reprocesses the refined latent
Image Upscale With Model applies your favorite upscale model (4xRemacri, UltraSharp, etc.)
Upscale Image % sets your final dimension boost
You get clean high-res results without blowing up faces, hands, or fine textures.
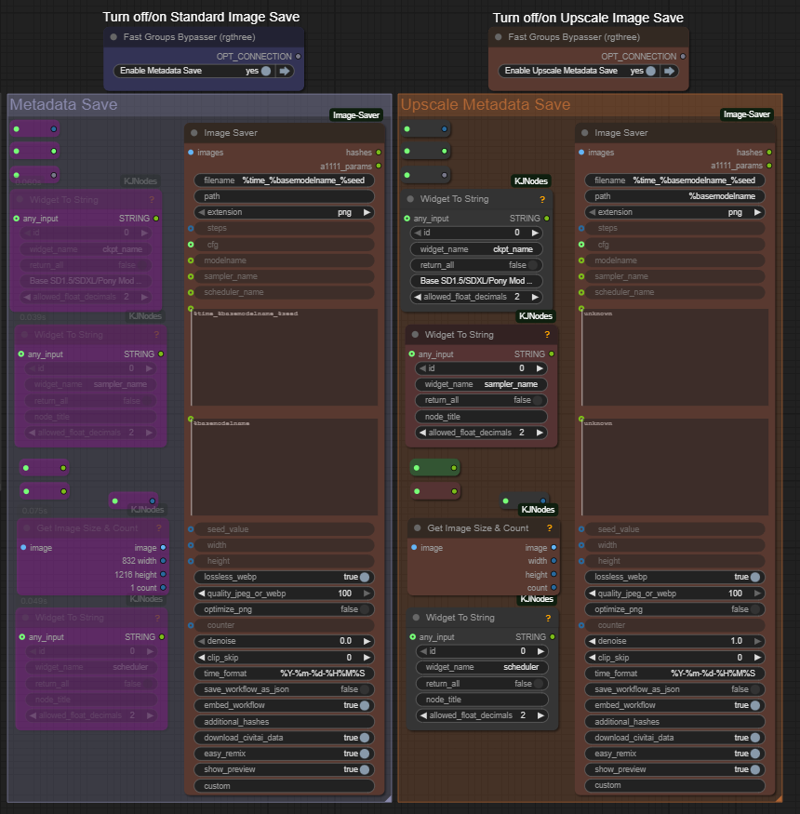
7️⃣ Final Output (Civitai-Compatible Metadata)
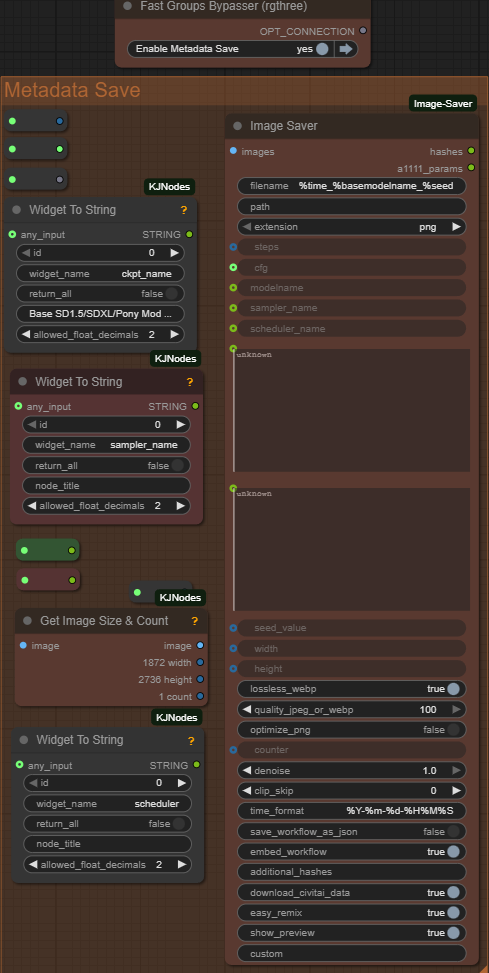
The last node handles everything automatically.
It records:
Checkpoint name
LoRAs used
Positive prompt
Negative prompt
Steps
CFG
Sampler + Scheduler
Width / Height
Seed
Upscale model
And more
Upload to Civitai and it all shows up perfectly — no missing tags, no guessing, no manual editing.