Wan 2.2 First-to-Last Frame Workflow

Details
Download Files (1)
Model description
Want to try this workflow instantly? This Wan 2.1 First-to-Last Frame workflow is pre-configured and ready to run on SeaArt for those who want to skip the setup.
Note: This is a direct link to a hosted version of the workflow. It's a great option if you don't want to manually download and set up the models and LoRAs locally.
Stop guessing how your AI video will end. Start defining it.
One of the biggest challenges in AI video generation is control. You often have a great starting image, but the video drifts into chaos by the final frame. What if you could pin down both the Start and the End, and let the AI fill in the journey between them?
That is exactly what the Wan 2.2 First-to-Last Frame workflow achieves. Using the power of Wan 2.2’s 14B parameter model combined with "Lightning" speed optimizations, this ComfyUI workflow allows you to morph character poses, change lighting, or transition between entirely different scenes with professional consistency.
Why Use This Workflow?
Based on our testing and results, this workflow solves three major pain points:
Precision Control: It doesn't just animate forward; it interpolates between two specific images you provide.
High-Speed Quality: It utilizes Wan 2.2 Lightning LoRAs, significantly cutting down render times without sacrificing the detail of the 14B model.
Silky Smooth Playback: It includes a built-in RIFE VFI (Video Frame Interpolation) system that smooths the raw output into fluid 32 FPS video automatically.
Step-by-Step Guide: How It Works
Here is a breakdown of the workflow’s logic, so you can start creating immediately.
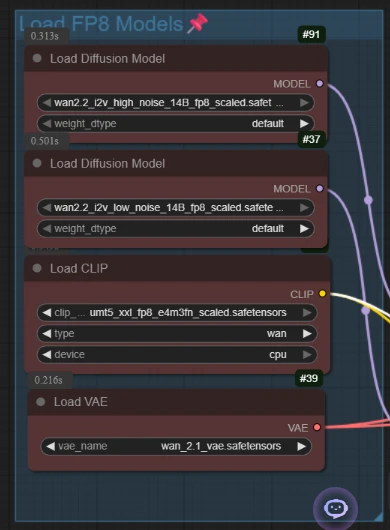
1. The Setup: High-Performance Models
The workflow begins by loading the heavy hitters: the Wan 2.2 14B diffusion models (split into High and Low noise versions) and the T5 encoder.
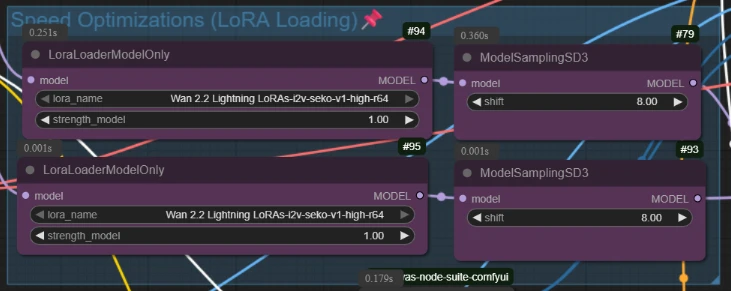
Pro Tip: This setup uses "Lightning LoRAs" set to strength 1.0. This is the secret sauce that makes generation fast enough for rapid experimentation.
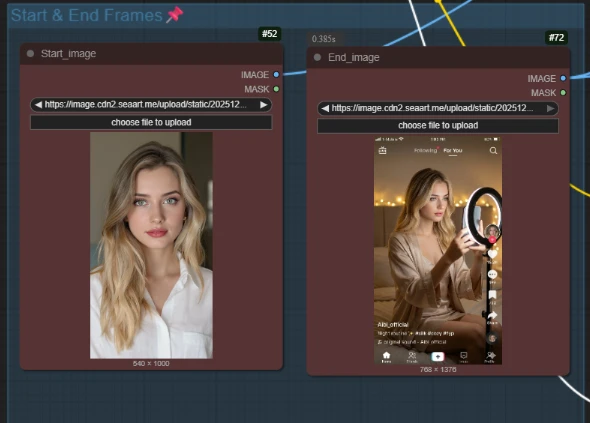
2. Define Your Narrative (Start & End)
This is where the magic happens. You don't just upload one image; you upload two:
Start Image: Your initial scene (e.g., a girl in a white shirt).
End Image: Your target destination (e.g., the same girl holding a phone in a TikTok lighting setup).
The workflow uses a specialized node, WanFirstLastFrameToVideo, to calculate the latent path between these two distinct visuals.
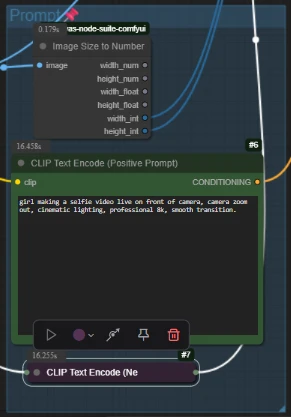
3. Text Guiding
You guide the transition with a simple text prompt.
Positive Prompt: Describe the action taking place (e.g., "girl making a selfie video... camera zoom out").
Negative Prompt: Standard quality filters to prevent blur or distortion.
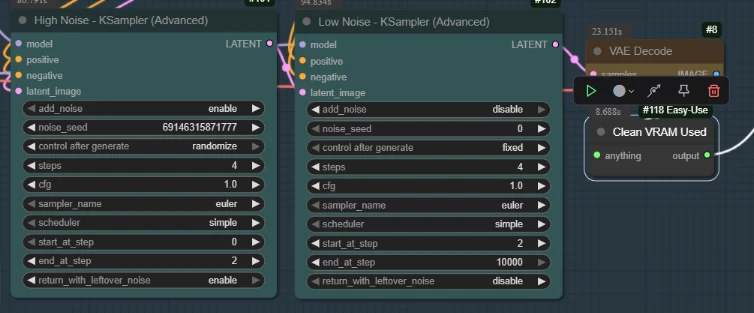
4. The "Dual-Sampler" Engine
Unlike basic workflows, this uses a smart Two-Stage Sampling process:
High Noise Sampler (Steps 0–2): Establishes the major structural changes.
Low Noise Sampler (Steps 2–End): Refines the details and textures to ensure the final image looks crisp.
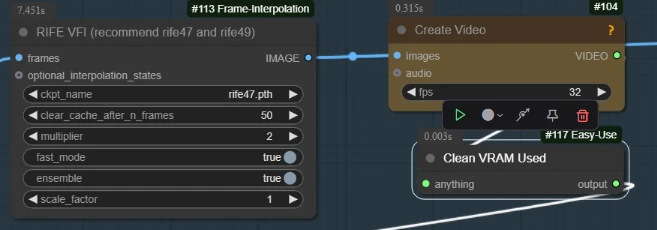
5. Final Polish (RIFE Interpolation)
The raw output might only have 14-16 frames. The workflow automatically passes this through a RIFE VFI node with a multiplier of 2.
Result: A choppy low-frame animation is instantly smoothed out into a fluid, professional video file.
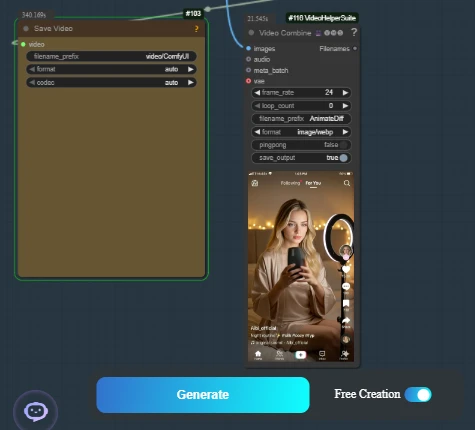
The Results
The result is a coherent, logical transition. In our example video, we see a seamless morph from a standard portrait to a dynamic social media recording scene. The character's identity remains consistent, but the lighting, pose, and background shift perfectly to match the "End Frame" target.
Get Started Now
Ready to take full control of your AI video generation? This Ai App is pre-packaged and ready to run.