my samus instaNGP workflow
Details
Download Files
About this version
Model description
for some reason im struggling with uploading context images of this so im just not going to try anymore. either they are getting deleted or not visible to viewers and i am not being given any reason for them so i can fix it, so im not trying anymore
If you decide to do this please upload a gif in the comments, this is something new i tried and want to see what people can do with it.
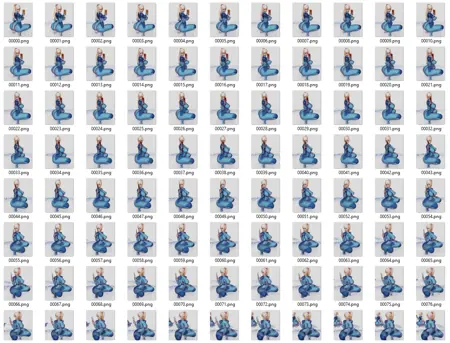
there seems to be a confusion here, so to make it clear the body painted version images are not generated they are the base photogrammetry images i origenally used in instaNGP to generate the transform.json
Also
NVIDIA's instaNGP also known as NeRF is a neural photogrammetry application instantly generates a 3D dense point cloud from 50-160 images, which typically takes 300-500 images to produce a satisfactory result in 30 minutes to 1 hour. I just edited the photogrammetry images using controlnet.
The download contains the instaNGP folders with the transforms.json files for both datasets, the samus bodypaint and sanus nude (both transforms.json are exactly the same)
Processed bodypaint images using instaNGP.
Copied the transforms.json file from the bodypaint folder to a new folder.
Used the controlnet m2m (it only supports mp4 videos) script for openpose, normal, depth controlnet, and generated text2image instead of image2image.
Placed the generated images in the images folder of the new folder.
I'm using the transforms.json file from a pre-calculated dataset on a new dataset with the same dimensions. The transforms.json file contains the calculated camera locations and extracted features of the provided dataset. If the new dataset has images with the same dimensions as the original dataset, using the transforms.json file will allow the same model to be built with the new images.
Although there were some unusual images, I think instaNGP disregards the pixels that do not match up and utilizes the matching portions, so I decided to keep them.
Tutorial for control net
1 . convert your base photogrammetry images into a mp4 video
2 . setting the prompt
3 . set width and height the same as your video
4 . set control model - 0 as open pose (leave the image empty)
5 . set control model - 1 as normal_map (leave the image empty)
6 . set control model - 2 as depth (leave the image empty)
7 . select the controlnet m2m script from the script section (you should have it if you have controlnet) and put your mp4 video in ControlNet-0
8 . put the same mp4 video in ControlNet-1
9 . put the same mp4 video in ControlNet-2
10 . click generate and you video frames will start processing WARNING make sure you are absolutely ready to start because after starting it is very hard to stop.
11 . after all frames are generated rename the generated images to match the origenal photogrammetry images using a programme called "advanced renamer"
12 . copy the images in the images folder in the newfolder refered in the main bullet points