A simple workflow - HiRes Fix + Various Detailer


詳細
ファイルをダウンロード
モデル説明
英語が下手!英語が苦手な方へ警告!
基本的なテキストから画像へのワークフローについては、バージョン1.0をご覧ください。後続の二つのバージョンは、個人の好みに基づいてカスタマイズされています。
1.0は比較的シンプルなテキスト生成画像用ワークフローです。その後のバージョンは、個人的なアイデアの共有です。
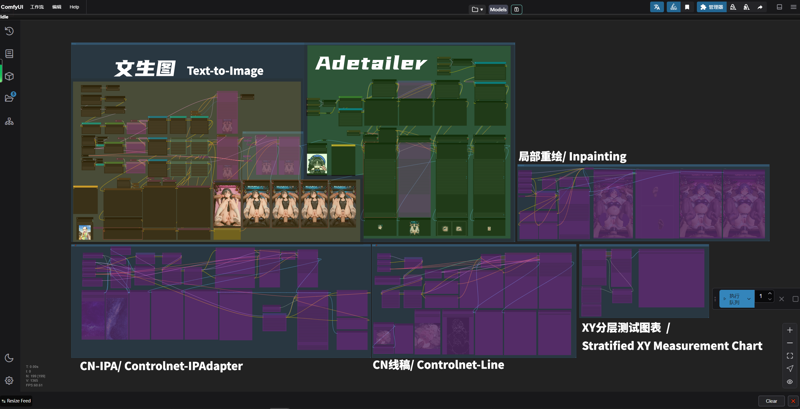
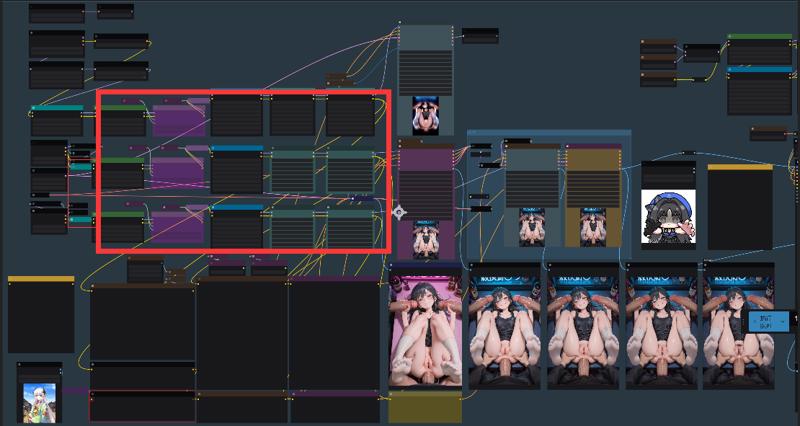
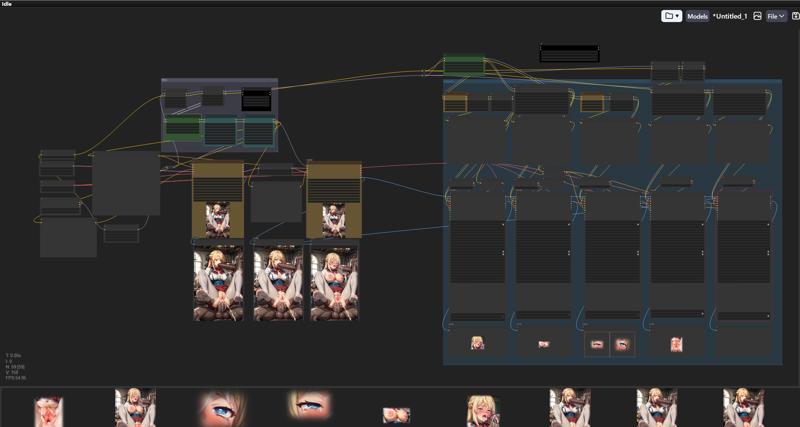
2.01-個人の好みワークフローの共有
 まあ、複雑に見えるかもしれません。以前誰かが「どうやってるの?」と聞いてきたので、整理して公開しました。単に私のアイデアをシェアしているだけと思ってください。
Alright, I know this doesn't appear to be simple – please regard it as me sharing a conceptual approach.
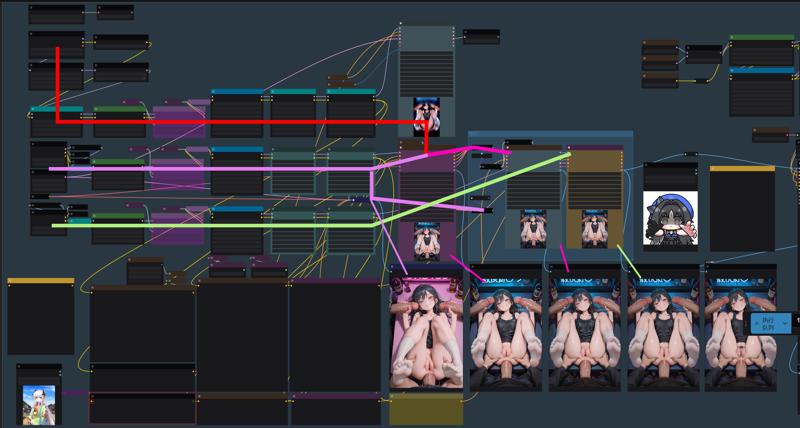 今は3つのモデルを使って画像を生成しています。Noob-vで初期予測、次にMiaoMiao haremに引き継ぎ、アップスケール後、NTRで最終調整して出力します。手順は上記の通りです。理由としては、Noob-vが照明と陰影のコントロールが優れていること、MiaoMiaoが肢体(脚)の描写が秀逸であること、そしてNTRが衣装や表情の質感に優れているからです。これは純粋に私の個人的な見解です。
Currently I generate images using three models: Noob-v for initial prediction, relay to MiaoMiao harem, then re-generate with NTR after upscaling. Process flow as above. This is because Noob-v excels in lighting/shading control, MiaoMiao produces superior limb structures, and I prefer NTR's clothing/facial texture rendering - purely subjective perspective.
 単一モデル生成→二モデル連携 1model→2model
私は画像生成に多くのLoRAを使っています。これには3つのモデルが関与しているので、LoRAがたくさん見えるかもしれませんが、皆さんが必要とするのはそれほど多くないかもしれません。全部削除しても問題ありません。
I use numerous LoRAs for image generation, and since this is a three-model workflow, the LoRA list appears extensive. But you probably don't need this many - so it's perfectly fine to remove them all.
 -
-
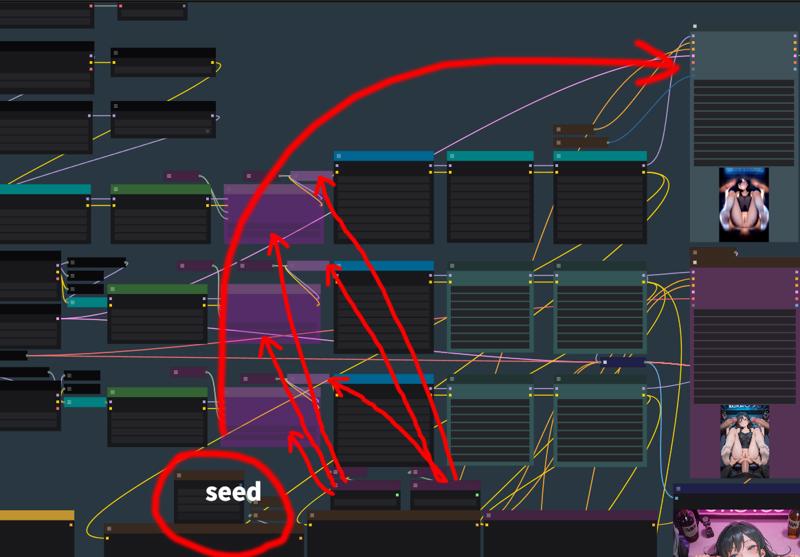
生成ステップを細かく分けることで、画像生成の途中でタグやLoRAを個別に調整できるようになり、私はこの方法が好きです。
The multi-step generation process, similar to image-to-image workflows where you can adjust tags and LoRAs mid-process, is what I personally prefer.

 はい、私は脚と靴下のためにやっているのです ///
2.0
ComfyUIをしばらく使っていますが、確かにWeibuより使いやすいと感じました。今回はふとしたアイデアで新しいアップスケール方法を試してみたので、そのワークフローを共有します。
I have been using Comfyui for a while and I feel it is indeed easier to use than Weibu.
This time, I came up with a new amplification method on a whim. I thought it was quite interesting, so I would like to share the workflow.

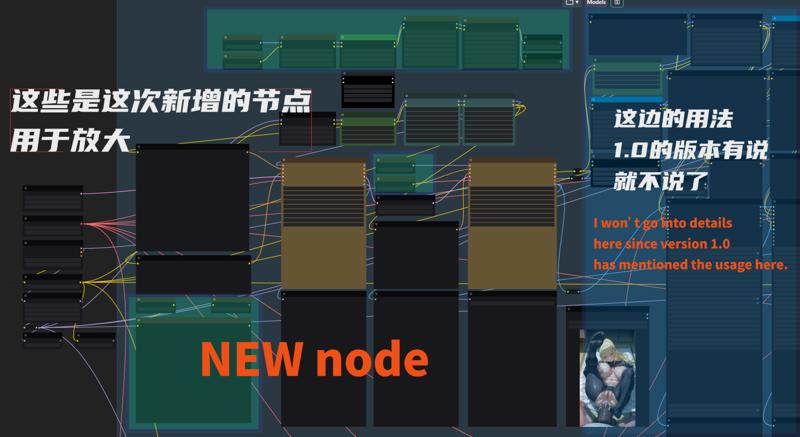
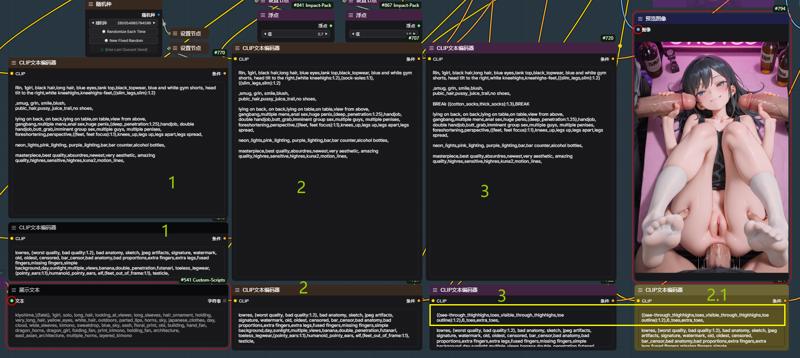
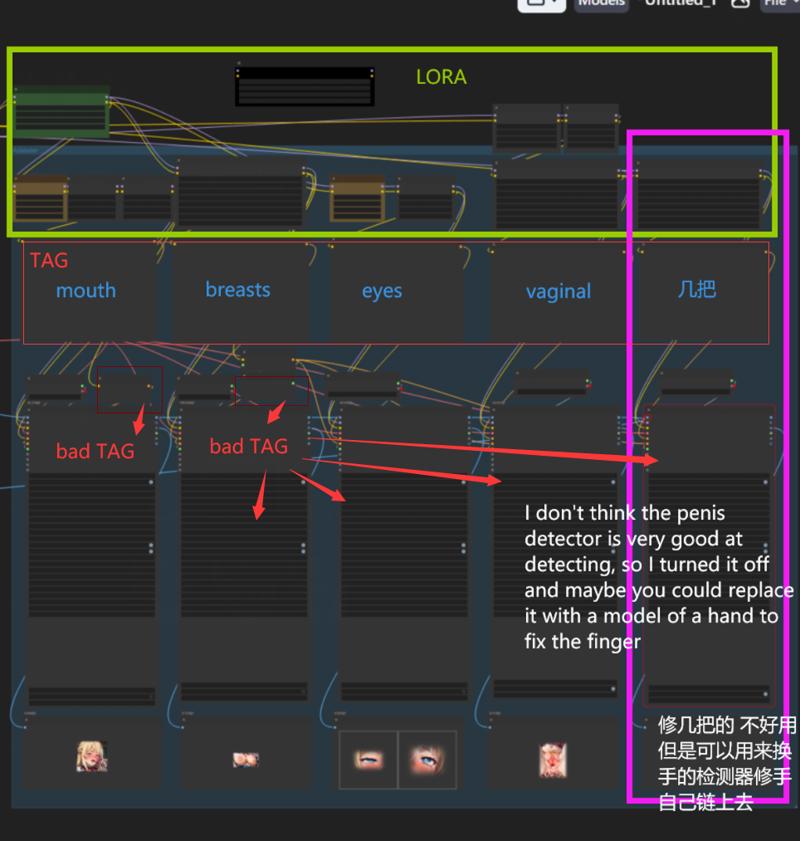
最下右のノードは、二次アップスケール用の正面タグです。Weibuの画像生成と同様に、自由にカスタマイズできます。上部は、ベースモデルと連結した二次アップスケール用のLoRAです。
The one in the lower right corner is the front tag for secondary enlargement. You can modify it by yourself, just like Weibu img2img-images. The top one is the lora connected in series with the base model for secondary enlargement.
再生成やControlNetについては、説明は省きます。長くなるので…でも、この図を見れば大体わかると思いますよね… QAQ
I won’t go into details about redrawing and controlnet. It’s too troublesome to talk about.
But I think you can understand it here... QAQ
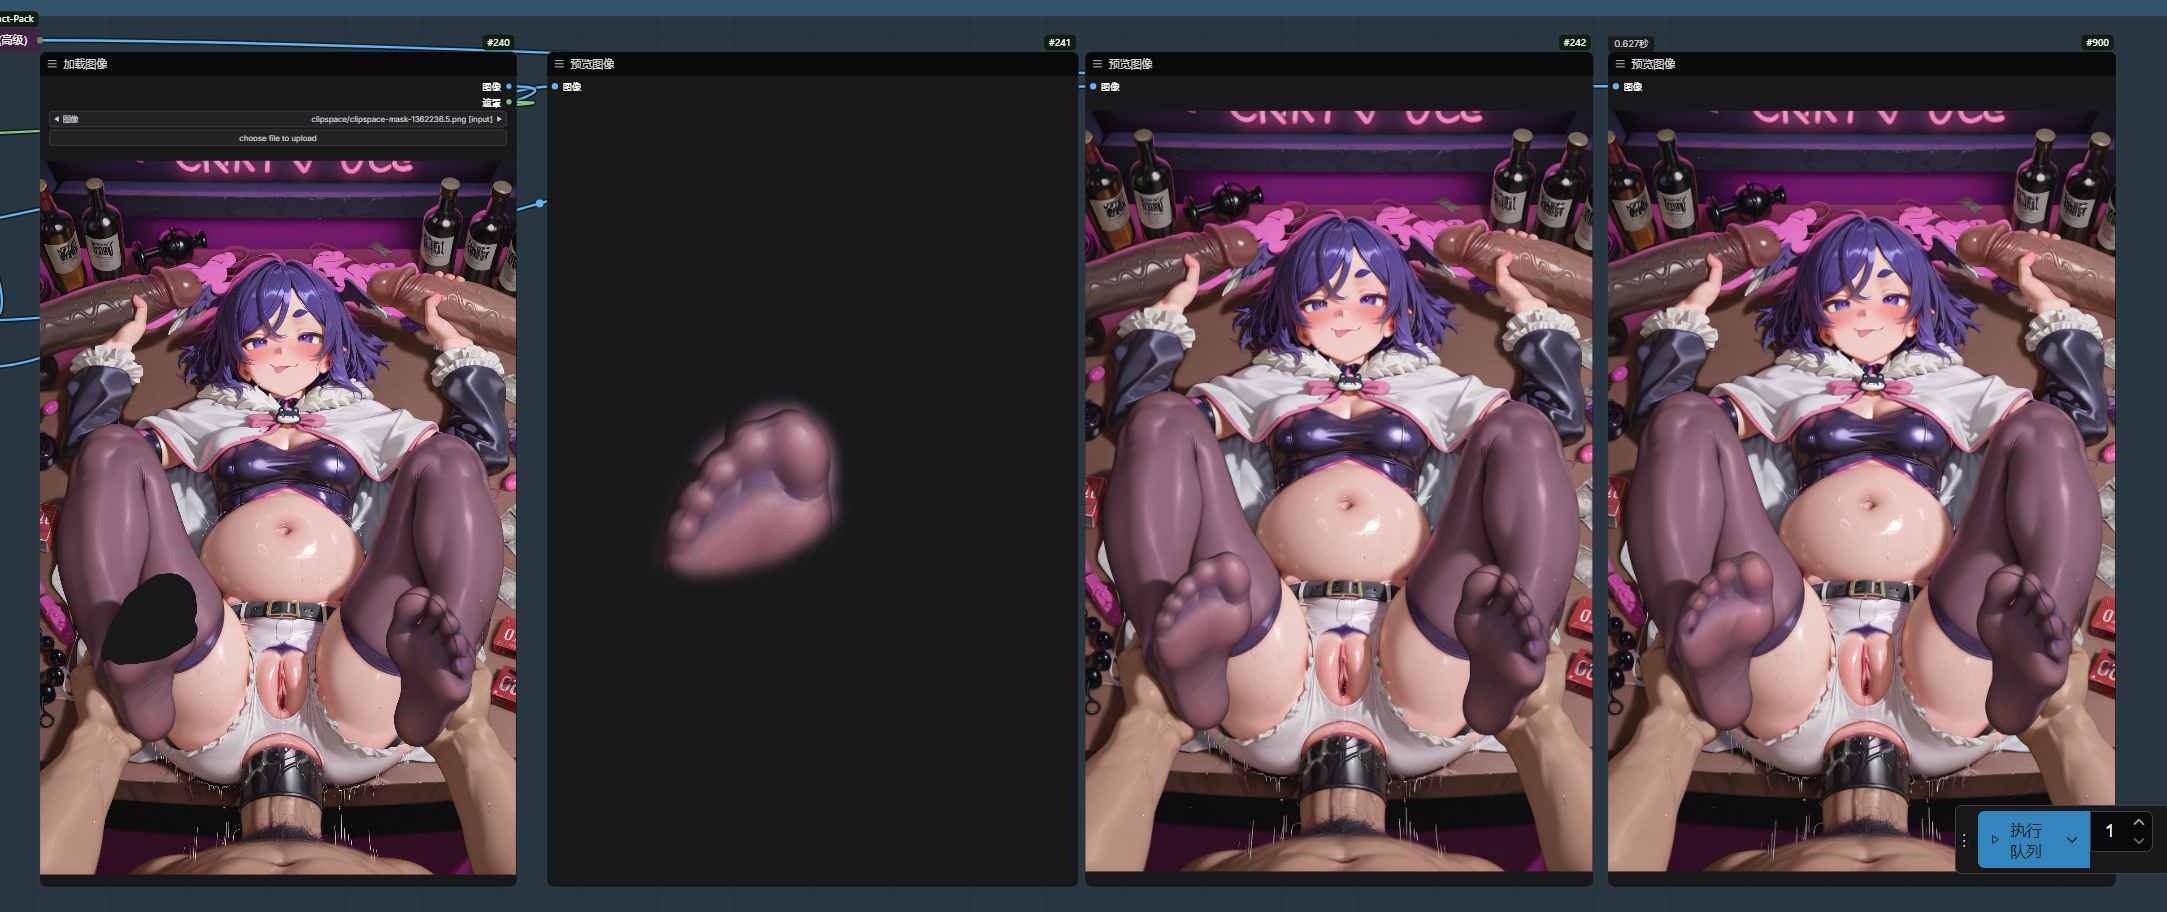
今回、画像生成中にイライラしてしまったので、このワークフローを思いつきました。
very angry !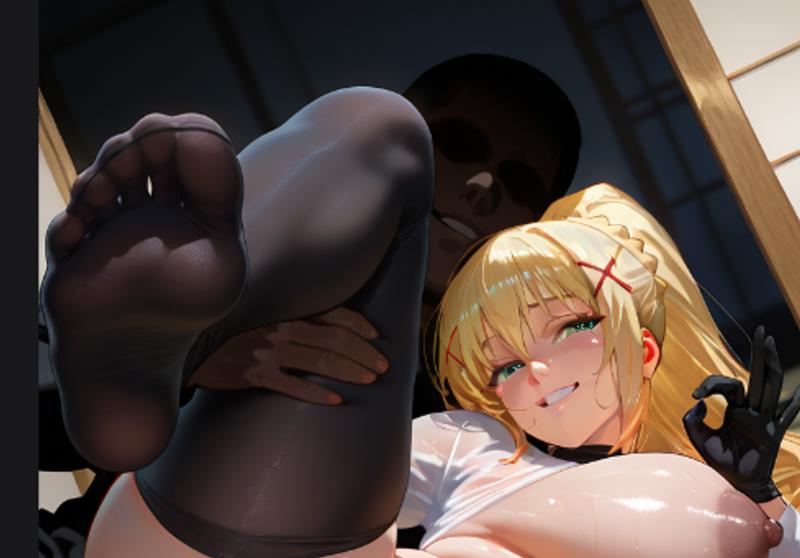

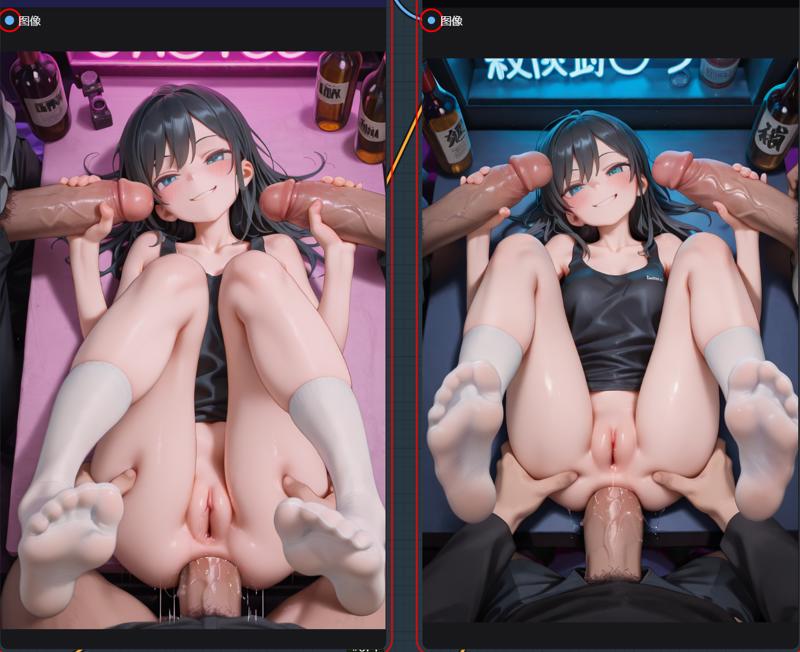
なんで!?元の画像の足は綺麗なのに、拡大したら台無しになるの!?画師タグやLoRAが一定程度汚染されているのは分かっていたので、解決策を考えてみました。
feet good feet bad, unhappy,I knew that my artist tag and lora were contaminated to a certain extent, so I thought of a way to solve it.
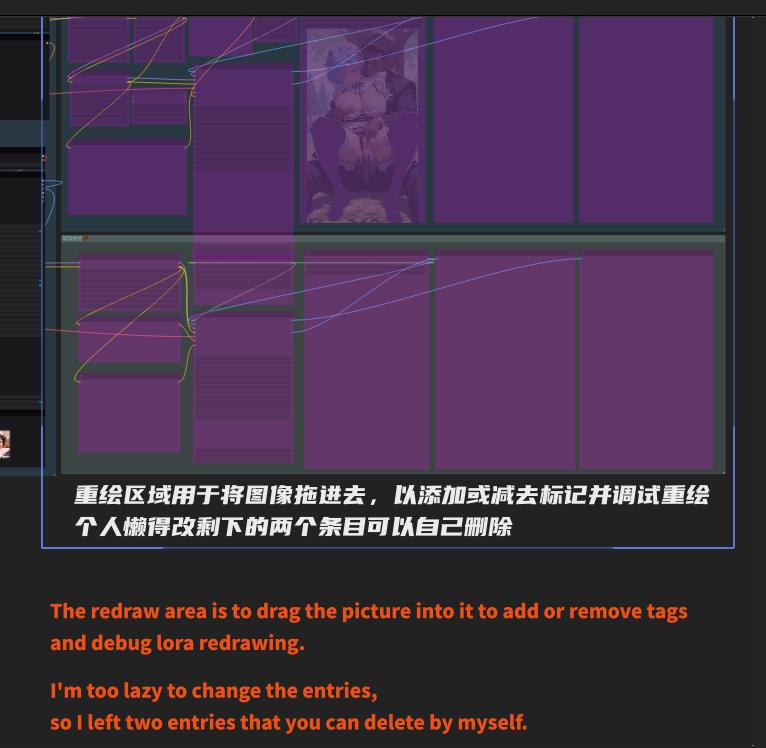
Weibuの画像生成と同様に、まずベース画像を用意し、その後の画像生成でタグやLoRAの追加・削除を行い、スタイルや細部を調整できます。
Similar to Weibu's img2img-images, you first give a base map, and then you can add or subtract tags and loras to control the style and details of the drawing.
 これはTRTスタイルを使用していない女性の体です。This is girl body without trt style
簡単な例として、TRTスタイルの人体が欲しくても、少し油っぽすぎるなと思った場合、この方法で高精細拡大時に他のスタイルのLoRAでスタイルを置き換えることができます。
A simple example: I want a trt style human body but I think it is a bit oily. I can use this method to change the style with other style lora when zooming in in high definition.
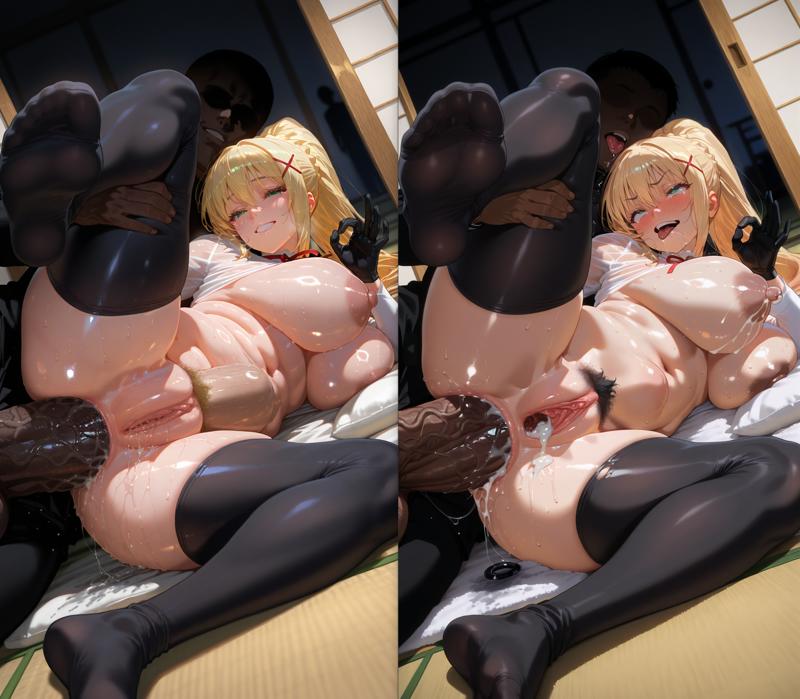
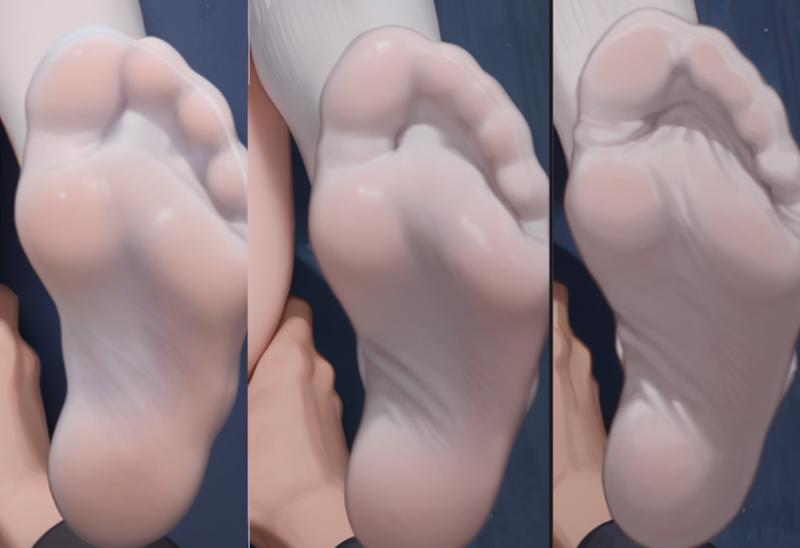
足の先の質感が改善されたのが分かります…。画師タグを一部削除し、別のスタイルLoRAに変更したからです。
You can see that the toe effect has improved... because I removed some artist tags and changed to other styles lora
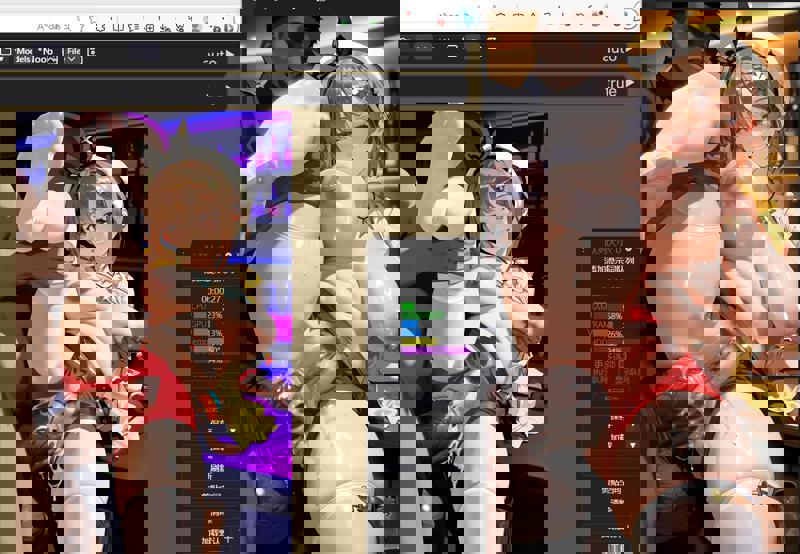
また、元のLoRAのスタイルが強すぎて、拡大後の品質が悪化するケースもあります。
There is also this kind of original lora that is too stylized, resulting in poor effect after enlargement.
単に新しい二次拡大ノードでキャラクターLoRAの強度を下げ、別のスタイルLoRAに置き換えただけです。
Just simply lower the intensity of the character lora in the newly created secondary amplification node and change the style lora
えっと…そして右端のものは、darknessタグをEllen Joeのトリガータグに置き換えるのを忘れました。でも、意外と綺麗に仕上がりました。
emmm...and on the far right, I forgot to replace the darkness tag with Ellen Joe's trigger tag, but it's pretty cool too.
だから、この拡大方法の利点や適用場所が理解していただけると思います。
So I think you you and you should be able to understand the benefits of this amplification and where it is applied.
私のワークフローは、シンプルにエロい画像を生むことだけが目的です。はい、それで終わりです。
My workflow just wants to create simple sex pictures, that's it
------------------------------------------------------------------------------------------------------
1.0
最近ComfyUIを学び始めました。ときどき、非常にシンプルな機能が欲しくなるのですが、サイトにアップロードされている他の人のワークフローは、初心者には複雑すぎたり、私のニーズに合わなかったりしたため、このワークフローを作成しました。
単純にテキストから画像を生成し、拡大してエロいものをつくりたいだけです!
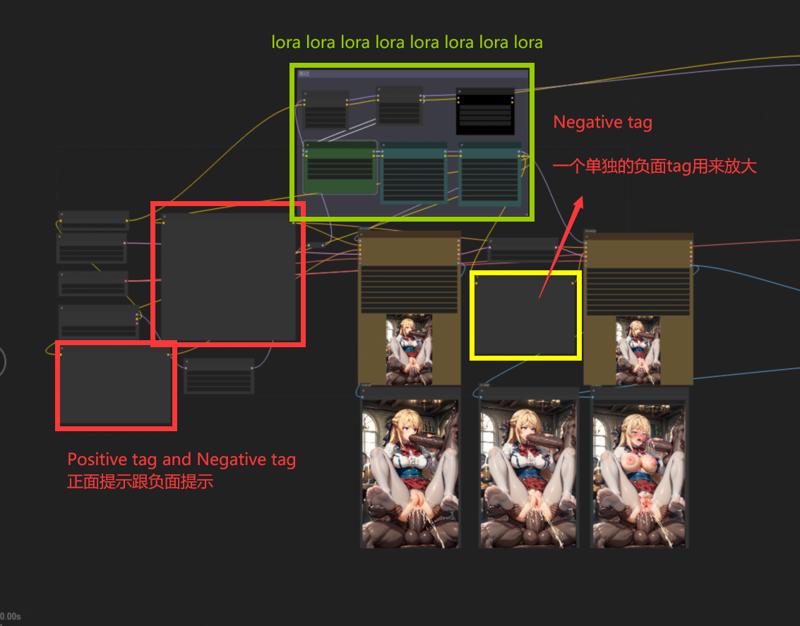 拡大用に別途ネガティブタグを使用しています
拡大も単独のタグだけで十分に効果が出ます ((((((((BAD FOOT)))))))) はい…そうですね…
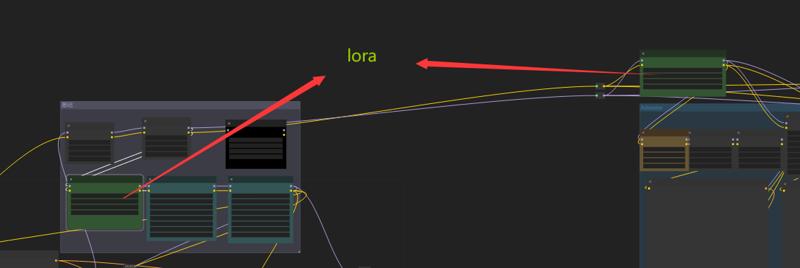
私は複数のLoRAを使うのが好きですが、皆さんはそれほど必要ないかもしれません。緑の部分は自由に削除してください。
lora用が多い場合は削除してもOK。削除したら、接続を再確認してください。
これらの二つのLoRAはキャラクター制御用です。
这两个放角色
このワークフローが気に入った方は、画像をアップロードして教えてください。
/////
参考ワークフロー
/model/364333/comfyui-face-eyes-and-lips-adetailer-flow-tutorial