Tutu's Photo Deception/图图的照骗/チュチュの写真の偽り

详情
下载文件 (1)
关于此版本
模型描述
Created with Tutu AI Workflow
Built and maintained with the Tutu AI workflow.
This checkpoint is part of my long-term model-building work. Tutu Trainer is used for model training, resource management, parameter organization, and repeatable training checks. Tutu Annotator is used for dataset annotation, prompt reverse engineering, English-friendly tags, and cleaner searchable captions.
For a realistic checkpoint, the workflow matters even more than for a small LoRA. The final model is shaped by material selection, caption quality, fusion decisions, comparison tests, and the taste of the person choosing which version is actually worth publishing.

- Official website: https://zhaotutu.xyz/
- Tutu Trainer: https://zhaotutu.xyz/downloads/tututrainer/
- Tutu Annotator: https://zhaotutu.xyz/downloads/tutuannotator/
- Bilibili: https://space.bilibili.com/431046154
- YouTube: https://www.youtube.com/@zhaotutu/videos
- Telegram: https://t.me/zhaotutu
- TikTok: https://www.tiktok.com/@zhaotututu
- Reddit: https://www.reddit.com/user/zhaotututu/
- GitHub: https://github.com/zhaotututu
- Email: [email protected]
- QQ: 331506796
Tutu's Photo Deception
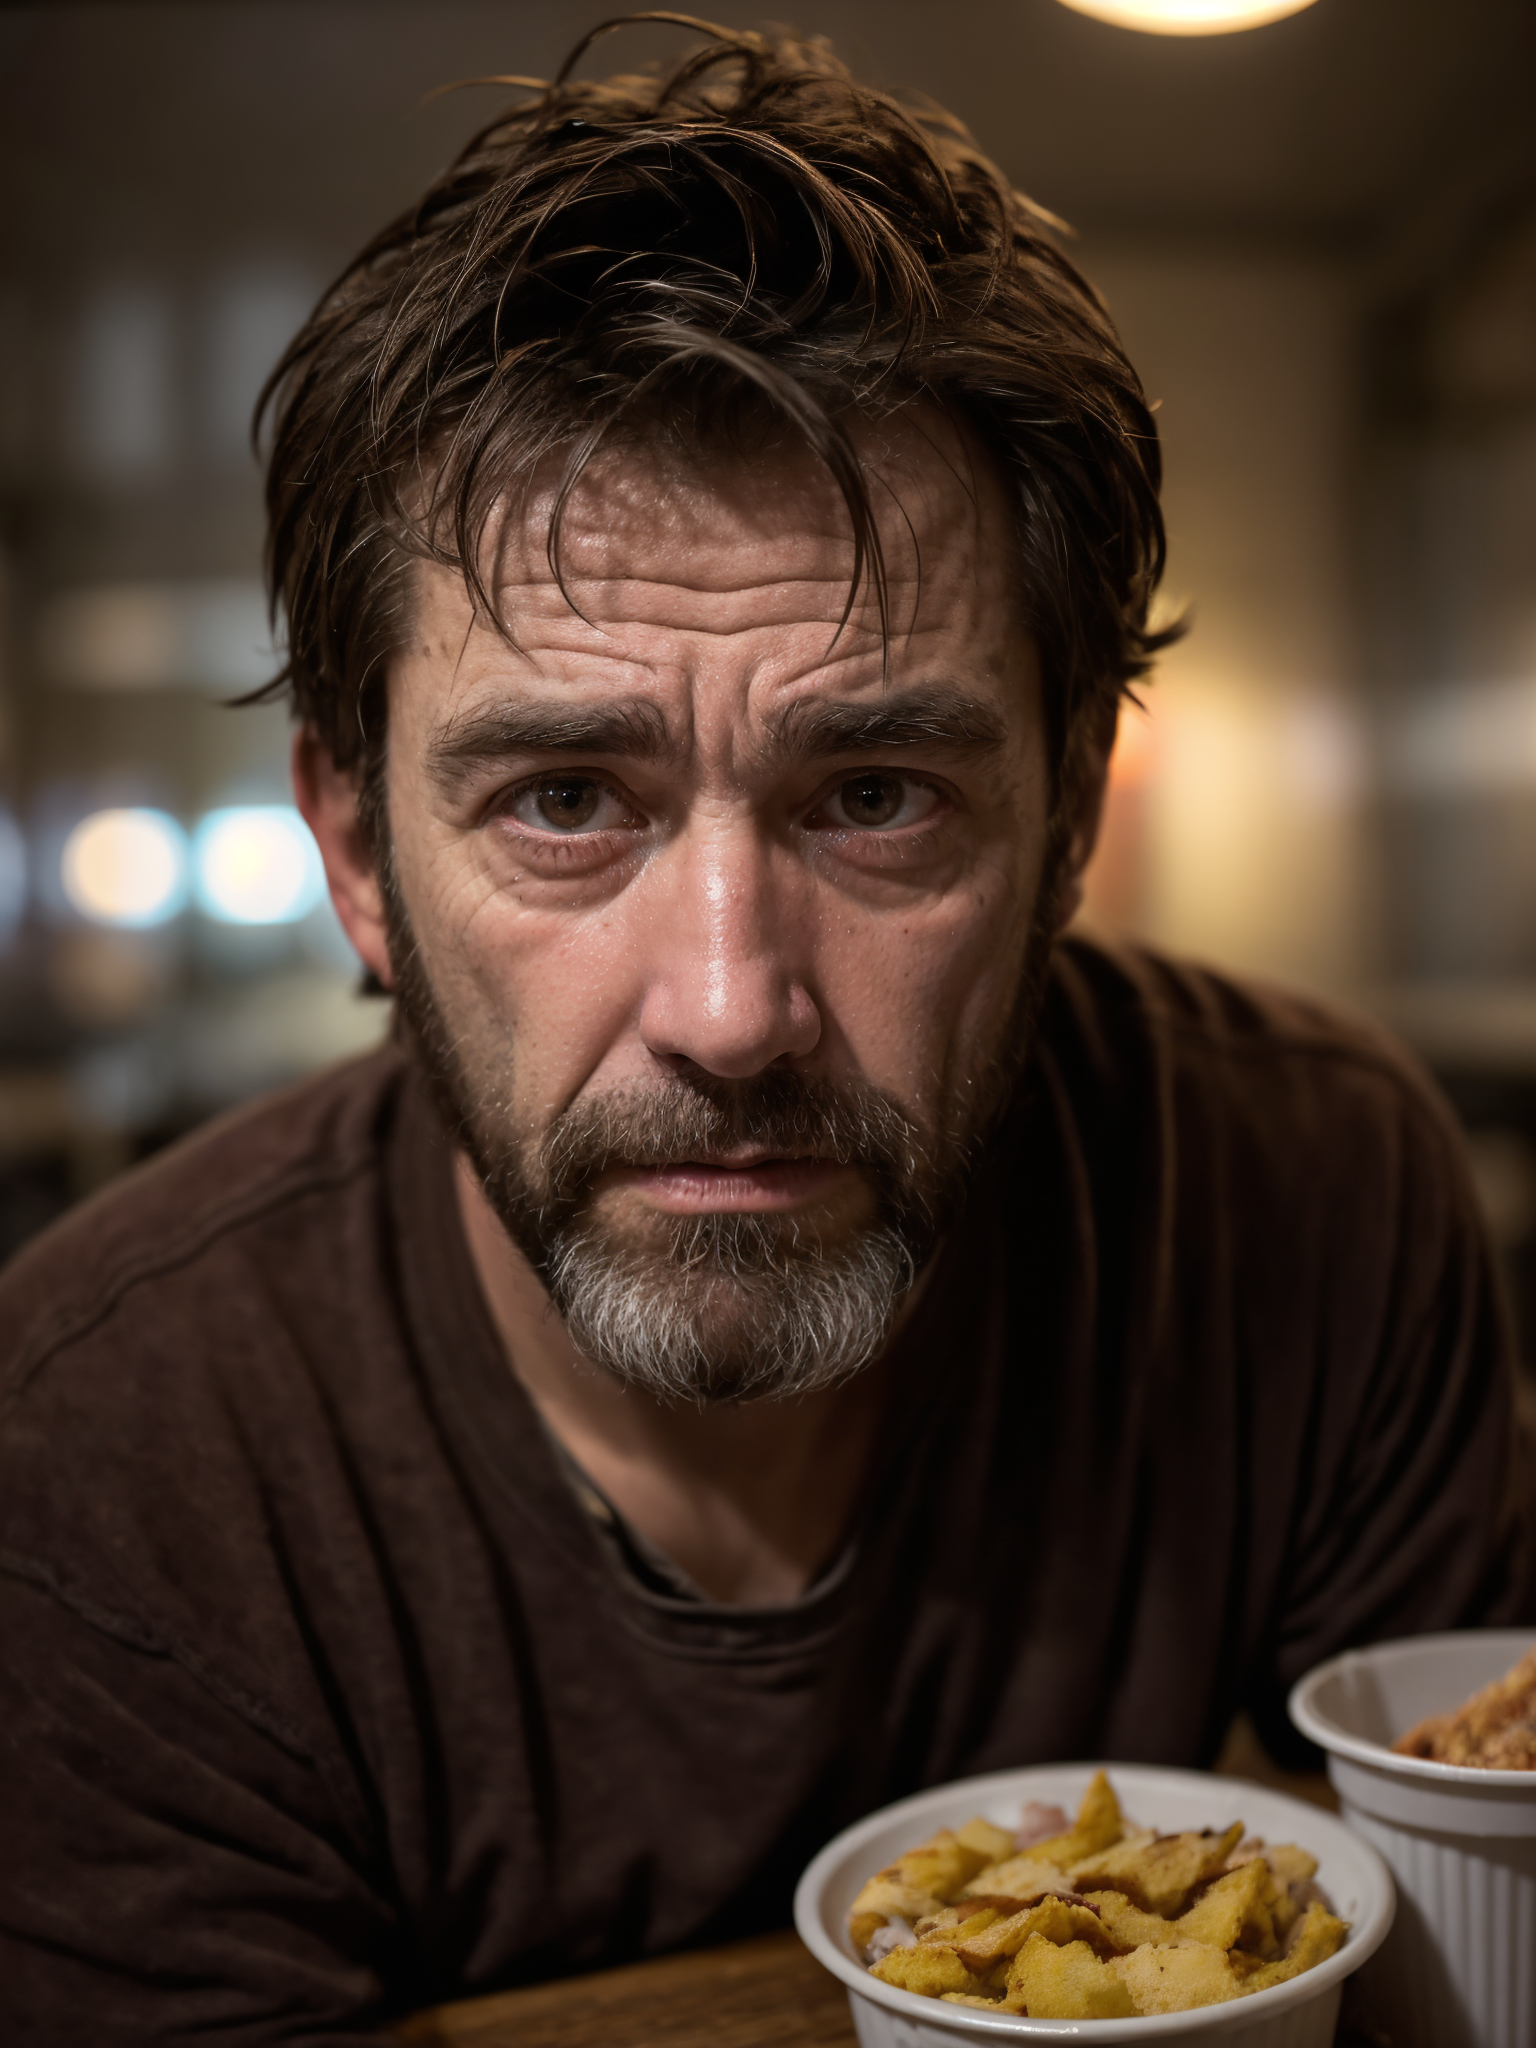
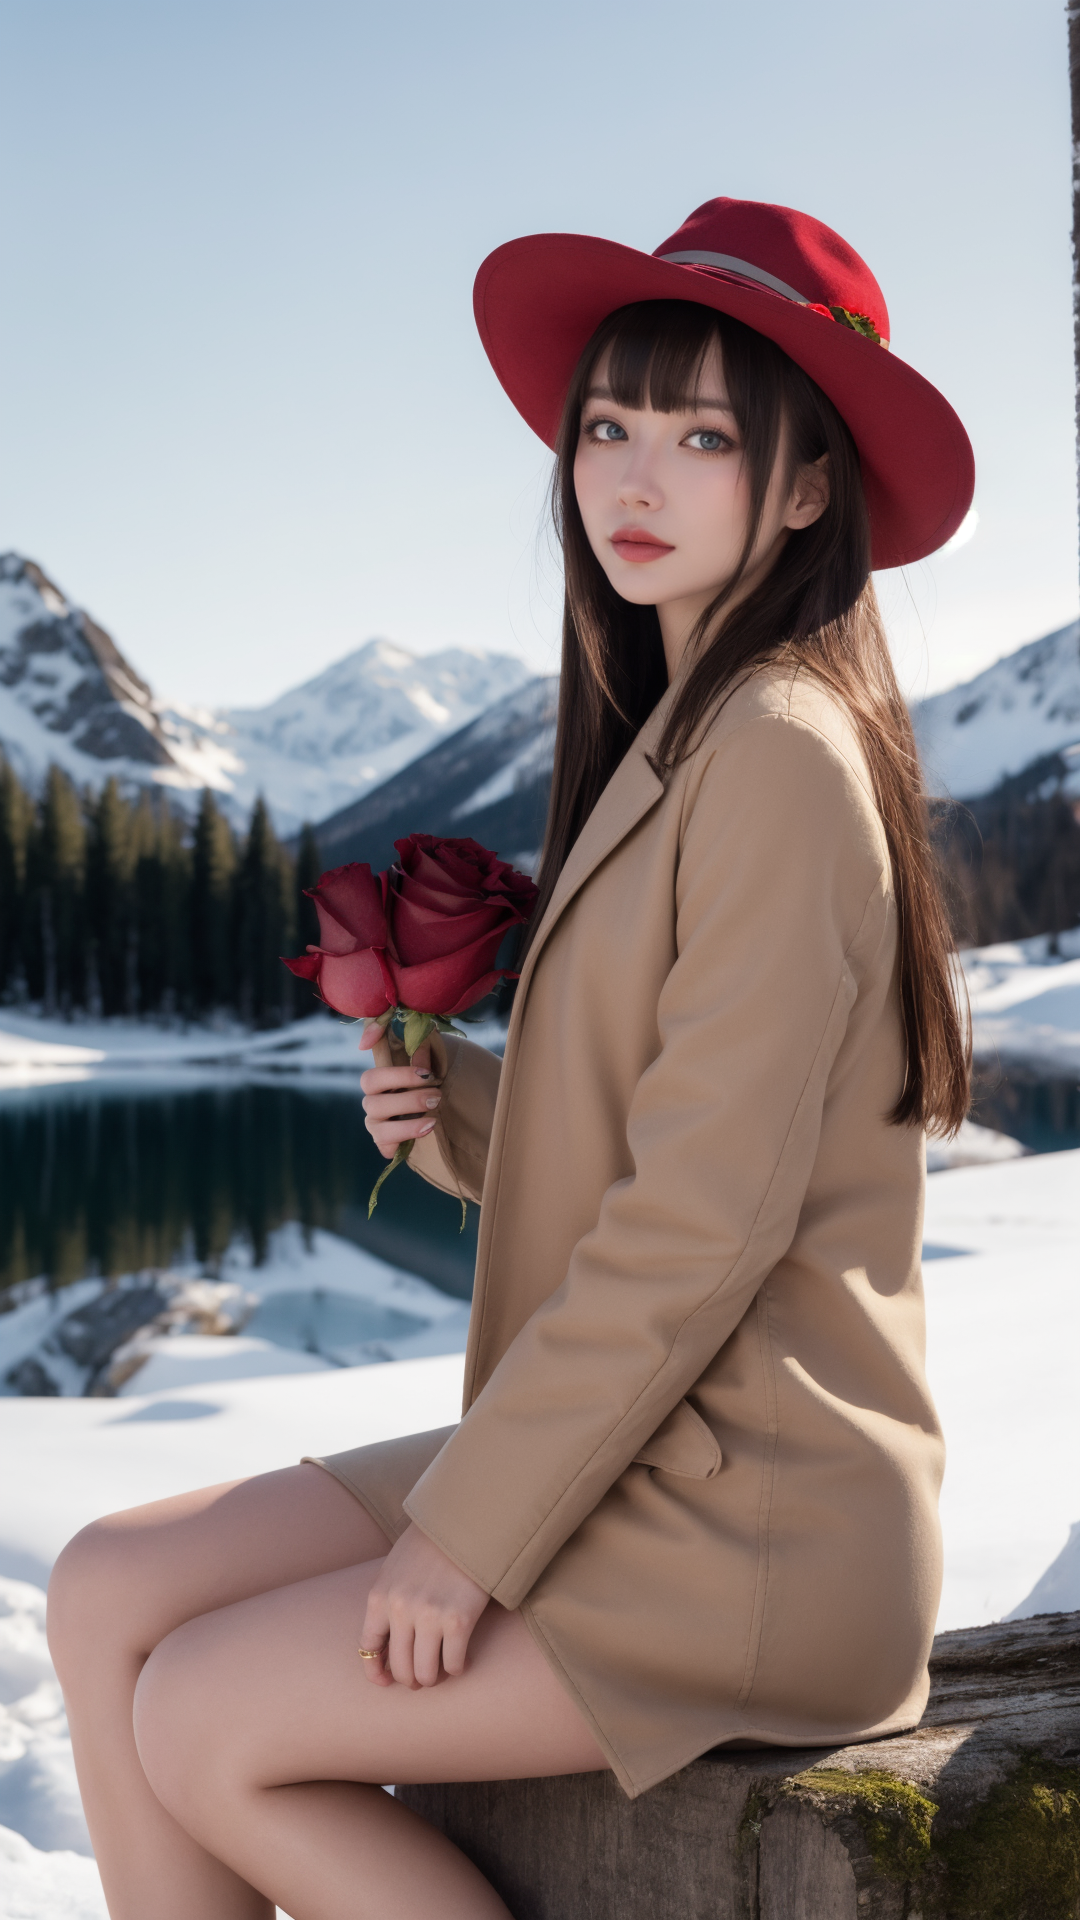
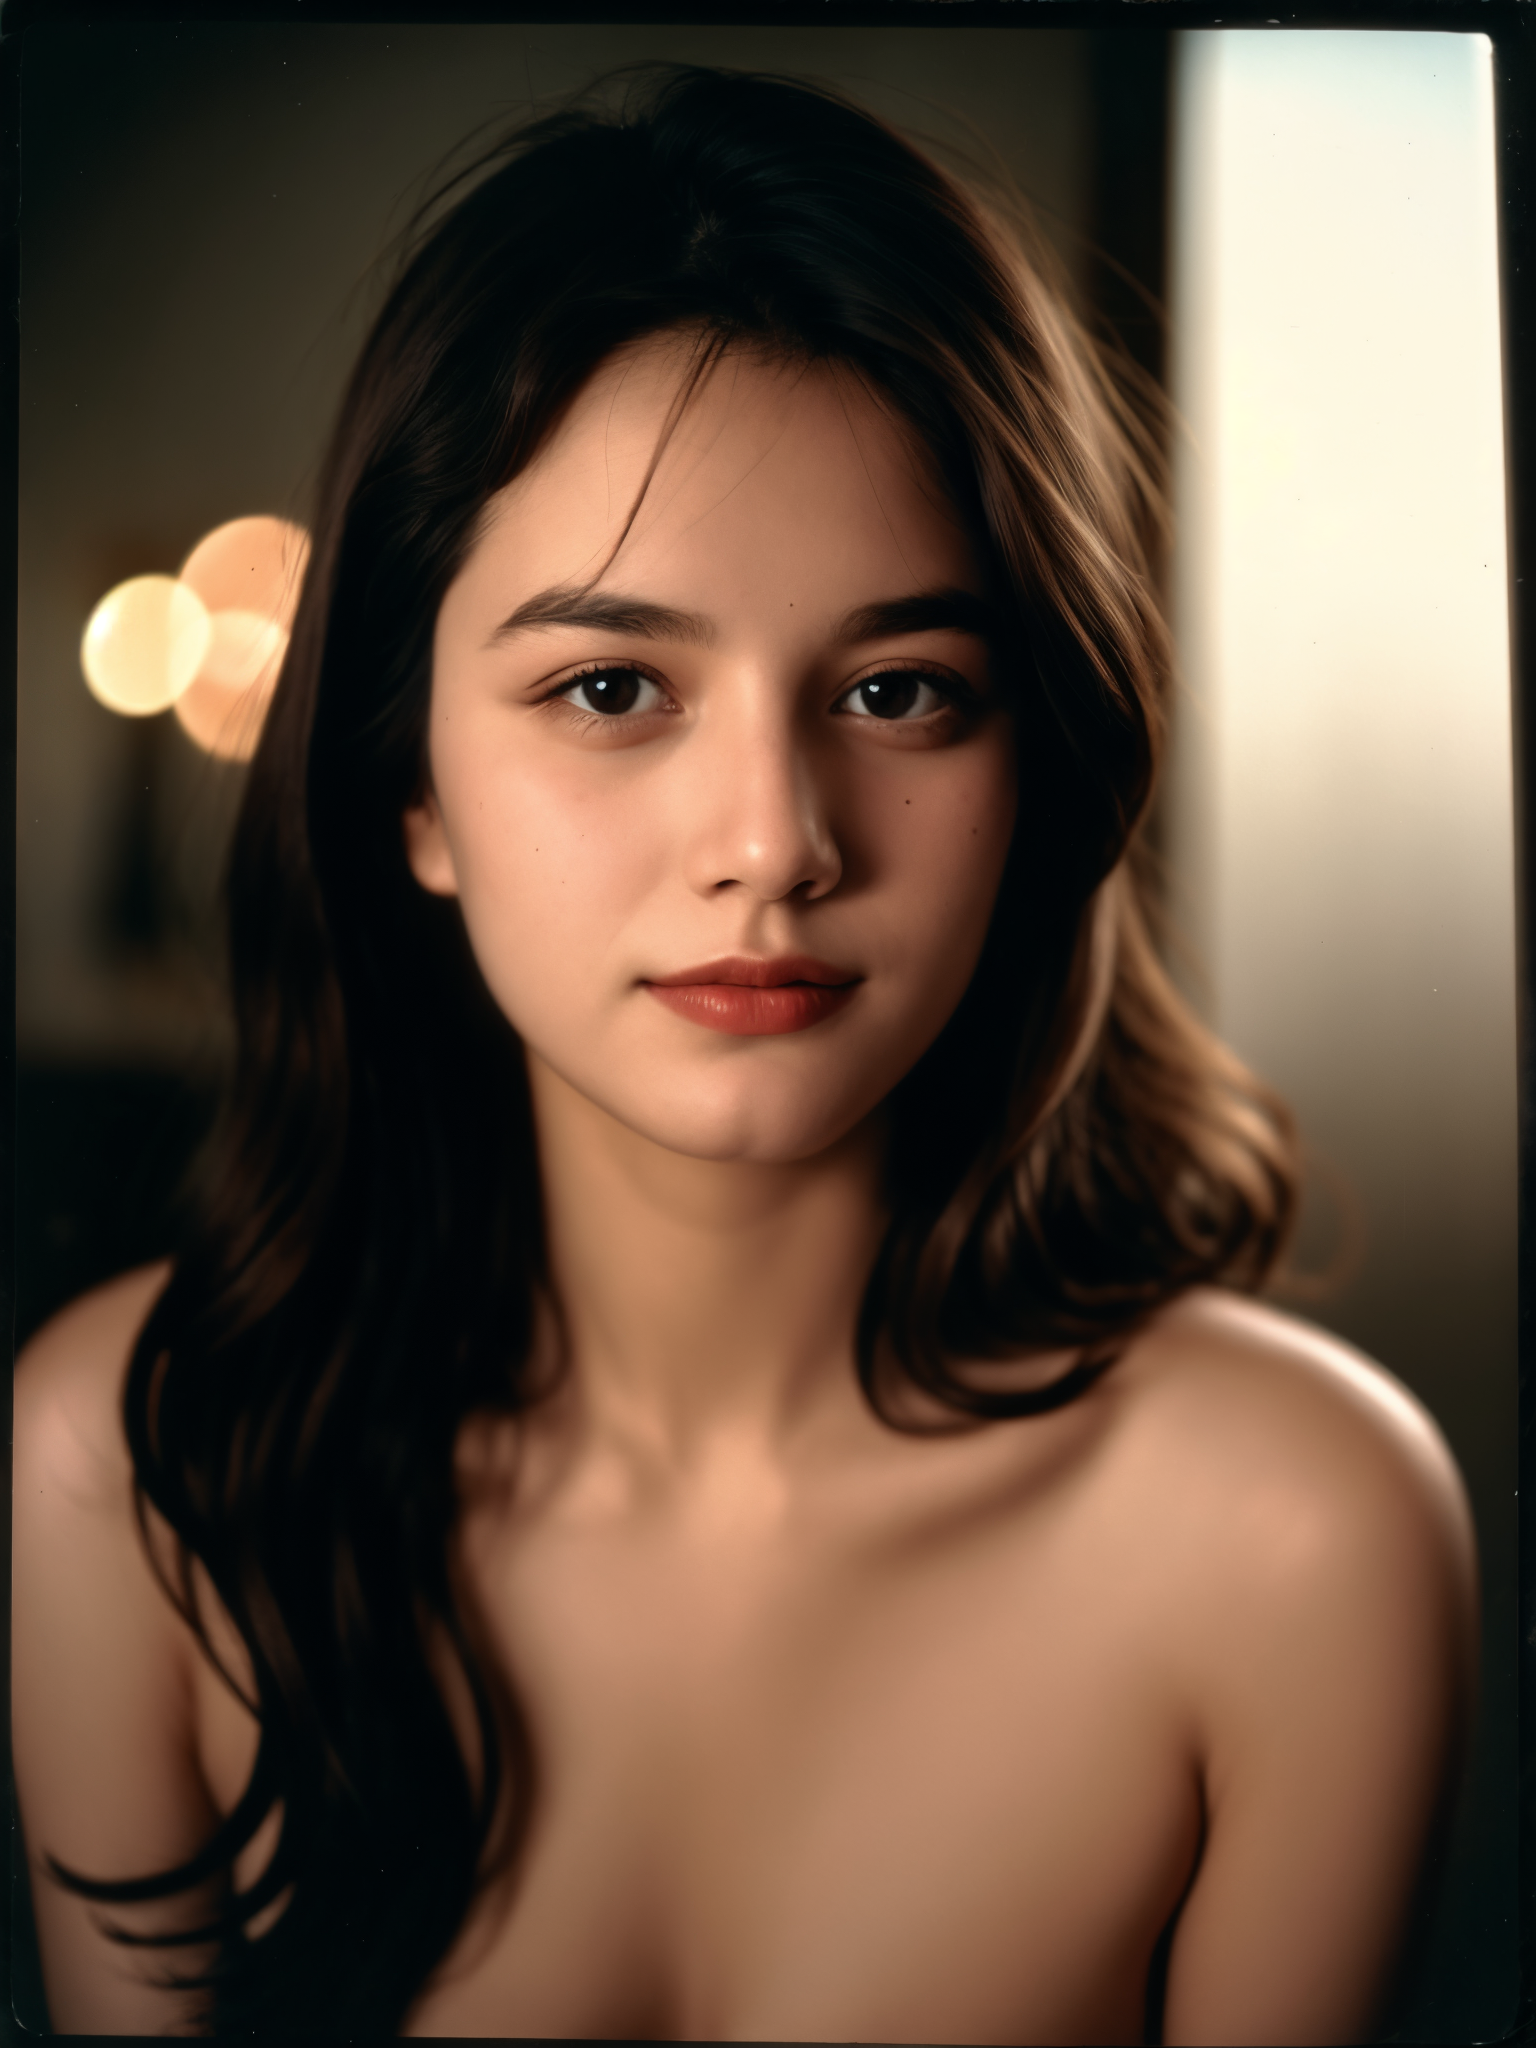
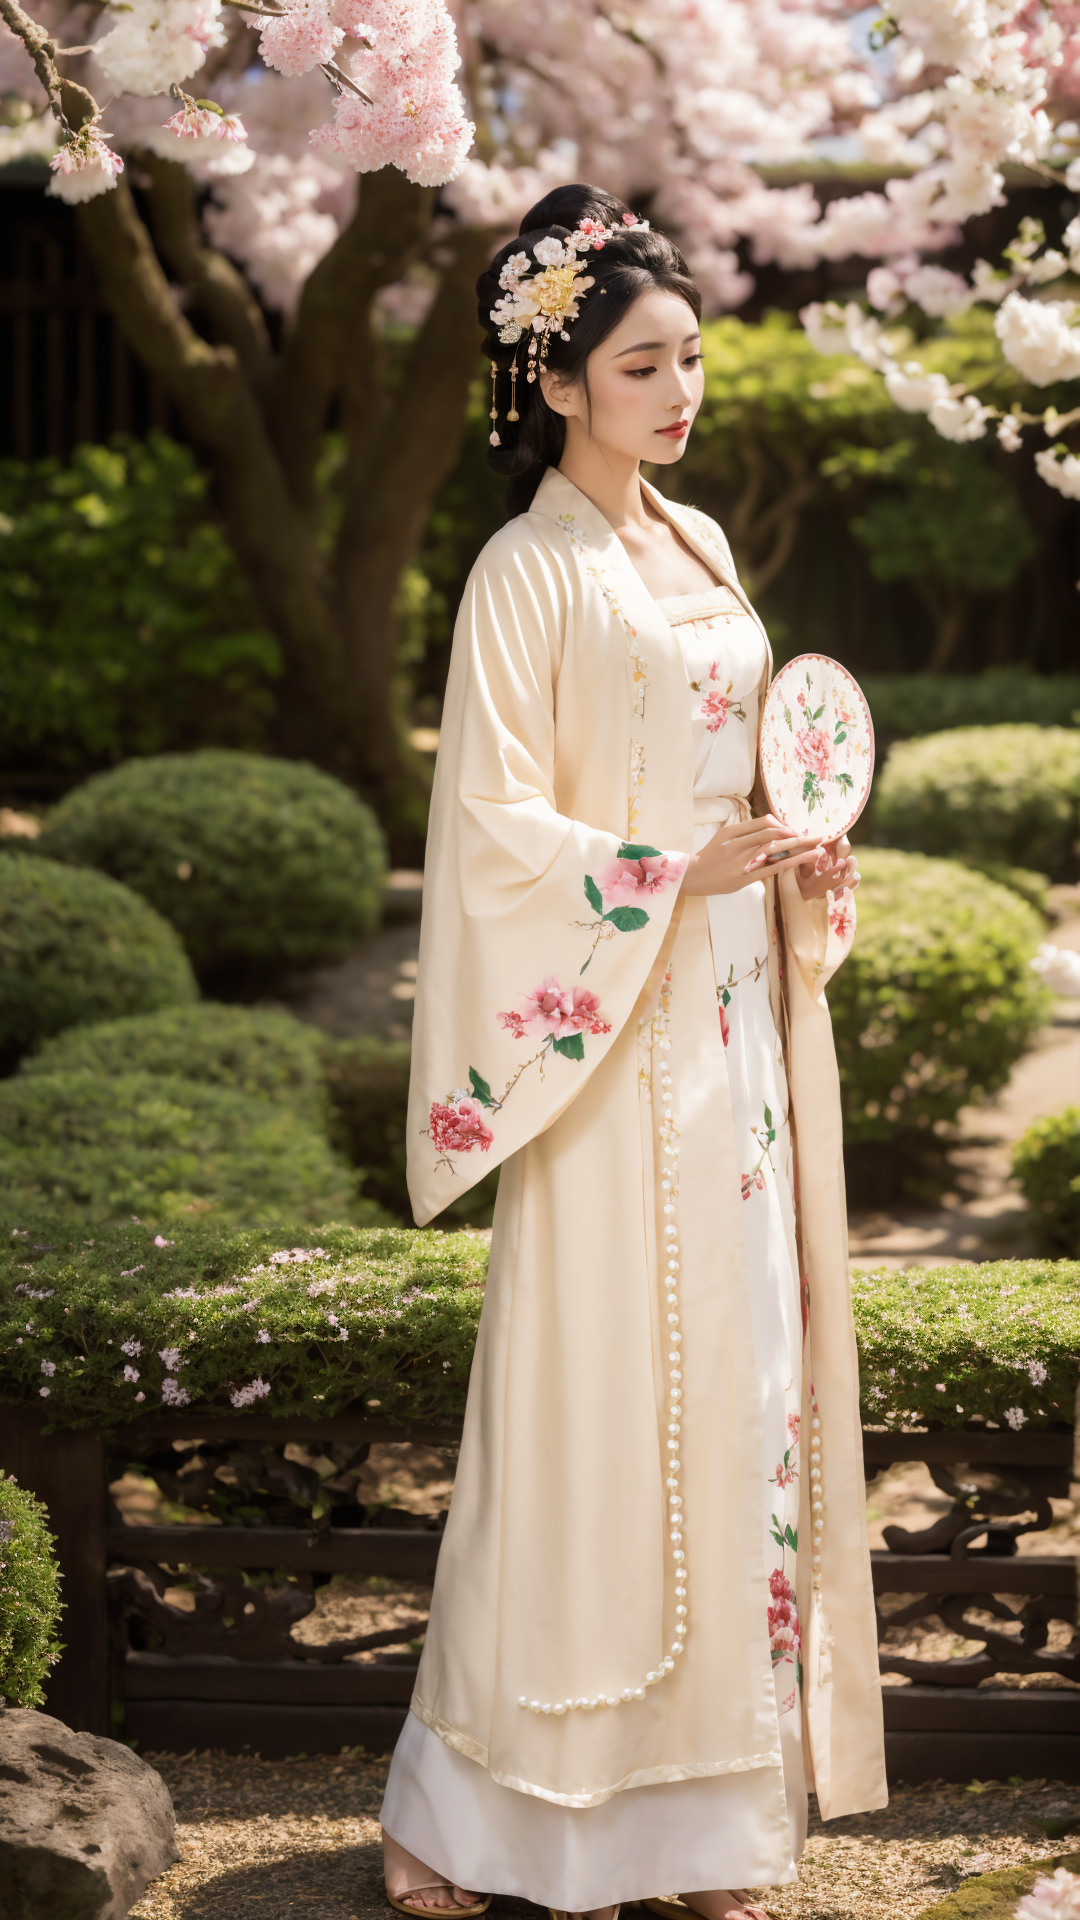
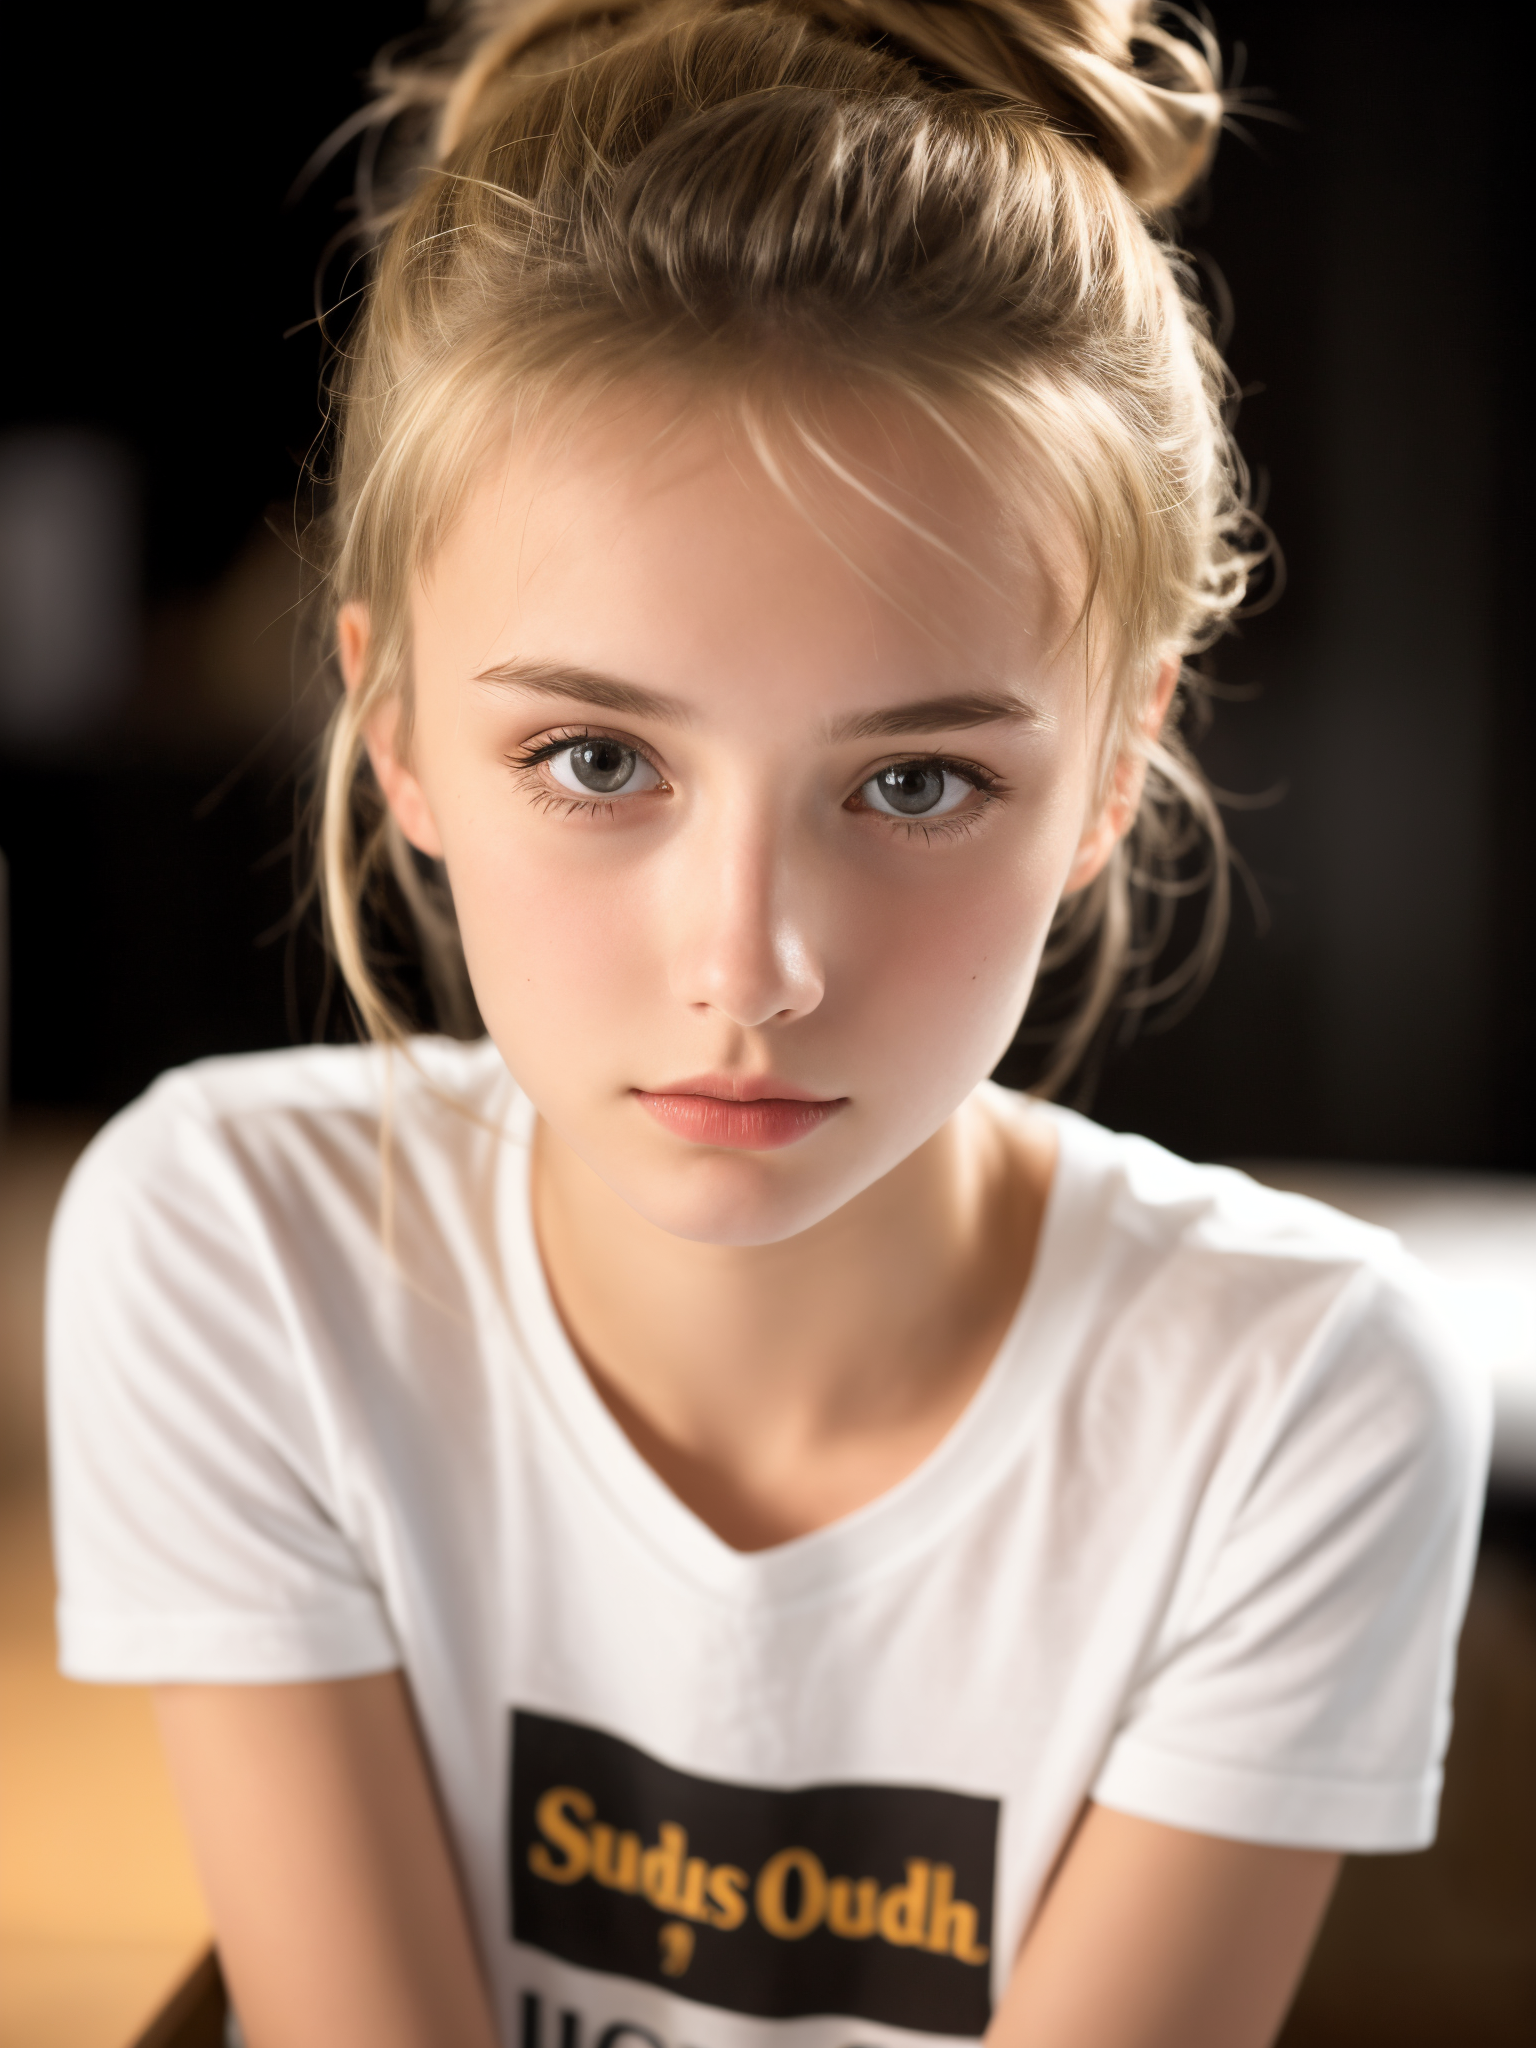
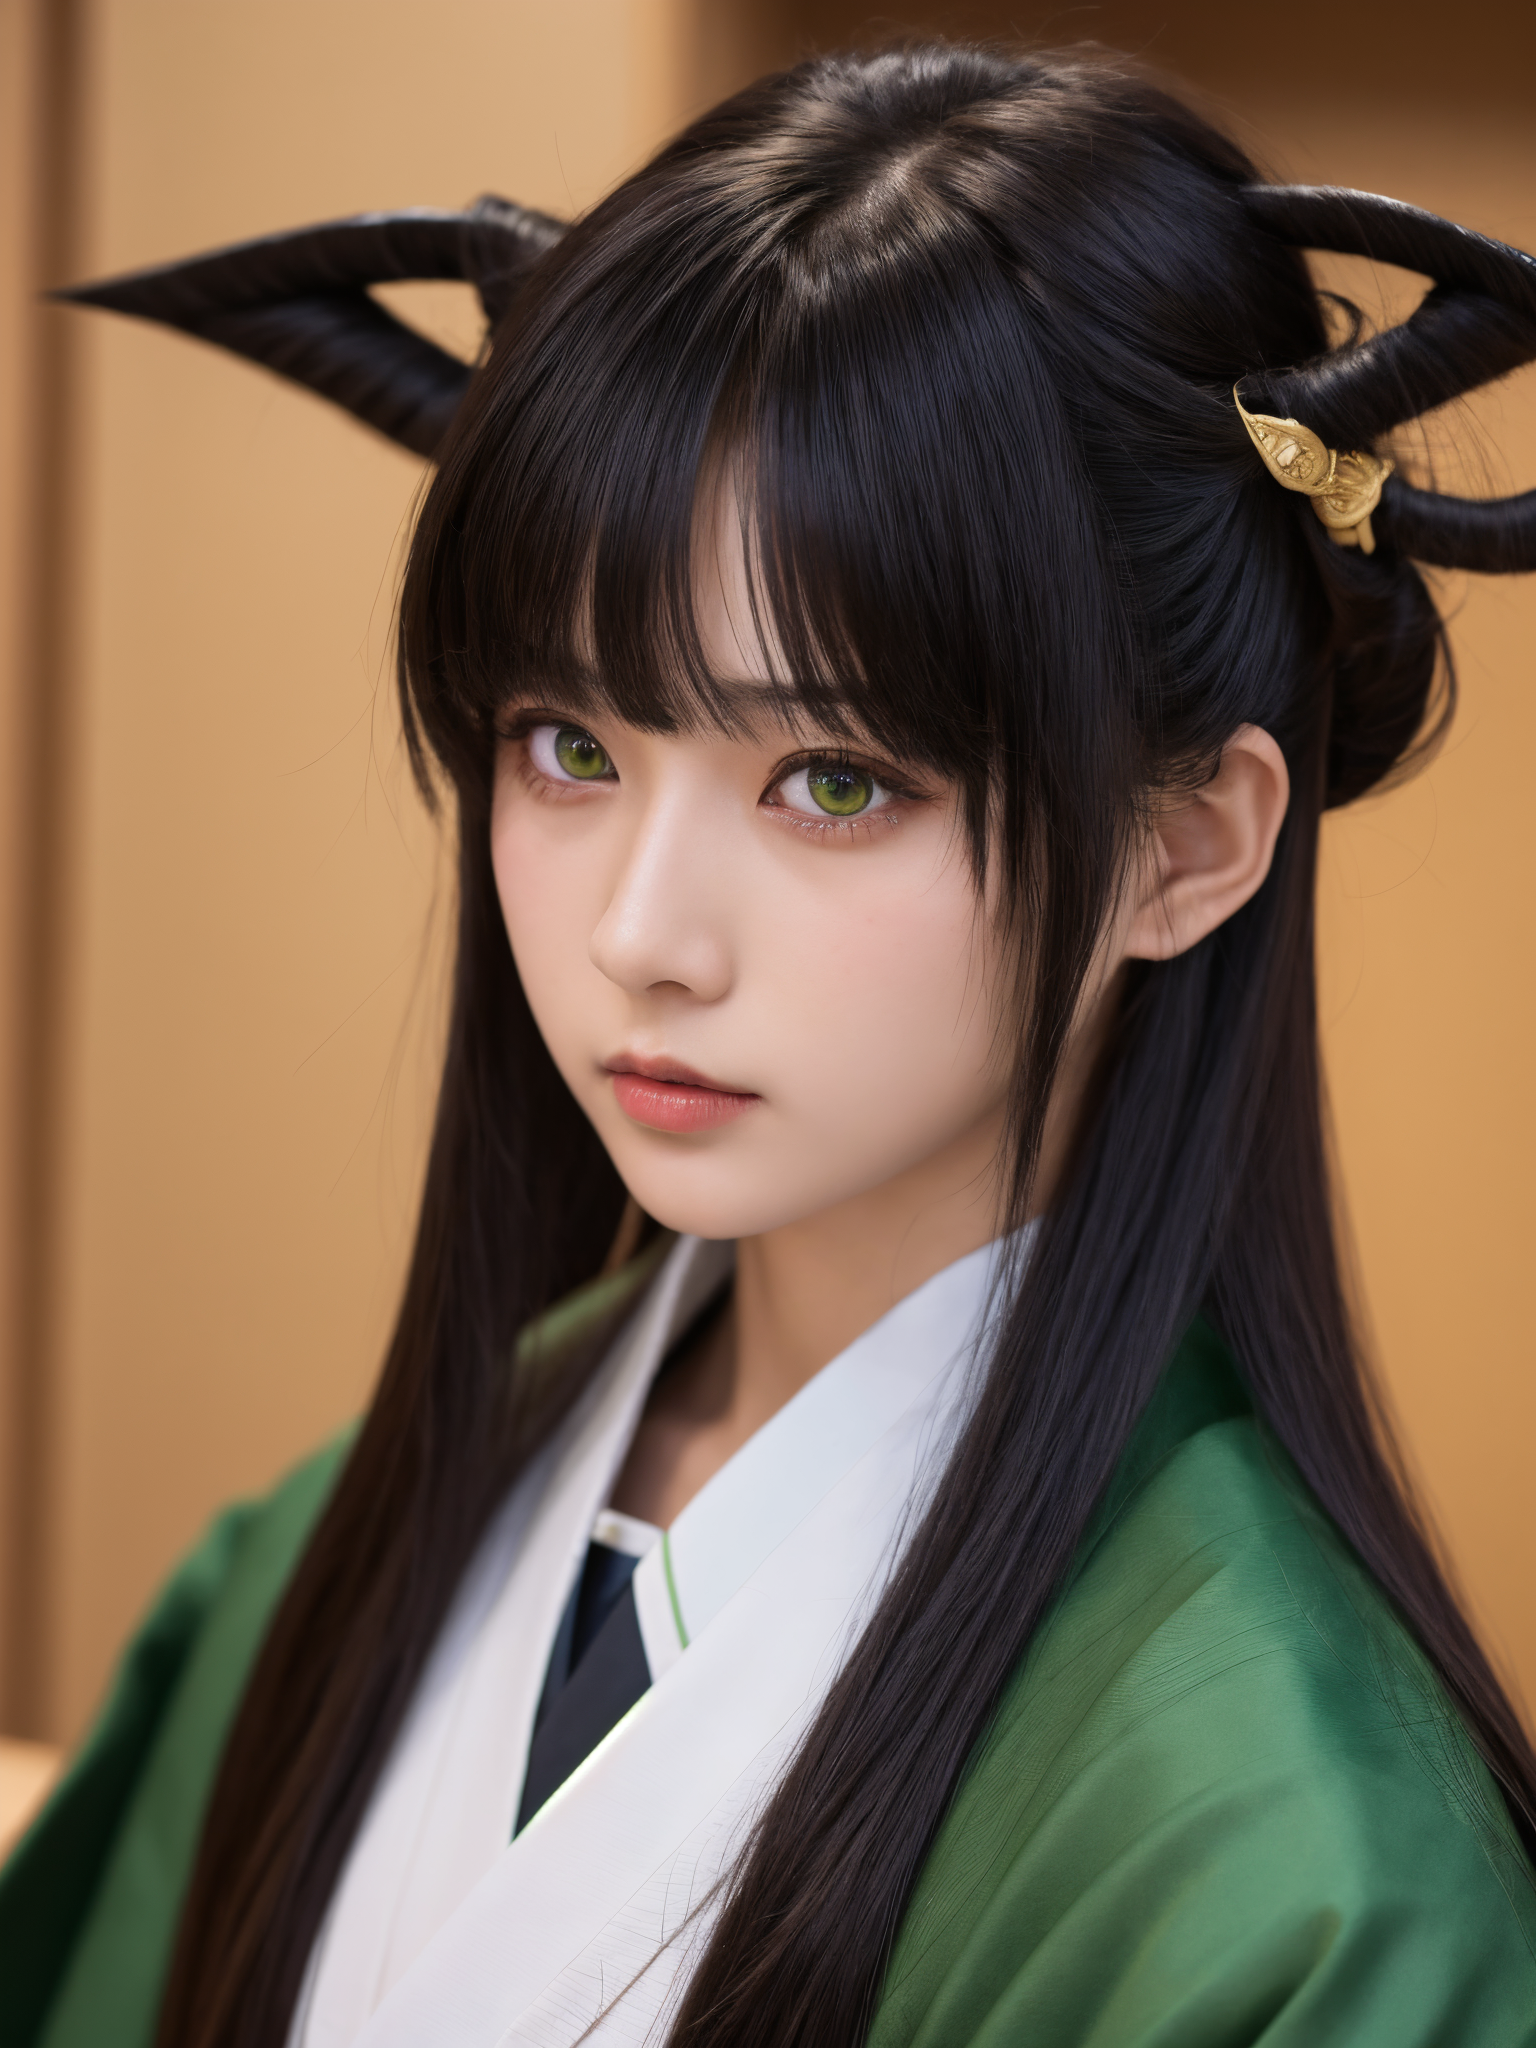
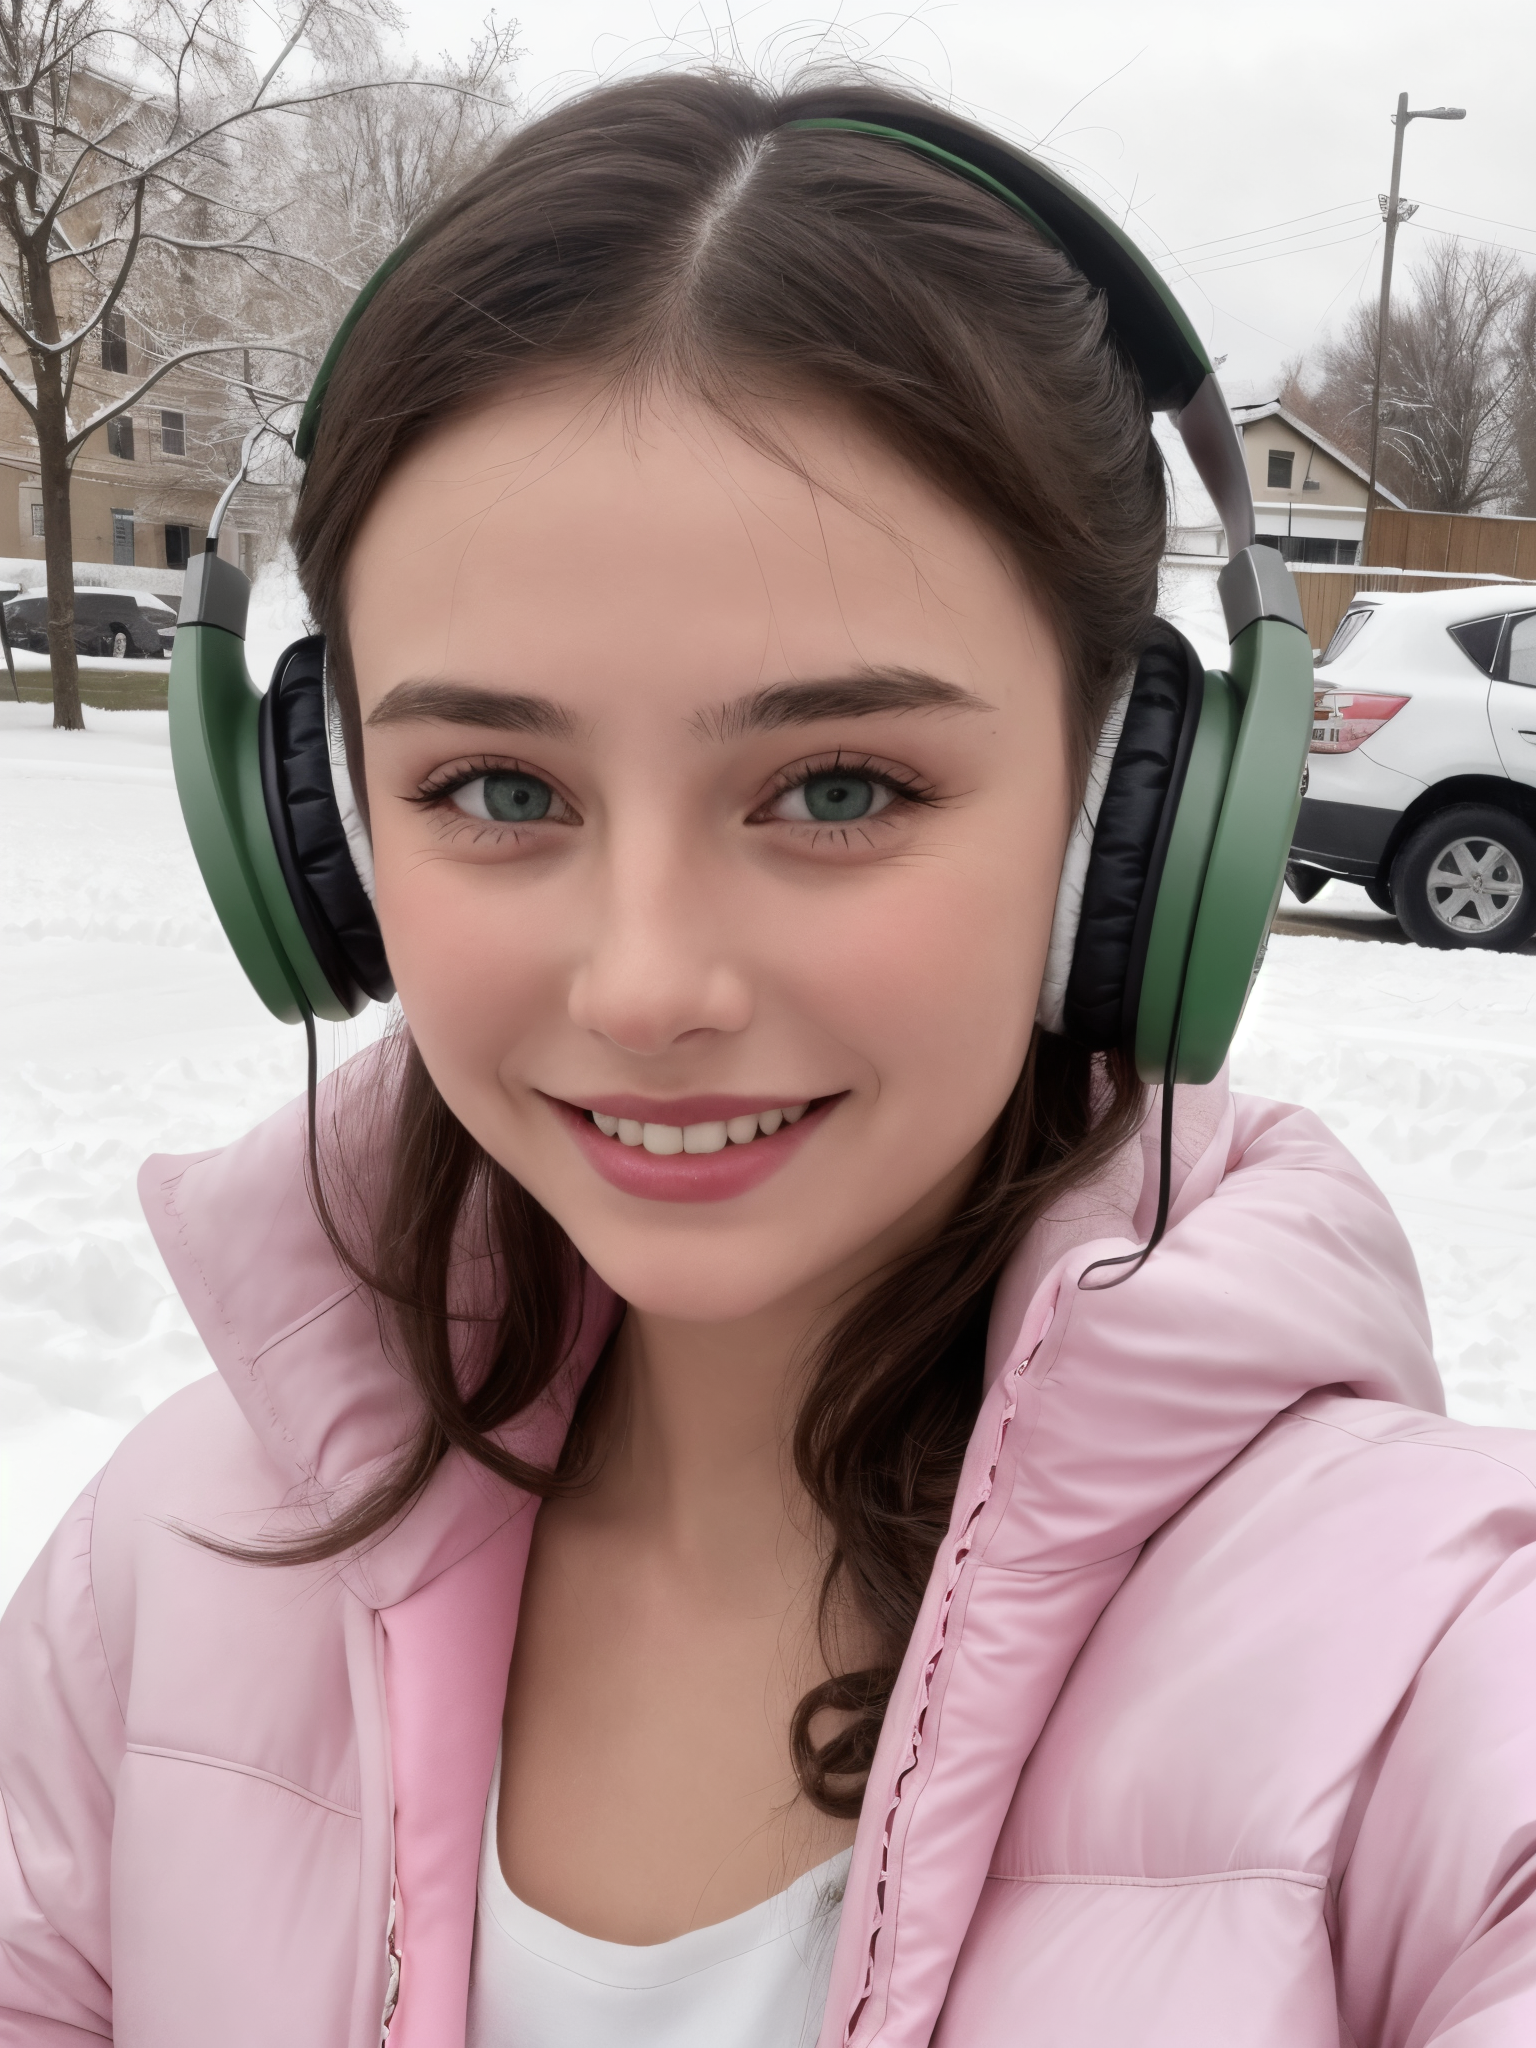
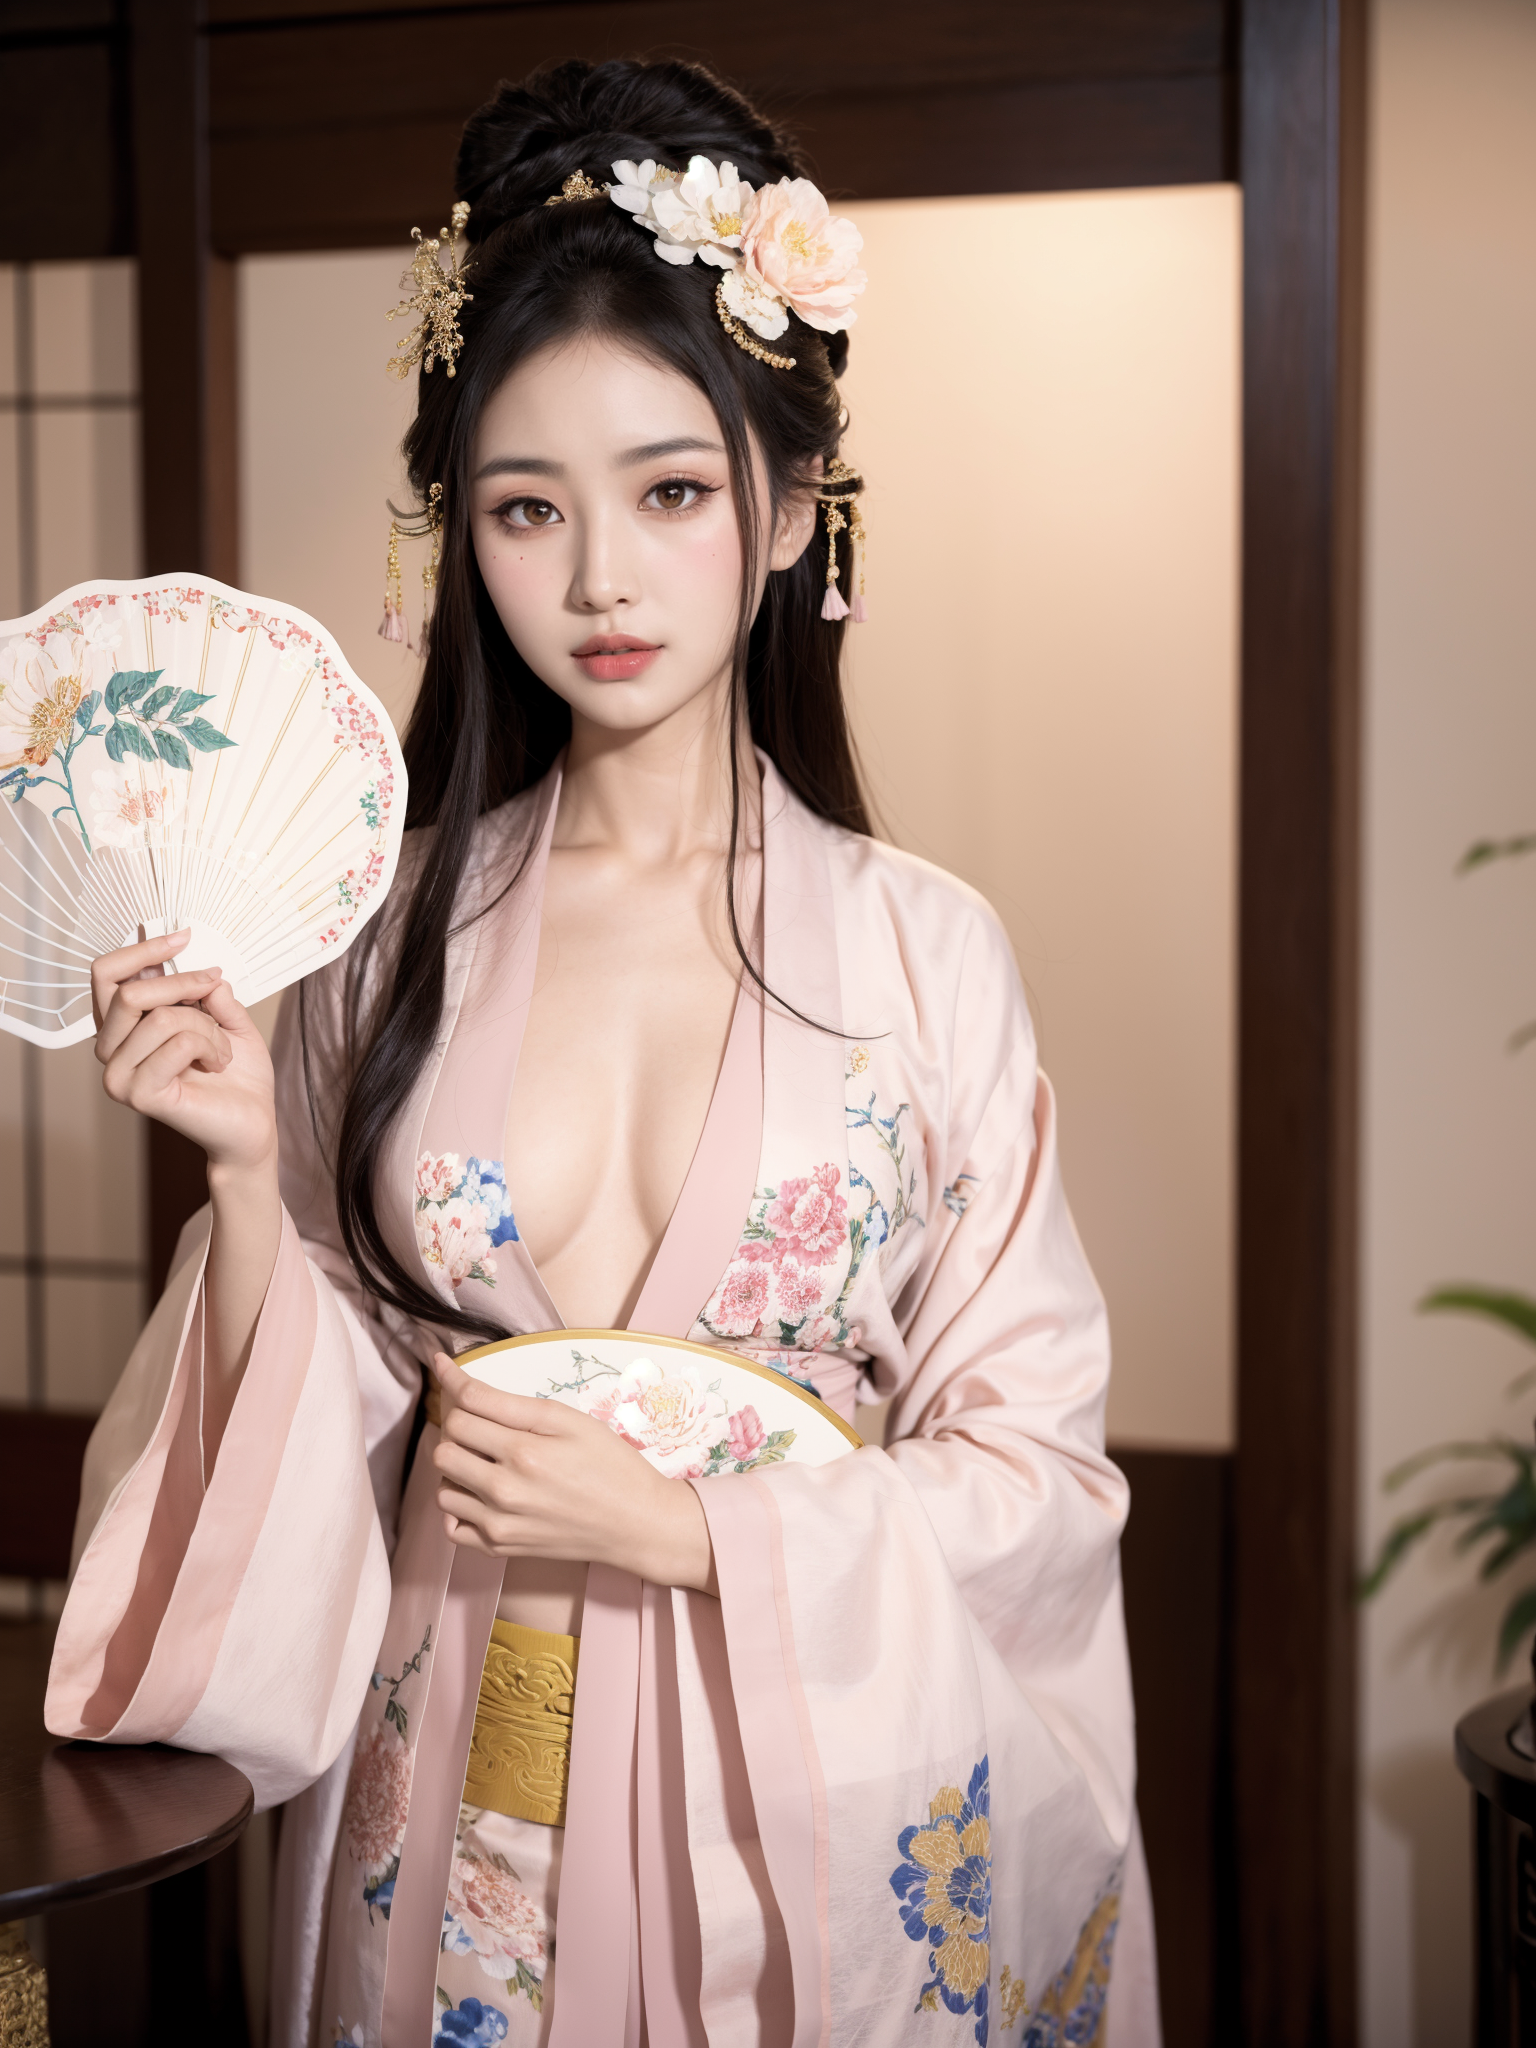
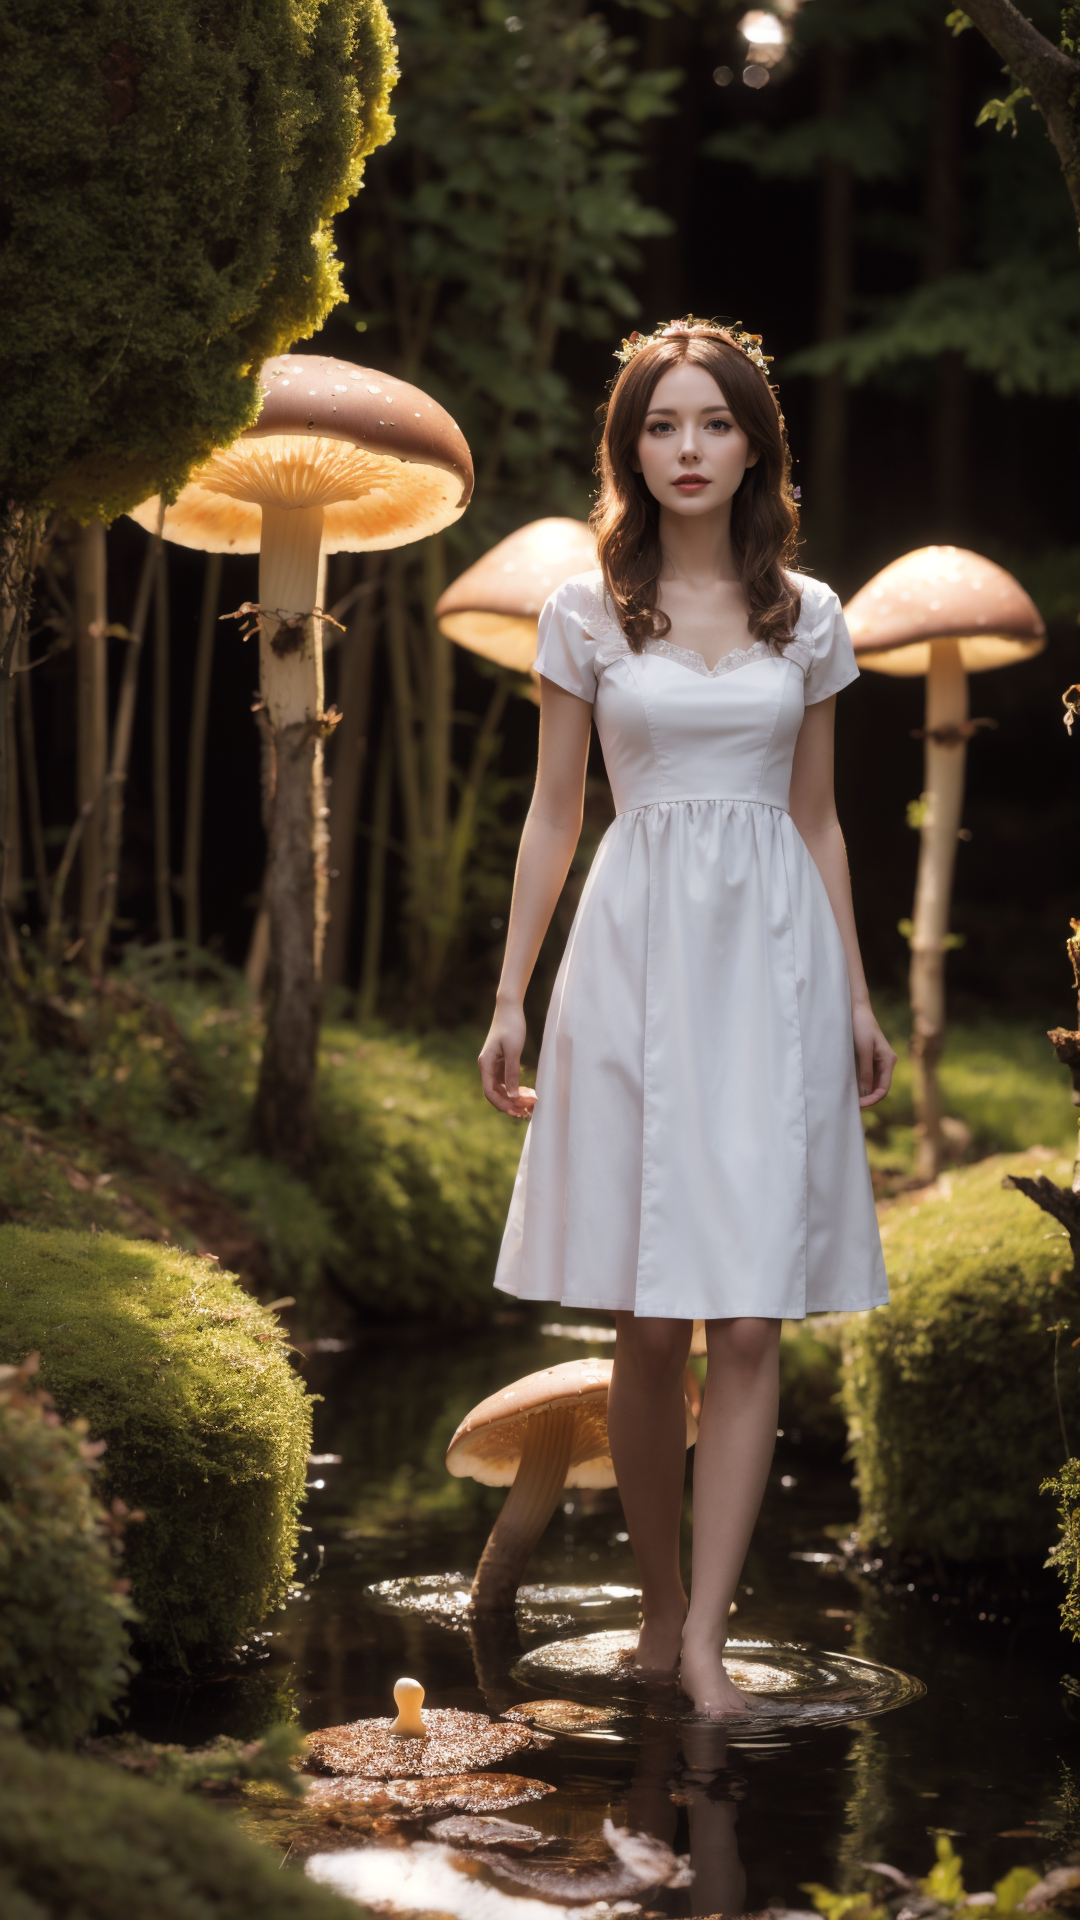
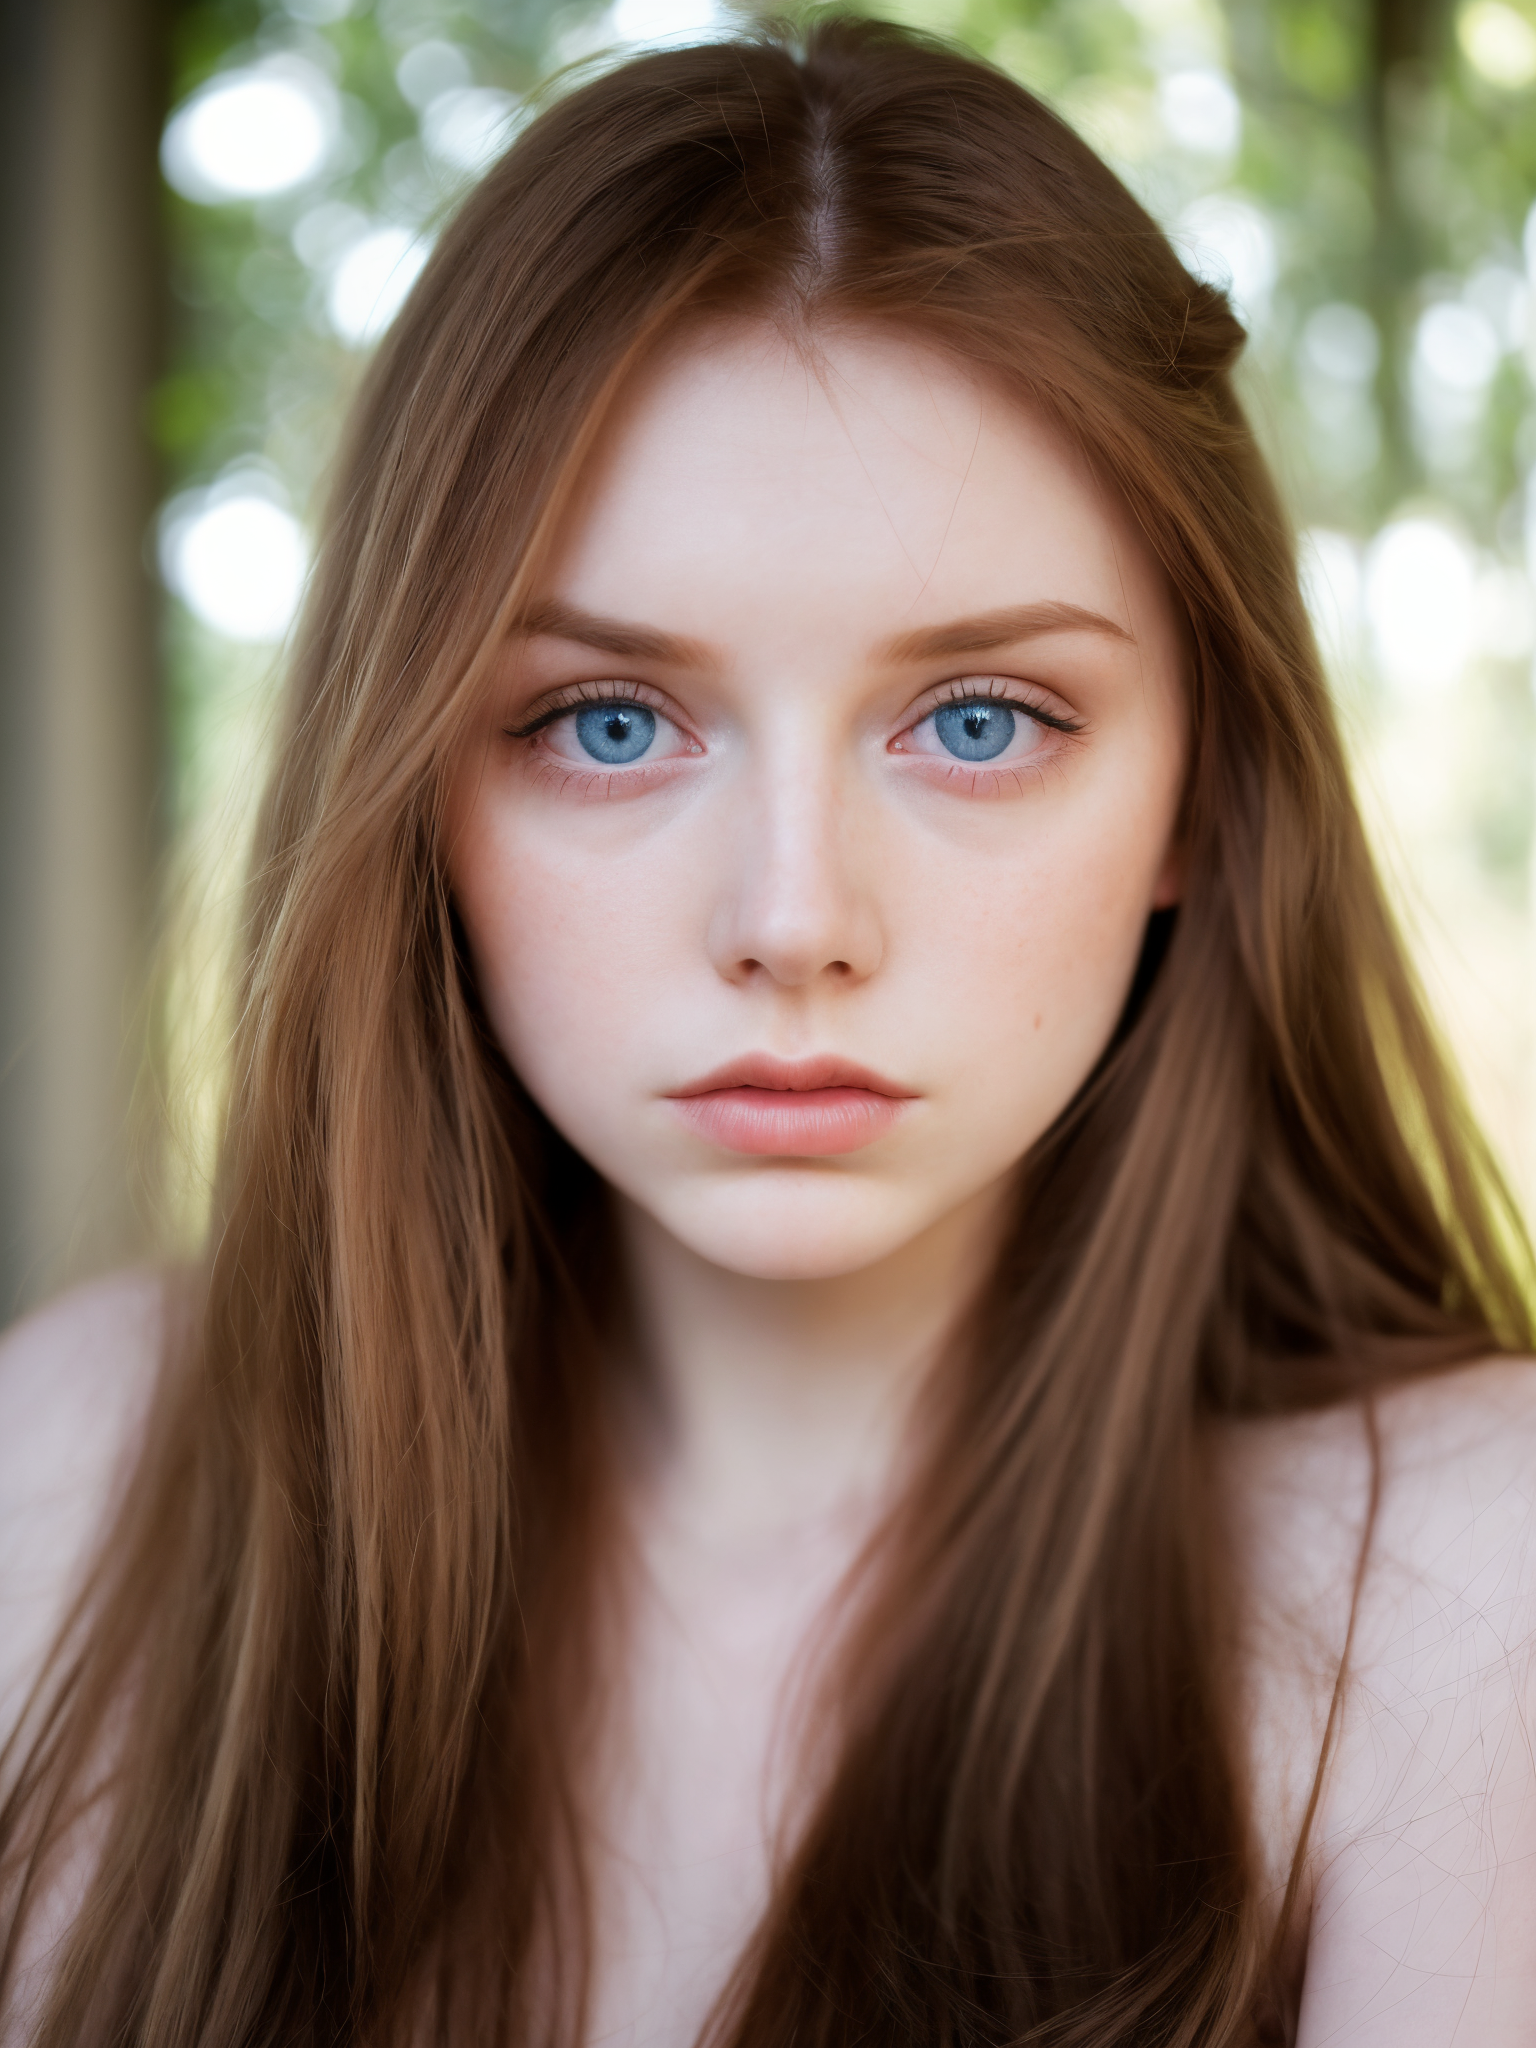
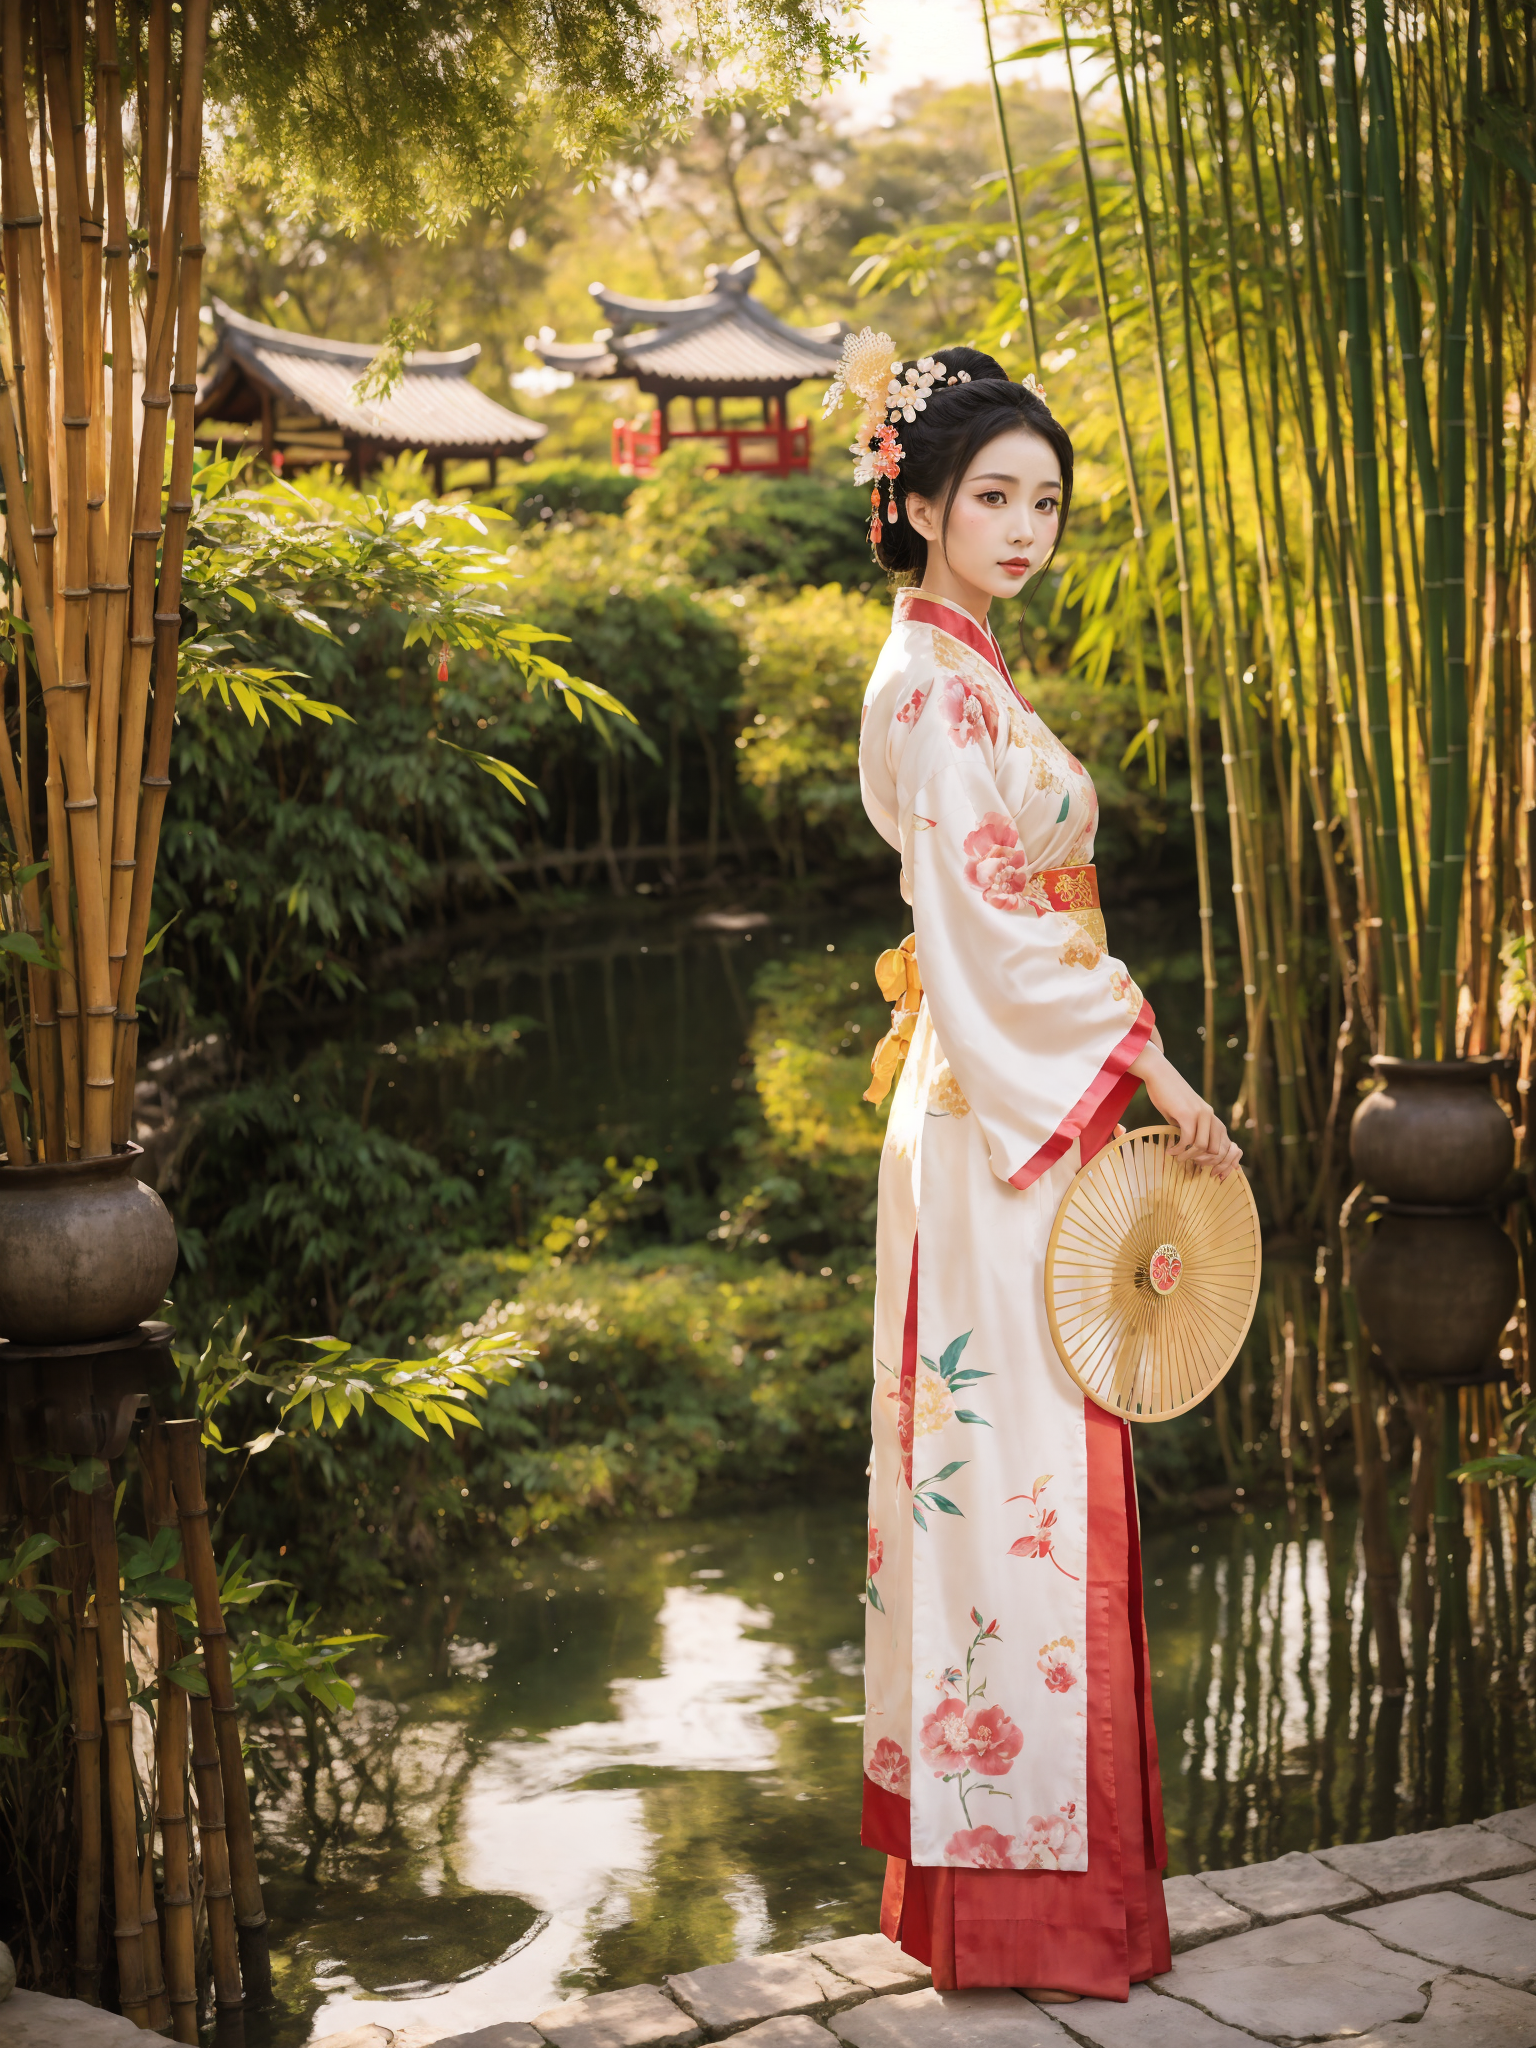
Tutu's Photo Deception is my SD 1.5 realistic checkpoint for photo-like portrait generation. It is especially suitable for realistic characters, fashion portraits, street-photo style images, soft natural light, Asian portrait aesthetics, and images that should feel closer to a real camera than a heavily stylized illustration.
The name "Photo Deception" is a joke about the model's direction: it tries to make AI images look more photographic. It is not meant for impersonation, fraud, or misleading real-person use. Please use it responsibly.
The current recommended version is v3.0. This is a major update after fully learning from earlier versions and integrating the useful parts of the previous route. I originally wanted to avoid fusion as much as possible, but after many tests I accepted that fusion has its own necessity. The important thing is not whether the model is "pure", but whether the final result is rich, stable, and actually pleasant to use.
Model direction
- Realistic SD 1.5 checkpoint for portrait and photo-style generation.
- Good at female portraits, Asian-style portrait photography, fashion-photo atmosphere, and natural skin/light expression.
- Designed to be easy to prompt with natural language or normal realistic-model tags.
- No fixed trigger words are required.
- Material is rich, so please try different prompt styles instead of using only one example prompt.
What changed in v3.0
v3.0 is one of the more important updates of this checkpoint. It was made after learning from the earlier versions and integrating more useful material and model behavior. The earlier idea was to keep the model away from fusion as much as possible. Later, after enough practice, I realized that controlled fusion is not the enemy. Bad fusion makes a model muddy; careful fusion can make the model more complete.
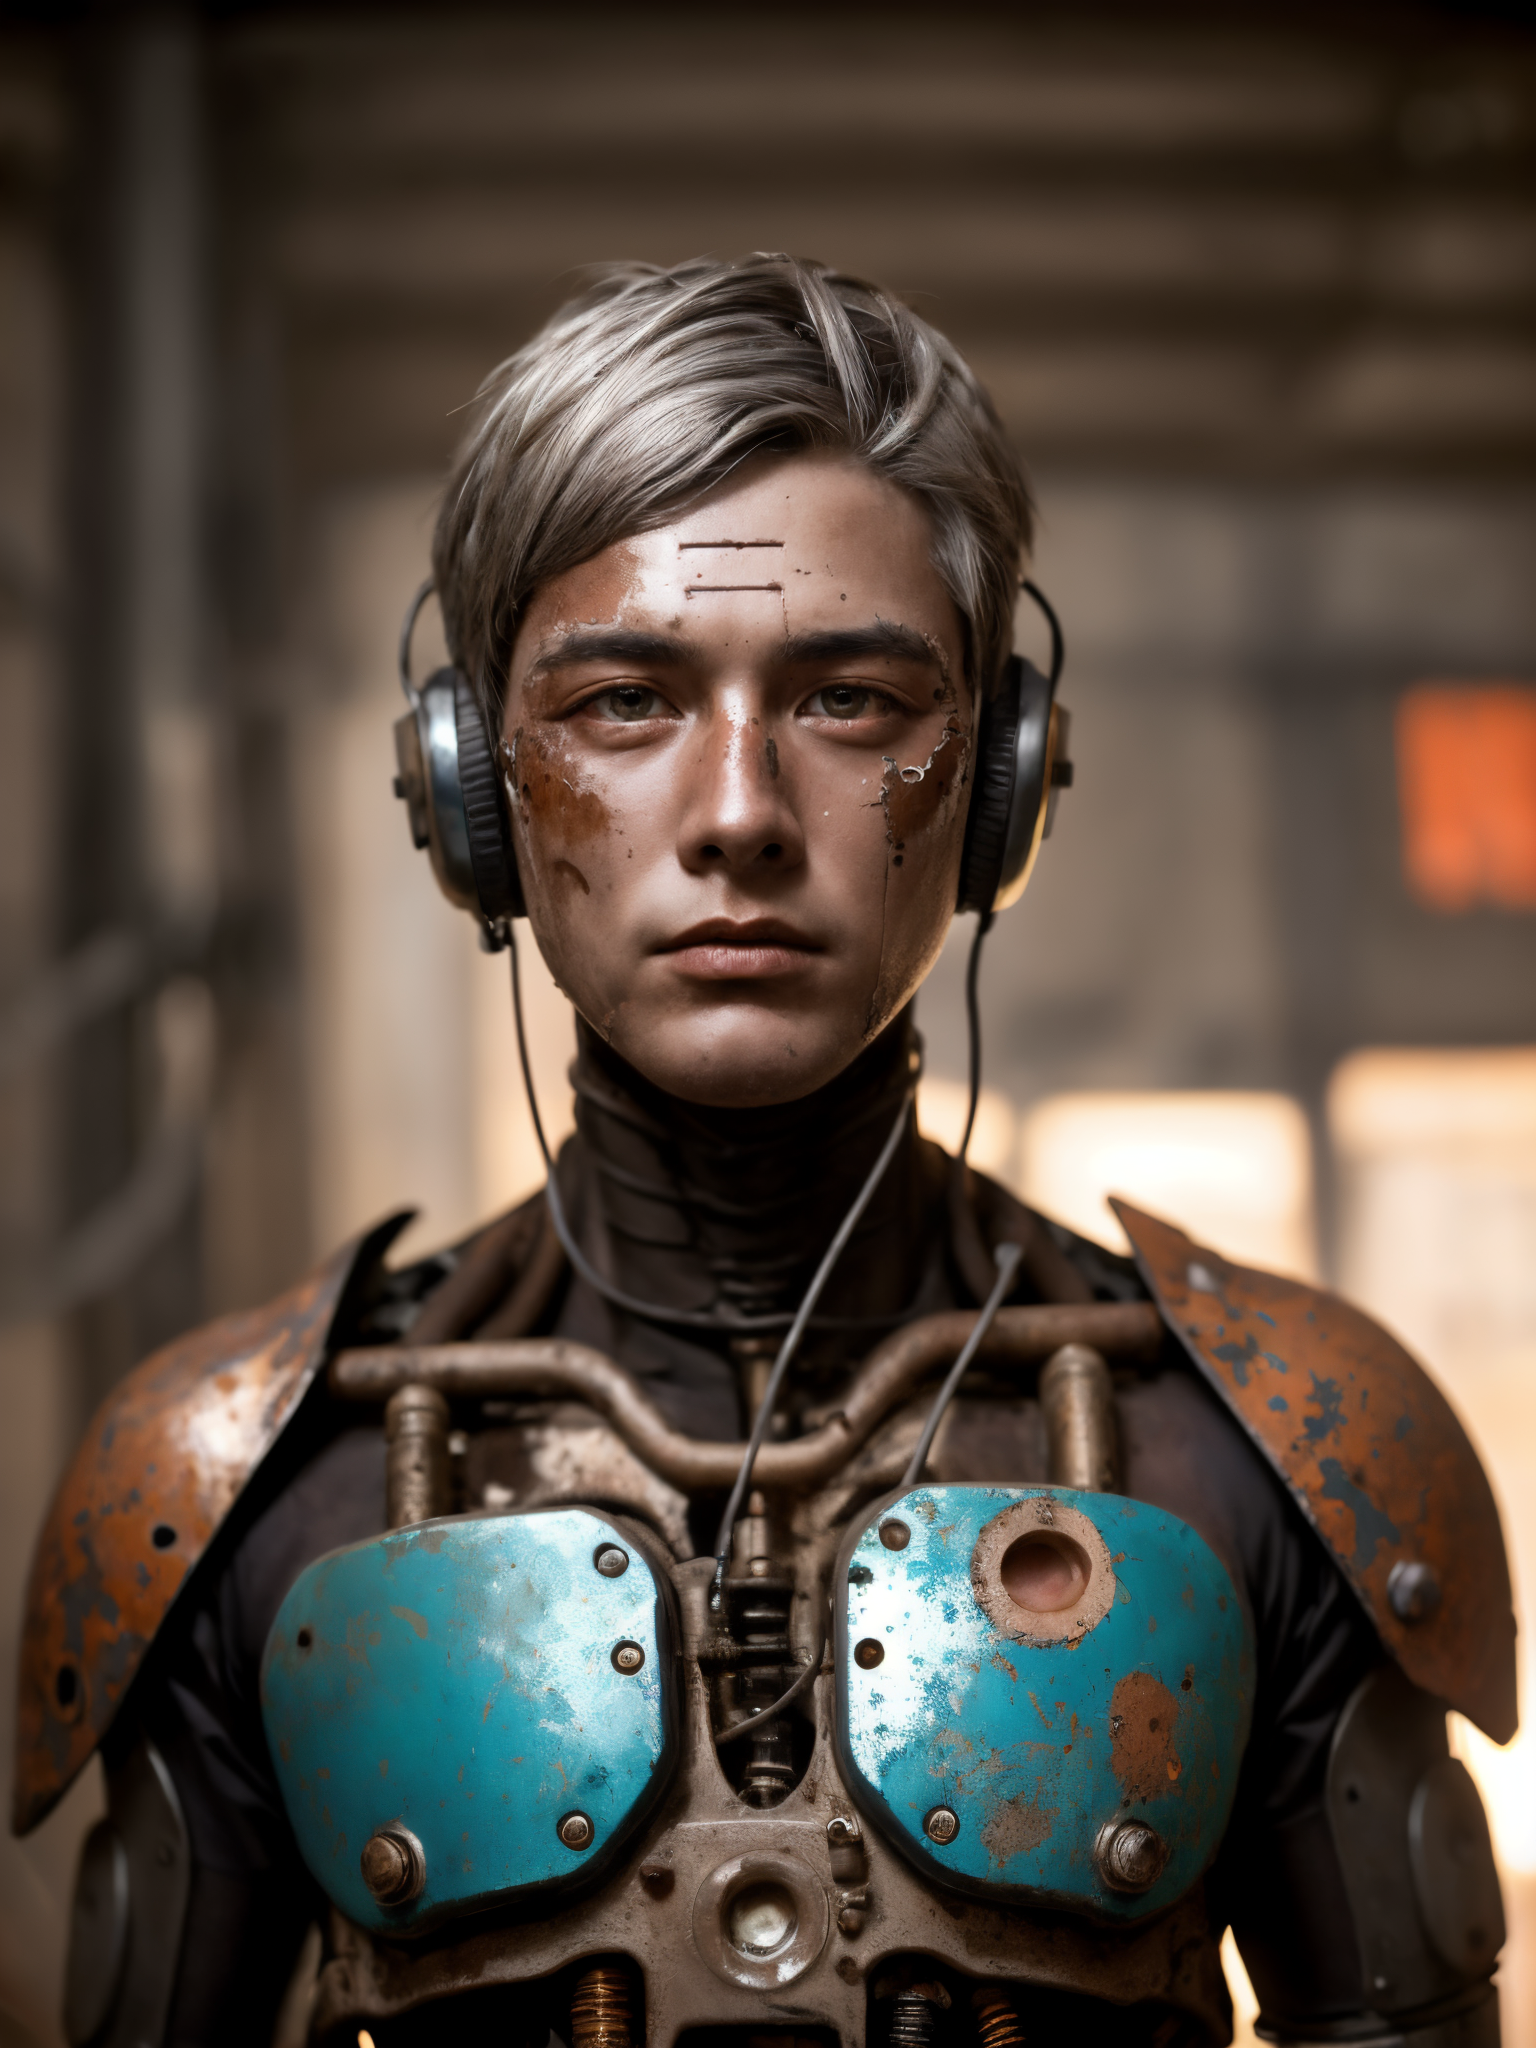
The result is a version that is more flexible than the old route. It supports natural-language prompts, ordinary realistic prompt tags, close-up portraits, half-body shots, and full-body scenes with different repainting strengths. There is no single fixed setting that must be copied. This model is meant to be tried, adjusted, and used with your own taste.
Recommended settings
- VAE: no extra VAE is required. You can also try a realism-friendly VAE according to your preference.
- Prompt style: natural language works. Ordinary realistic-model tags also work.
- CLIP skip: I often use 2. For close-up portraits or headshots, you can also try 1.
- Steps: 30 to 50 is a good range. Do not set it too low.
- Sampler: many samplers can work. Try more than one instead of locking yourself to a single method.
- CFG Scale: 5 to 12. Good starting points are 7, 7.5, and 8.
- Resolution: keep initial width and height under 1024 when possible.
- Hires fix: recommended for finished images.
- Denoising / repainting strength: use the scene to decide. Close-up portraits can use a smaller value; full-body or distant scenes can use a larger value. A useful range is 0.25 to 0.55.
- Upscale: 2x is a good default. If VRAM is not enough, try 1.5x or enable Tiled VAE.
- Face restoration: generally not recommended unless you are intentionally chasing a specific face structure.
- ADetailer: enable only when needed.
Prompt ideas
This checkpoint does not need a special trigger word. Use it like a realistic checkpoint. The model responds well to natural photo language and normal tag-style prompts.
realistic portrait photographynatural skin texturesoft natural lightstreet photographyfashion photographycinematic lightingshallow depth of field85mm lensphoto-realistichigh detailrealistic eyesclean background
For close-up portraits, focus on face detail, lens, light, and expression. For full-body scenes, describe the outfit, posture, environment, and camera distance more clearly. Do not rely only on high CFG or face repair.
Original training route and model philosophy
When I first made this checkpoint, I wanted to pursue realism by avoiding uncontrolled blending with other existing models. Instead, I kept adding large amounts of real ultra-high-definition photographic material and concept material for learning. Many of these high-definition materials were paid resources or accumulated over a long time.
I even bought an RTX 4090 specifically for this work. The first official version was selected from hundreds of versions, and more than a dozen versions had already been abandoned before release. This is not the kind of model that comes from one lucky merge. It is the result of repeated training, comparison, and rejection.
v3.0 continues this direction, but with a more practical attitude. I no longer insist that fusion must be avoided. The model should serve the final image. If learning and fusion can make the model richer while still keeping realism, then they are worth using carefully.
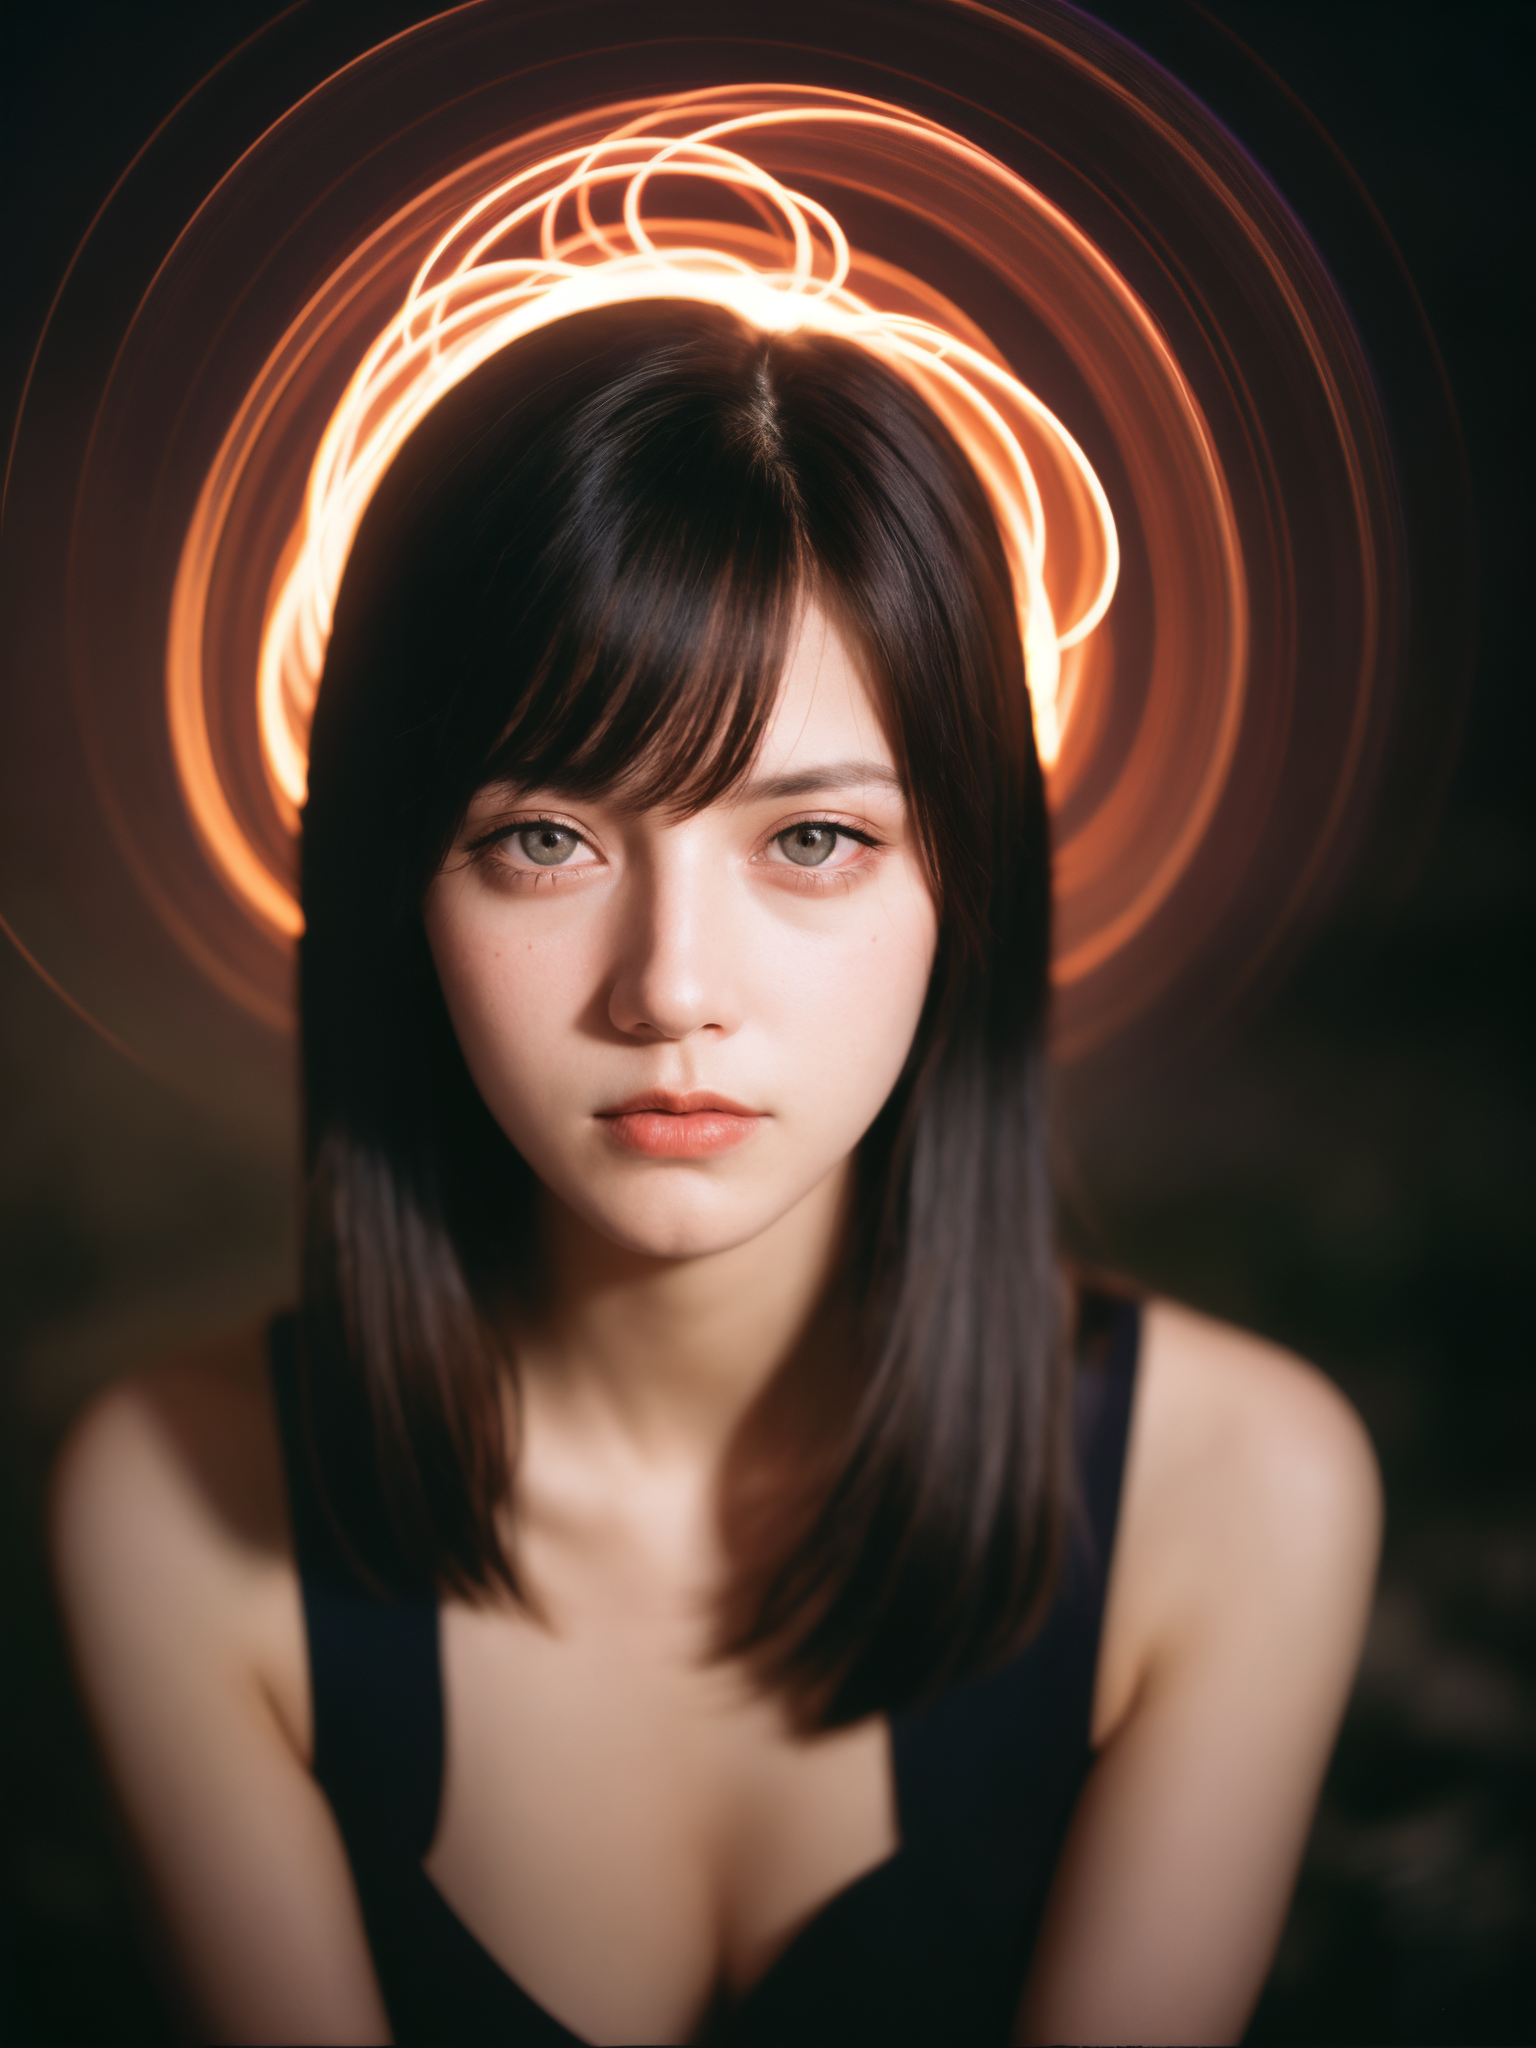
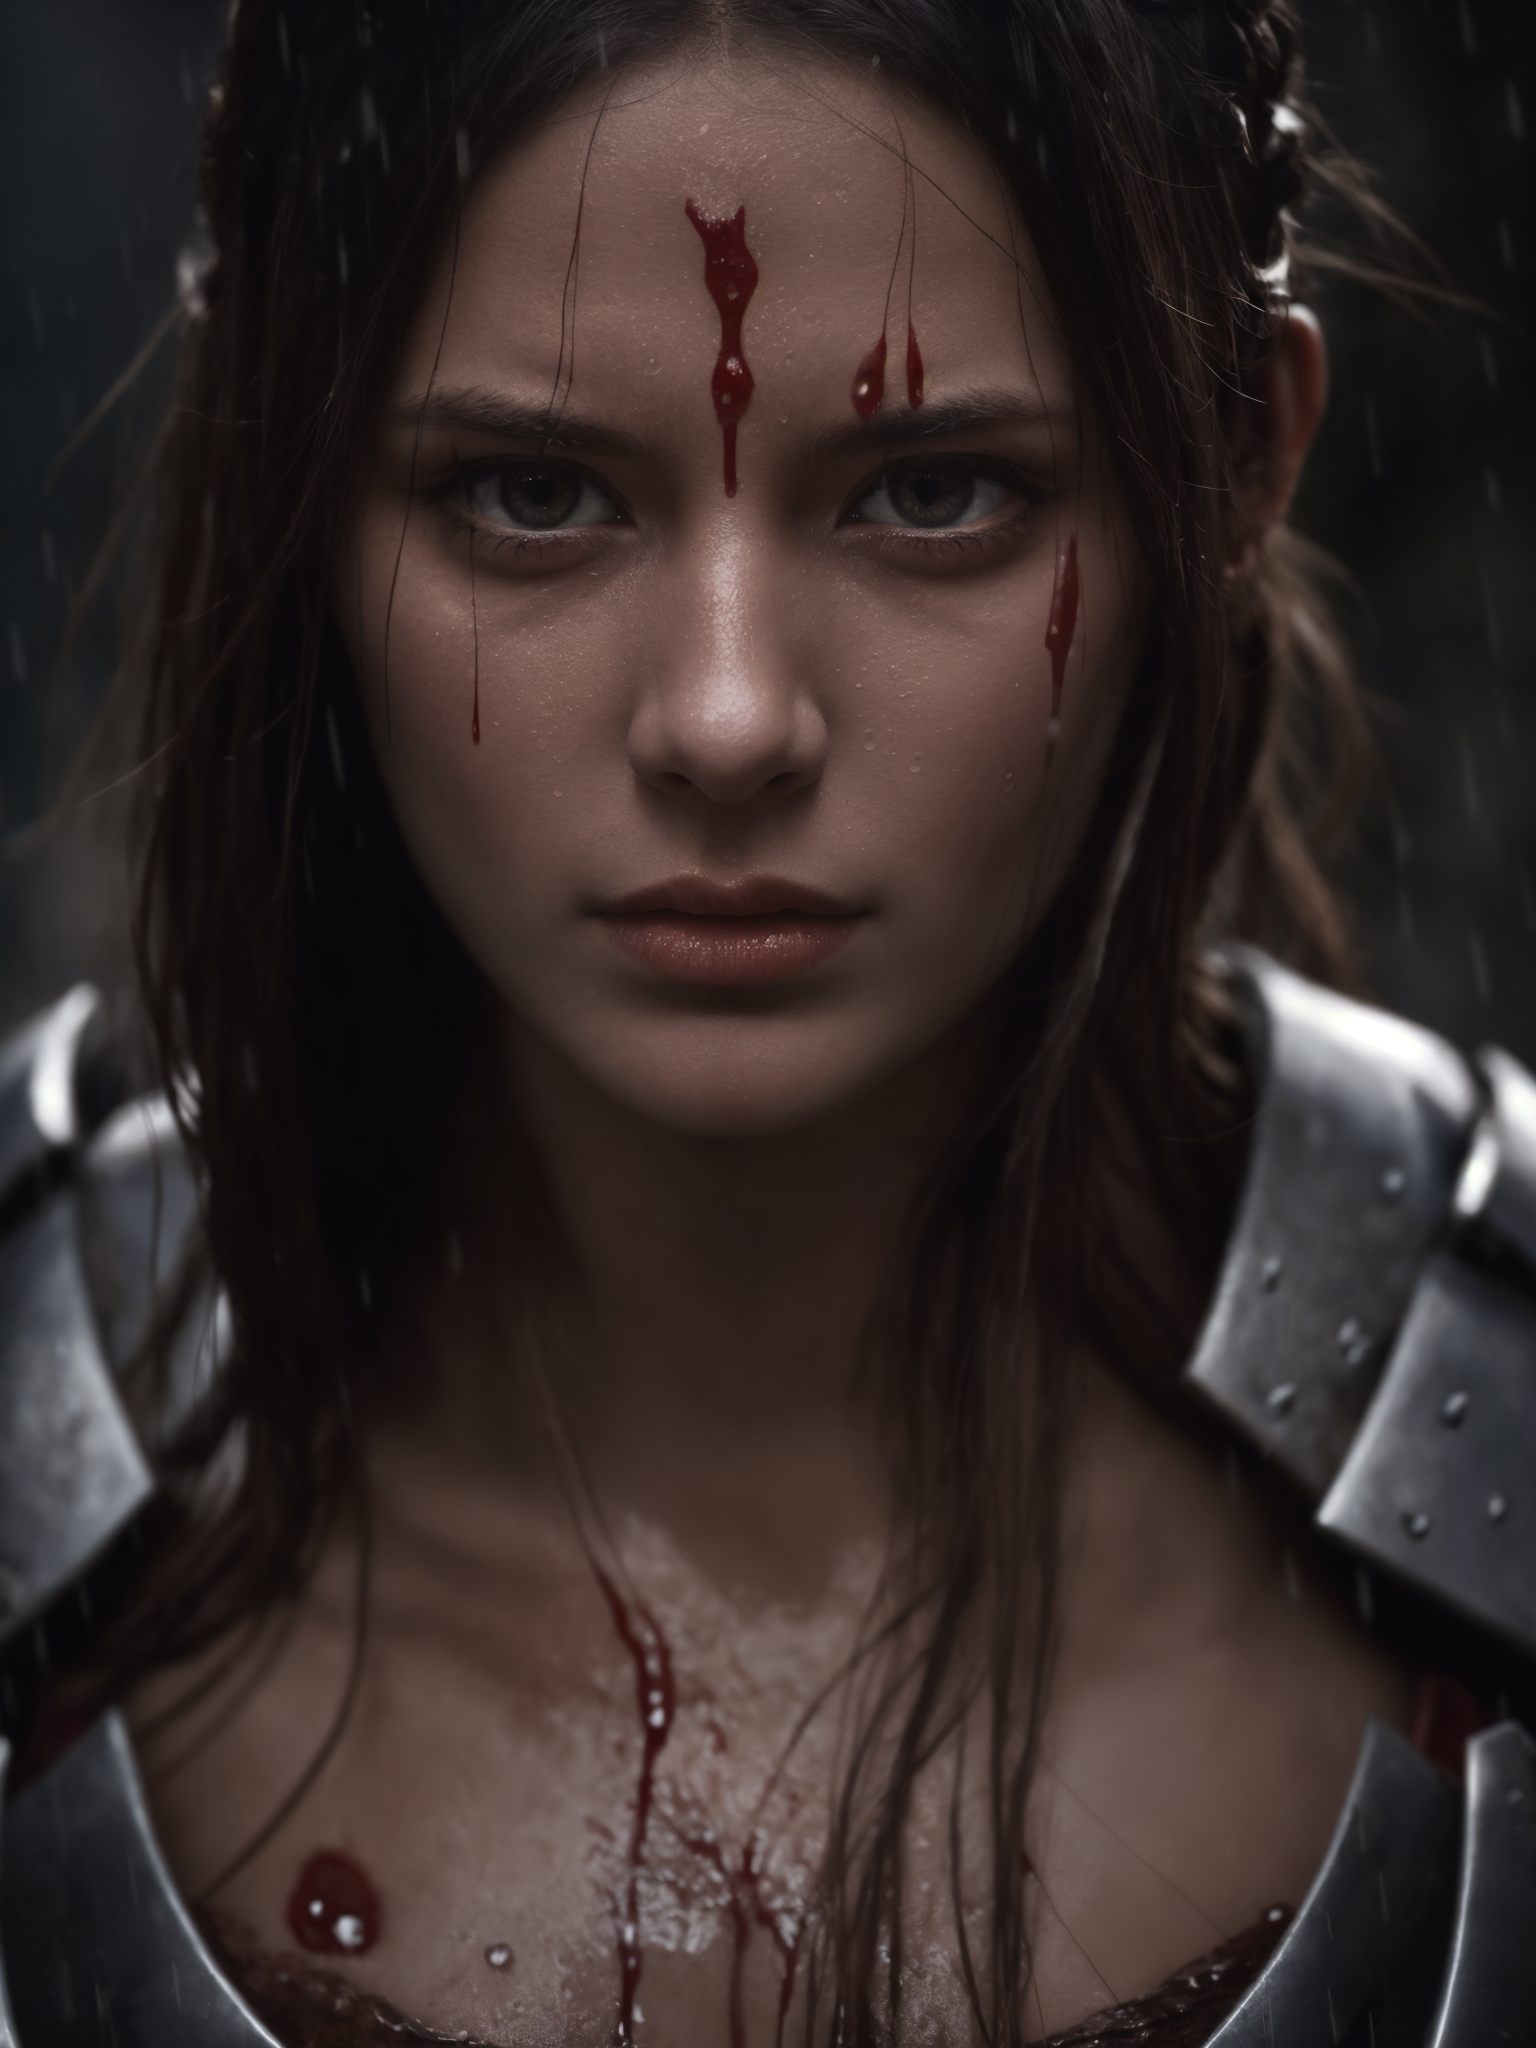
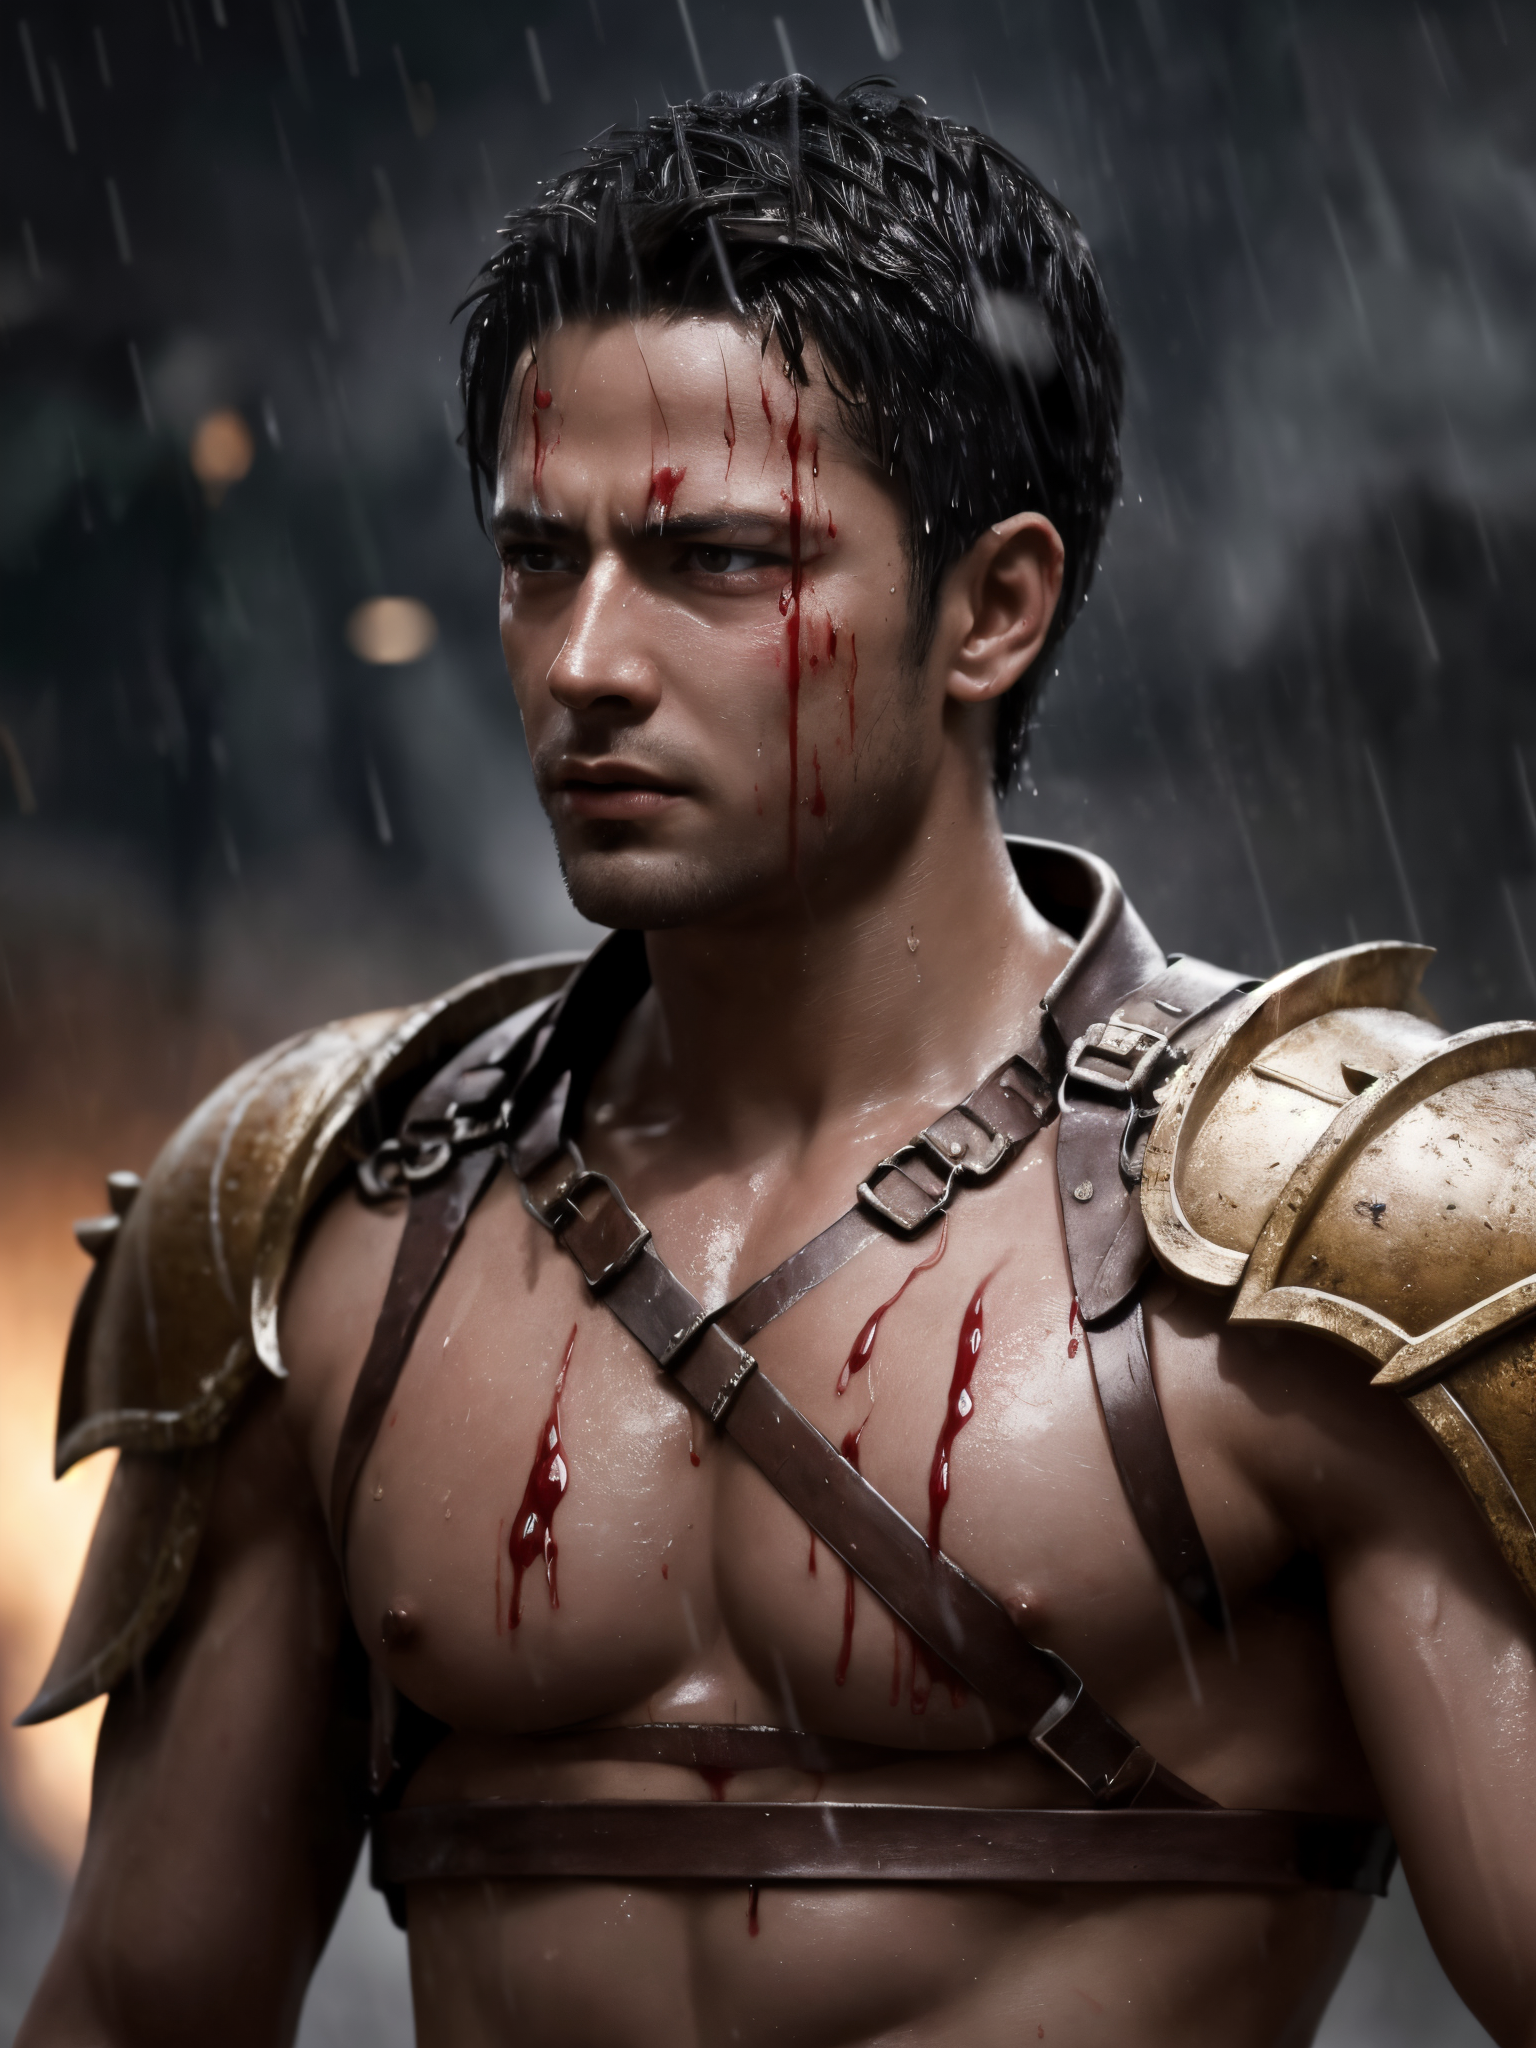
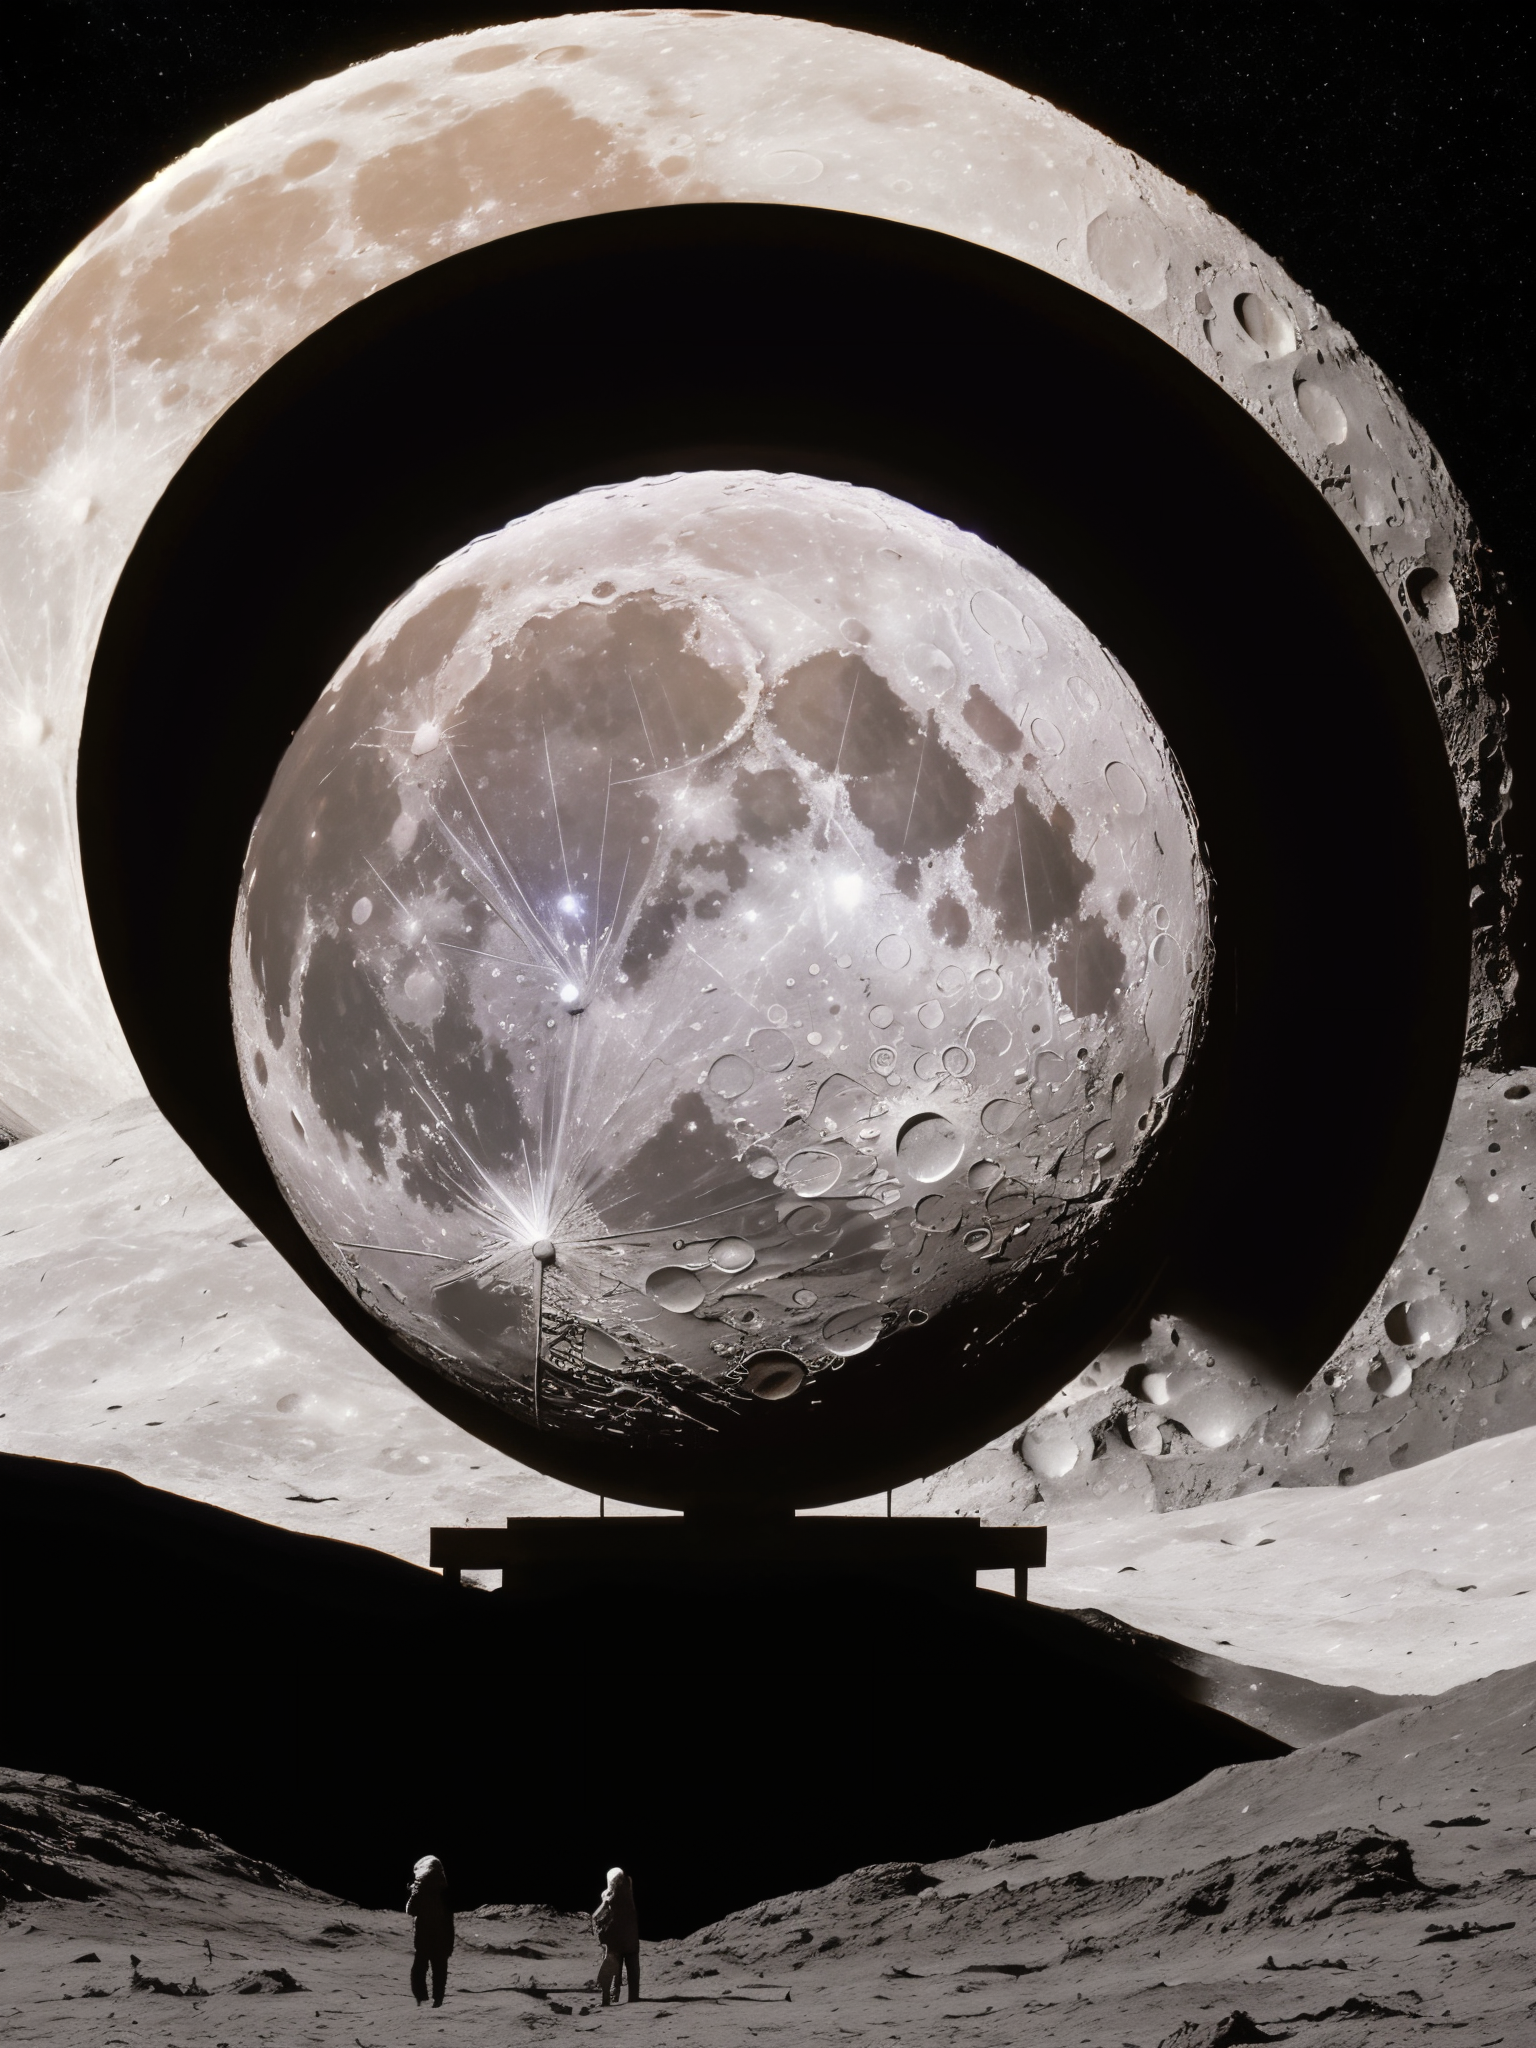
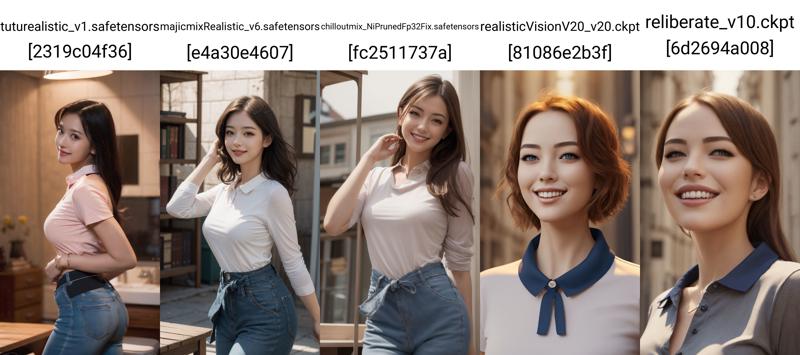
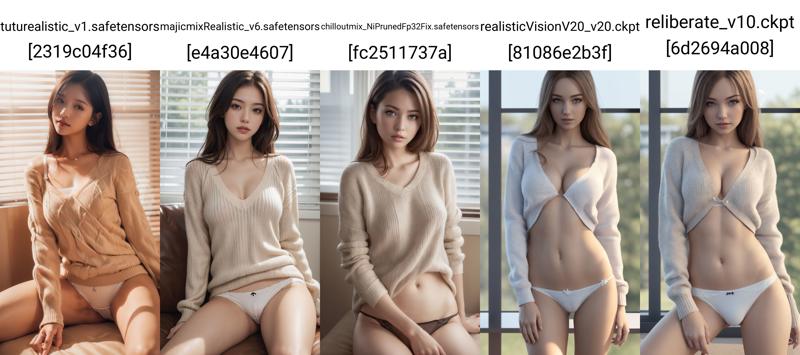
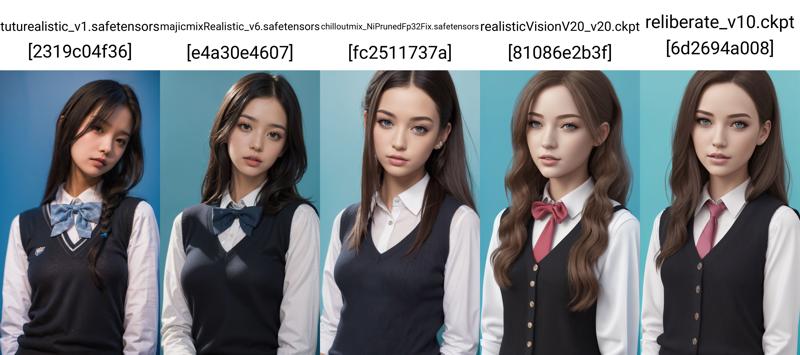
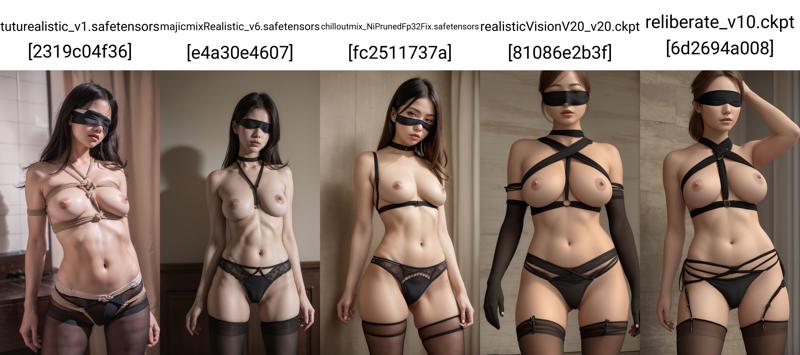
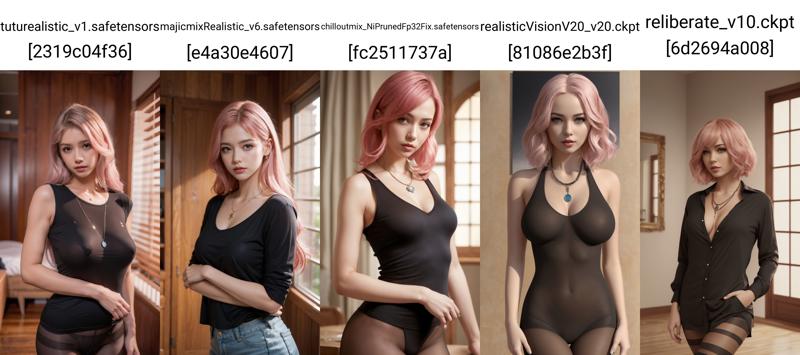
Comparison references from the original release
These comparison images were included in the original release notes. They were generated with basic tags and without extra plugins or LoRAs, using the same or similar prompts across several popular realistic checkpoints at that time. They are kept here because they explain the original purpose of the model: to build a realistic checkpoint with its own photographic taste.
Version history
v3.0 - current recommended version. A major update after learning from earlier versions and integrating more material. The model is more flexible, supports natural language prompts, does not require an extra VAE, and can be adjusted differently for close-up portraits and distant/full-body scenes.
v2.0. The first more complete public direction of Photo Deception. It pursued realism through large amounts of real high-definition photo material rather than relying on uncontrolled merging. It was selected after many failed versions and focused on realistic portraits, especially Asian female portrait aesthetics.
v1.0. The early foundation of the model. It established the realistic direction, but the model was still less complete and needed continued feedback and updates.
FAQ
Why can I not generate the exact same image as your examples?
Every workflow is different: sampler, seed, WebUI version, VAE, plugins, LoRA combinations, face tools, GPU memory limits, and prompt wording all affect the final image. Please do not chase an identical picture. Use the checkpoint to create your own best result.
Should I use face repair?
Usually I do not recommend face repair, because the model itself can produce different face structures from varied material. Use face repair only if you intentionally want a specific face style.
Does this model always produce the same face?
No. The source material is varied, so the model should not be locked to one face shape. This is important for a realistic checkpoint.
Can I use it commercially?
You are responsible for what you generate. If you use this model for commercial work or custom cooperation, please contact me first.
Statement
- You are fully responsible for any creative work made with this model.
- Do not use this model to impersonate real people, deceive others, or create illegal, harmful, malicious, defamatory, fraudulent, or political content.
- If you use this model commercially, please inform me. Thank you.
中文说明
图图的照骗 是我制作的 SD 1.5 真实系大模型,主要方向是照片感人物、真实系肖像、时装写真、自然光、街拍氛围、亚洲人像审美,以及更接近真实相机而不是重度插画化的画面。
“照骗”这个名字带一点玩笑,它的意思是让 AI 图更像照片,而不是鼓励拿它去冒充真人、欺骗他人或做不合适的用途。请负责任地使用。
当前推荐版本是 v3.0。这一版是在之前版本基础上充分学习和整合后获得的重大更新。我最早确实更倾向于不融合,想尽量靠真实高清素材和概念学习去堆出真实感。但做了足够多测试之后,我承认融合也有融合的必要性。关键不在于模型是不是“纯”,而在于最终是否真实、丰富、稳定、好用。
模型方向
- SD 1.5 真实系人物/照片感大模型。
- 擅长真实系人像、亚洲女性人像、时装写真、自然皮肤质感和光影。
- 可以使用自然语言,也可以使用常见真实系 tag。
- 没有固定触发词。
- 素材很丰富,请多尝试不同提示词和场景。
v3.0 的变化
v3.0 是一次比较重要的更新。它不是单纯换个名字,而是在旧版本基础上继续学习、吸收和整合之后得到的版本。以前我更想坚持不融合,但后面发现,坏的融合会让模型变脏,好的融合则可能让模型更完整。
所以这一版更重视实际出图效果:自然语言可以用,常规真实系 tag 可以用,近景头像、半身、全身、远景都可以按不同参数调整。没有必须照抄的固定设置,真正重要的是根据画面需求去判断。
推荐设置
- VAE:可以不额外加载,也可以按个人喜好尝试适合真实系的 VAE。
- 提示词:支持自然语言,也支持常见真实系模型 tag。
- CLIP skip:我常用 2;如果是近景头像写真,也可以试试 1。
- 迭代步数:30 到 50,不要太低。
- 采样器:不要锁死一种,新的采样器很多,可以多试。
- CFG Scale:5 到 12;7、7.5、8 都是不错的起点。
- 初始宽高:最好不要超过 1024。
- 高清修复:建议开启。
- 重绘幅度:近景可以小一些,远景和全身可以大一些;常用范围 0.25 到 0.55。
- 放大倍数:2 倍是不错的默认值,显存不足可用 1.5 或 Tiled VAE。
- 面部修复:一般不建议开,除非你追求特定脸型。
- ADetailer:按需要开启。
提示词方向
这个模型没有专用触发词,按真实系大模型正常使用即可。
realistic portrait photographynatural skin texturesoft natural lightstreet photographyfashion photographycinematic lightingshallow depth of field85mm lensphoto-realistichigh detailrealistic eyesclean background
近景头像重点写脸部细节、镜头、光线、表情。全身和远景要把服装、动作、环境和镜头距离写清楚。不要只依赖高 CFG 或修脸。
制作路线
最早制作这个模型时,我是为了追求真实感,所以尽量不和其他已有大模型进行不可控融合,而是不断加入大量真实超高清照片和概念进行学习。很多高清照片素材都是付费购买的,也有长期积累而来。为了这个模型,我还专门买了一块 4090(笑)。
第一版是从上百个版本中选出来的,在正式发布前已经有十几个版本被放弃。它不是一次幸运融合出来的模型,而是不断训练、比较、筛掉,再继续修正的结果。
v3.0 延续真实系方向,但态度更务实:如果学习和融合能让模型更丰富,同时仍然保持真实感,那就应该谨慎使用。模型最终要服务于作品,而不是服务于一个听起来很“纯”的概念。
原始对比参考
下面这些对比图来自原始发布说明,使用当时比较热门的真实系大模型,以相同或相近关键词、不使用额外插件和 LoRA 生成。保留它们是为了说明这个模型最初的目标:做一个有自己照片感审美的真实系大模型。
版本说明
v3.0:当前推荐版本。 在前面版本基础上学习、吸收、融合之后得到的重大更新。更灵活,支持自然语言,不需要额外 VAE,近景和远景可以按不同重绘幅度处理。
v2.0: 照骗较完整的早期公开方向。通过大量真实高清照片和概念学习追求真实感,而不是依赖不可控融合。重点是人物写真,特别是亚洲女性人像审美。
v1.0: 模型的早期基础版本,确立了真实系方向,但还不够完整,需要长期反馈和更新。
常见问题
为什么我出不了和你一样的图?
采样器、种子、WebUI 版本、VAE、插件、LoRA 组合、修脸工具、显存限制、提示词写法都会影响结果。不要追求完全一样,做出适合自己作品的图更重要。
要不要开面部修复?
一般不建议开。这个模型本身就会因为素材多样而产生不同脸型。除非你想追求特定脸型,否则可以先不开。
这个模型会不会总是出同一张脸?
不会。这正是它的设计方向之一:素材照片不同,模型不应该只锁死一种脸。
声明
- 你需要对使用本模型生成的任何作品承担全部责任。
- 不要使用本模型冒充真人、欺骗他人,或制作/传播非法、有害、恶意、诽谤、诈骗、政治用途内容。
- 如果将本模型用于商业用途或定制合作,请提前联系我,谢谢。
日本語説明
Tutu's Photo Deception は、写真のようなリアルな人物生成を目指した SD 1.5 系チェックポイントです。ポートレート、自然光、ファッション写真、街撮り風、アジア系ポートレートの雰囲気に向いています。
現在のおすすめは v3.0 です。以前のバージョンから学習し、素材とモデル挙動を統合した大きな更新です。最初は融合を避ける方針でしたが、実際に多くのテストをした結果、慎重な融合には必要性があると考えるようになりました。
- VAE: 追加 VAE は必須ではありません。
- Prompt: 自然言語でも、通常のリアル系タグでも使えます。
- CLIP skip: 通常は 2、近景ポートレートでは 1 も試せます。
- Steps: 30 から 50。
- CFG: 5 から 12。7、7.5、8 がよい開始点です。
- Hires fix: 仕上げにはおすすめです。
- Denoising: 0.25 から 0.55 を目安に、近景は小さめ、全身や遠景は大きめに調整してください。
このモデルには固定トリガーはありません。realistic portrait photography, natural skin texture, soft natural light, fashion photography, cinematic lighting など、通常のリアル系プロンプトで使えます。
本人になりすます、他人を欺く、違法または有害な用途には使用しないでください。商用利用やカスタム協力の場合は、事前に連絡してください。