Nicholas Quail - Image Engine (NQ - Image Engine)


Details
Download Files
Model description

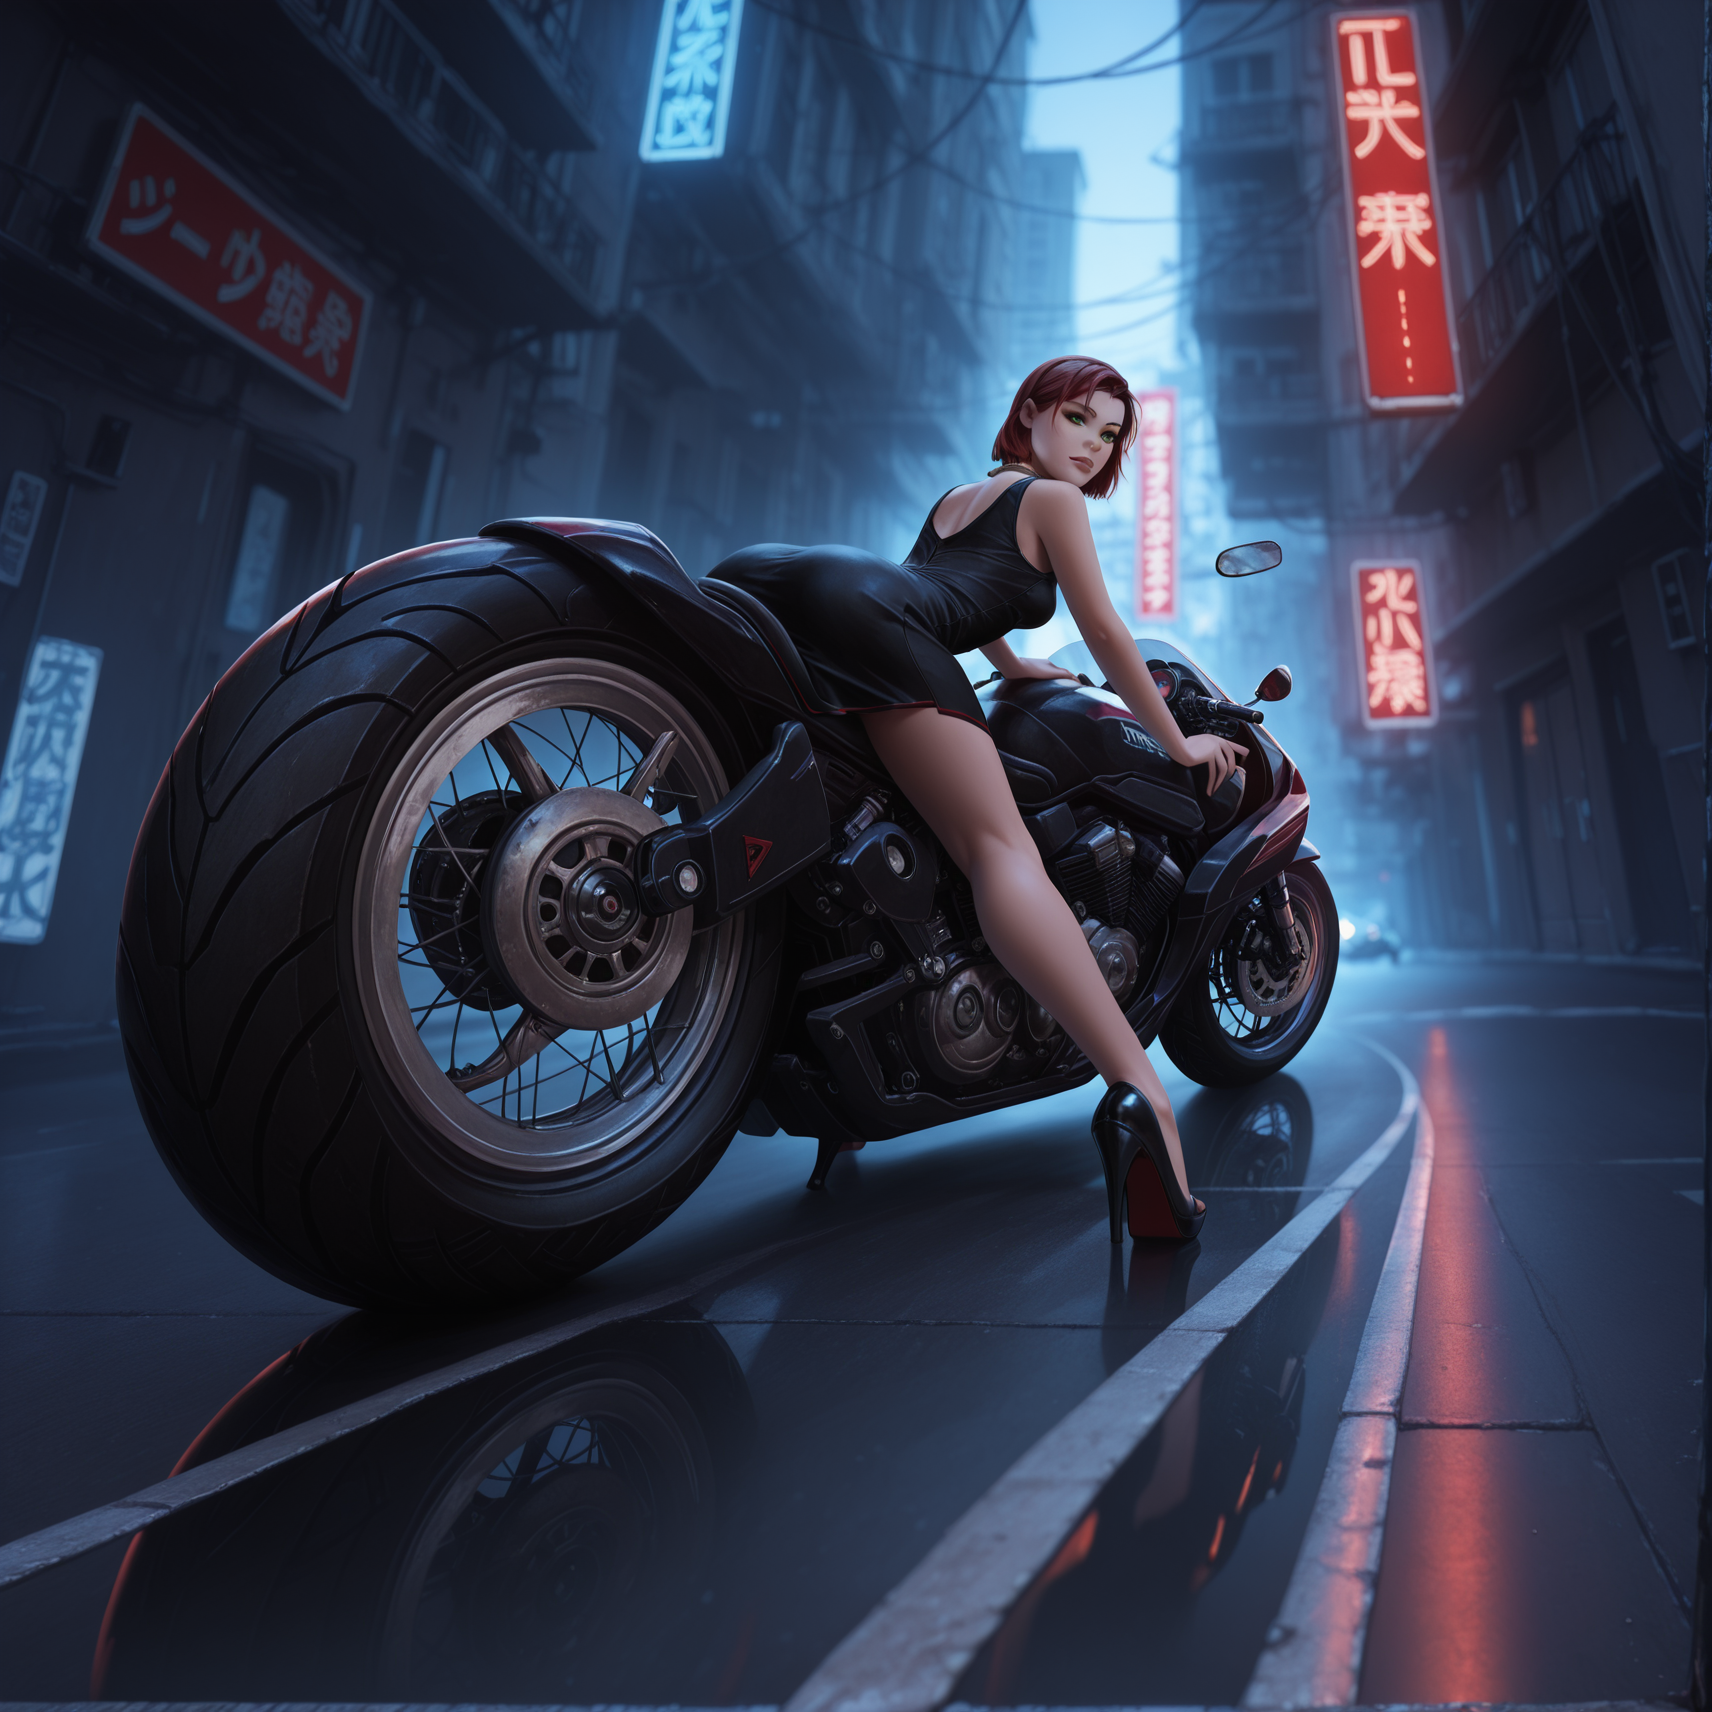
Here is my personal NQ - Image Engine workflow. It accompanies the base NQ – Text Engine workflow but provides a great image 2 image generation mainframe. It includes everything you need to go from those random, basic generations to the level of a beautiful masterpiece that you keep seeing online. It is easy & noob friendly - just click on the buttons and see the magic happens.
It is aimed to provide a flawless & convenient Img2Img generation. If you need the Text2Img version, check my other workflow - NQ - Text Engine: Nicholas Quail - Text Engine.

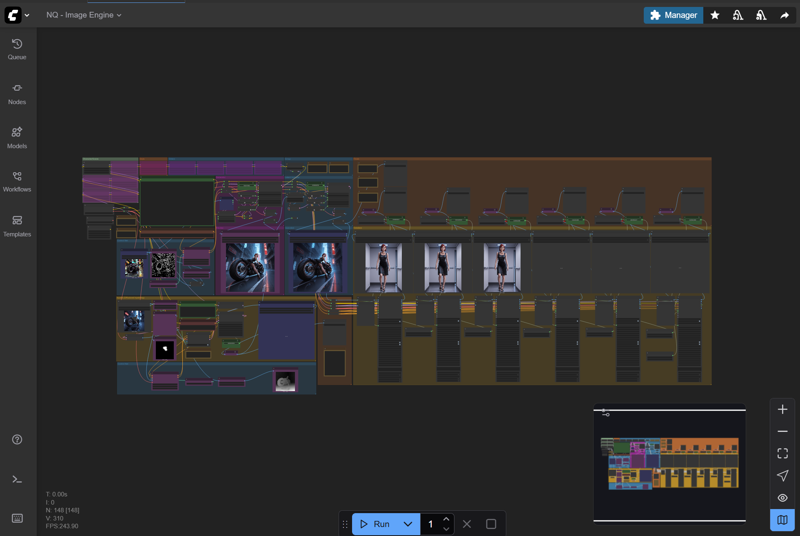
Preview and re-generate images easily without going through the whole workflow
My workflow stands on great stop-checkpoints from GitHub - Smirnov75/ComfyUI-mxToolkit: ComfyUI custom nodes kit, so you can generate/re-generate the preview image in lower res multiple times, then generate/re-generate the upscaled/detailed versions, compare them all and safe only the ones you want to keep - without completing the whole wheel/queue of detailers and other things, which make no sense when a base image is broken. Such an approach makes everything easy. I've been always wondering why people do not use the stopping nodes and they rather go through the whole workflow process - wasting time and wasting hardware for failed generations. No need to do it, here you get a complete set-up for all of your needs.
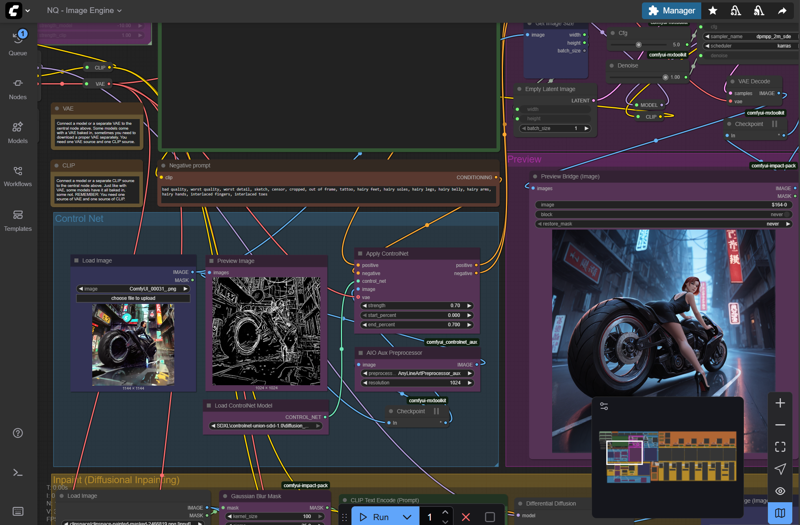
Img2Img & Inpaint with Control Net
All in one. It uses a new differential diffusion method, which basically fixes all the issues with Comfy UI inpainting functionalities. You can inpaint with control net included - to make inpainting much better, more precise (still inpaints only the masked area) - or you can bypass the whole control net block and inpaint raw - which of course, creates more random results and is not necessarily more creative - since if you adjust the control net settings for a particular image, the inpainting will be still much better.

One Detailer to Rule them All
Now - I'm using a character/person detailer from ComfyUI Impact Pack and
ComfyUI Impact Subpack at 1024 guide_size. It is massive, it consumer VRAM but it produces amazing results. Lowering it will bring the body detailer's quality down but if your GPU cannot handle it, just lower it to 512 or 384 - like all the other upscalers. The logic behind my approach is that by doing so, I often do not need to apply any face detailer nor anything else. It is a superb quality already. When I see additional toes/fingers, I simply re-generate or apply the feet/hands detailers, which work great and that's it. You can see the results and the comparisons in all the preview images.
Base Latent Detailer (just the basic detailing)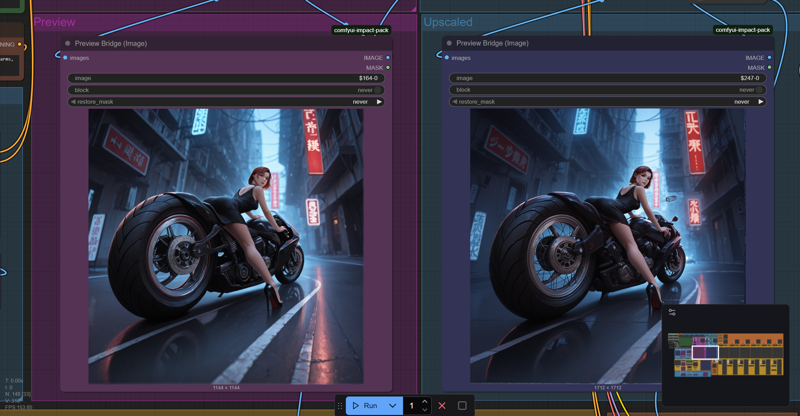
Further Character Detailing (that one at 1024 guide_size, takes around a minute on RTX5090)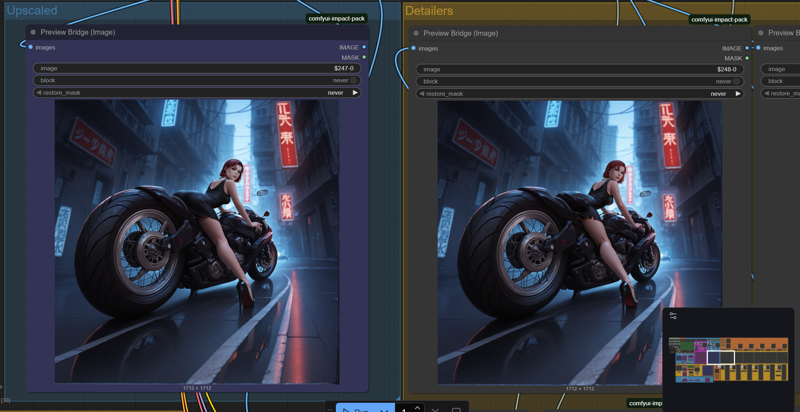
Custom Danbooru tags list inside of the workflow
For convenience. Everything tested and ready to use with Illustrious models. I simply opened up the list of Danbooru tags, then hand-picked the most popular and most useful ones, then created my own format of prompting that works extremely well with all the popular illustrious tunes - it partly follows the Illustrious paper structures, partly bases on logic.
Artist: (NAME:1.6),
Character: name, series,
Face: DANBOORU FACE TAGS,
Body: DANBOORU BODY TAGS,
Outfit: DANBOORU OUTFIT TAGS,
Pose: DANBOORU POSE TAGS,
Composition: full body/upper body, looking at viewer/DANBOORU PERSPECTIVE TAGS,
Location: DANBOORU LOCATION TAGS,
Weather, Lighting, etc.
Quality tags,
Of course, you can boost the results with natural language description of details. Workflow now includes notes fields with premade, useful tags that come from Danbooru. Since Illustrious models are trained on exactly those tags, it's obvious that generations work very well while using them. Thanks to those notes in the Workflow, you do not need to check anything outside - just think what you want, check the tags, add your own details and generate :-)
Requirements
Workflow is currently tuned for Illustrious models & LoRAs but don't be discouraged - it is a fully universal workflow that adapts to any model you want to use. Just edit the main and detailer samplers (K samplers) to match the values suggested by a model/tune creator and everything will work flawlessly.
Of course, you need to download a couple of the extensions - not much - actually - just two or three packs. Use the Comfy_UI Manager - install it first from github and then - when you open up my workflow, it's gonna suggest downloading all the missing nodes for you automatically.
I suggest a couple of models/detectors/detailers - but feel free to swap them for whatever you want:
Model:
WAI-NSFW-illustrious-SDXL - v14.0 | Illustrious Checkpoint | Civitai
- it is an amazing tune of Illustrious, I'm totally shocked how well it works and how versatile it is
Feet:
ADetailer foot_yolov8x.pt - v2.0 | Other Other | Civitai
- old format but don't worry, it's safe and it's still the best feet detailer out there
Eyes:
Eyes detection (Adetailer) - v1.0 | Stable Diffusion Detection | Civitai
- a great detailer for eyes, may require a bit of settings tweak depending on your image composition; to be honest, it's often not needed at all with my hardcore AIO character detailer approach but I sometimes still use it on top of that
Female Genitalia:
Better detailed pussy and anus - v3.0 | Illustrious LoRA | Civitai
- great set of genitalia detailers, it may be required for NSFW - even with my hardcore AIO character detailer approach
**Male Genitalia:
**Cock and Ball Detection 2D edition (ADetailer) - v2.0 | Other Detection | Civitai
Cock and Ball Detection 2D edition (ADetailer) - v2.0 | Other Detection | Civitai
- as above, needed for males to achieve great NSFW results