Sexiam Img2Img 2.0


Details
Download Files (1)
Model description
Sexiam’s IMG2IMG + Upscale Workflow Guide (ComfyUI)
A clean, practical walkthrough for using the workflow effectively.
🧱 1. Load Your Checkpoint
Start here:
Load your SDXL checkpoint
(Optional) Load an external VAE
SDXL behaves differently depending on its VAE, so pick whichever looks best for your model.

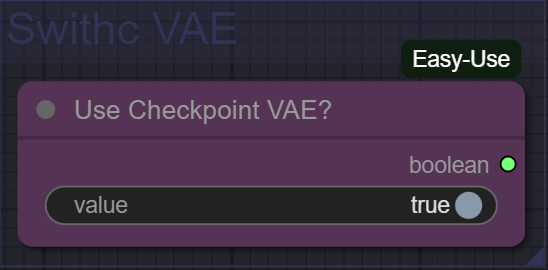
🔧 2. Set Your VAE Mode
If you want to use the checkpoint’s built-in VAE, set:
“Use Checkpoint VAE?” = True
If you want to use your external VAE, set:
“Use Checkpoint VAE?” = False
🖼️ 3. Load Your Input Image
Upload your source image using the Load Image node.
Orientation Check
Set the “Image is Portrait?” toggle correctly:
Portrait → True
Landscape → False
Load an Upscale Model
Pick the upscaler you want (Remacri, SwinIR, ESRGAN, etc.).
You’re not upscaling the final output here — you’re shaping a clean latent size for SDXL.

📏 Why the Workflow Uses ‘Upscale by Model’ Before Sampling
You might ask:
“Why am I using ‘Upscale by Model’ for image-to-image?”
Here’s the short answer:
➡️ You’re not actually upscaling to output — you’re resizing the latent.
SDXL was trained on ~1MP images, so pushing too high causes:
Generation errors
Warped structure
Model collapse
This workflow uses a safe baseline:
832×1216 (portrait)
1216×832 (landscape)
Multiplied by 1.5× (50% larger)
This is the maximum size SDXL samplers can reliably handle before breaking.
If you're having issues, reset the “Scale to Target Ratio” nodes to whatever size works for your system.
This workflow is ideal for using the input as a loose generational base, meaning:
Great for creative reinterpretations
Fine for refinement
Some proportions/details may change (normal for IMG2IMG)
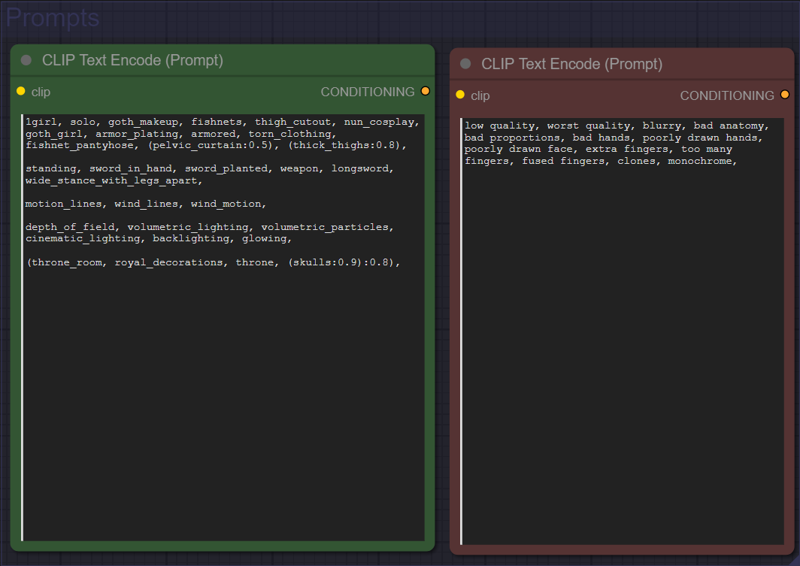
✍️ 4. Enter Your Prompts
Fill in your:
Positive prompt
Negative prompt
These control the details, style, and adherence to the original image.
🎛️ 5. Adjust KSampler Settings (Critical for IMG2IMG)
For IMG2IMG, denoise strength is the most important setting:
0.7 → Loose interpretation of the input
Model only reuses ~30% of the original
0.5 → Preserves composition + color
Allows detail refinement
Great for keeping the structure mostly intact
Use lower values when you want accuracy, higher when you want creativity.

🔍 6. Optional: Final Model Upscaling (Use Only at Low Denoise)
This section lets you upscale the final output if your denoise is 0.4 or lower.
Why this matters:
Low denoise keeps most of the latent structure, so upscaling is stable.
Results vary based on:
GPU VRAM
System RAM
How large you upscale
Steps:
Load the final image
Set the upscale multiplier
1.5× → 50% bigger
2× → double the resolution
Choose an upscale model
Realistic outputs → clean general ESRGAN models
Stylized/anime outputs → anime-optimized upscale models

# 📦 Required Custom Nodes
These are the only node packs used in the workflow. Install them through ComfyUI-Manager or manually via GitHub.