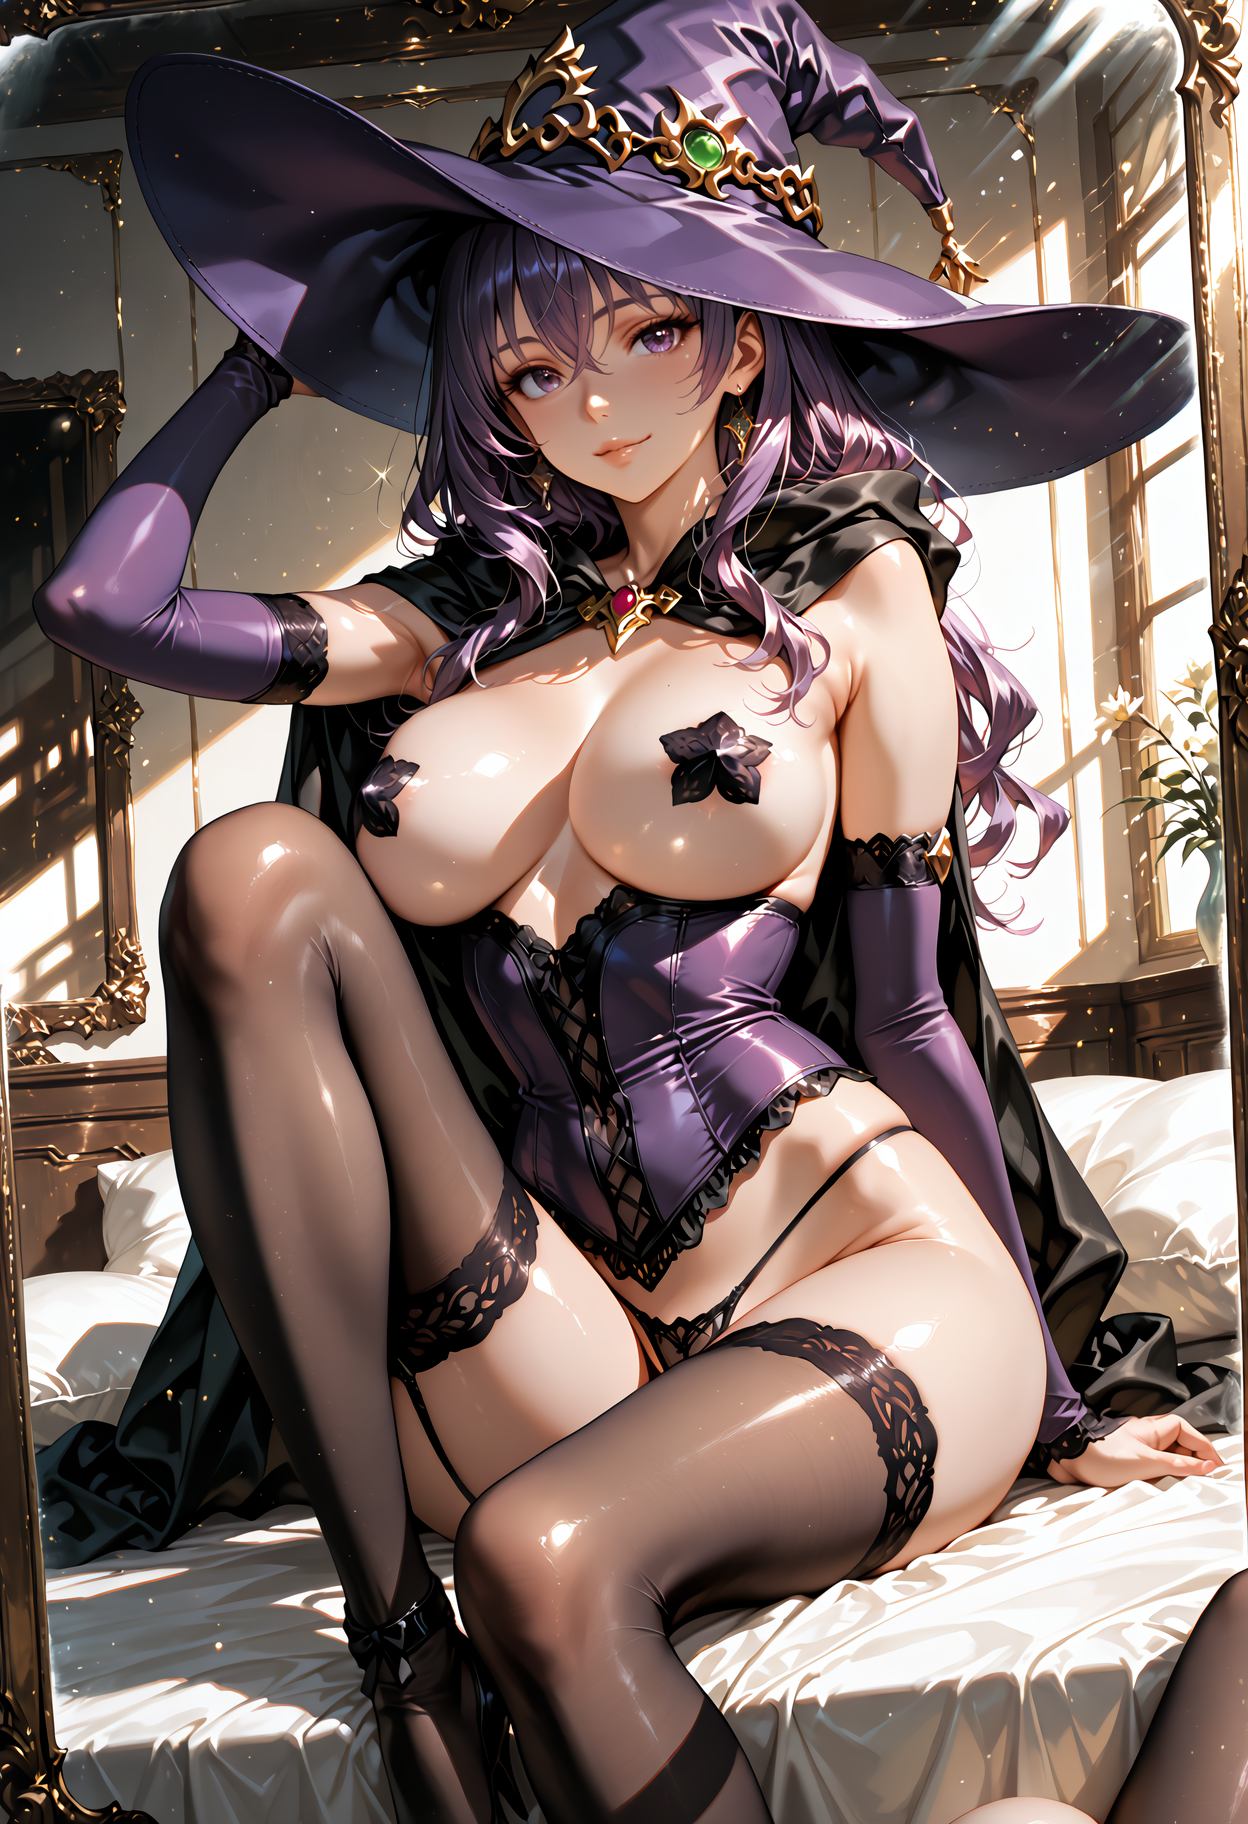
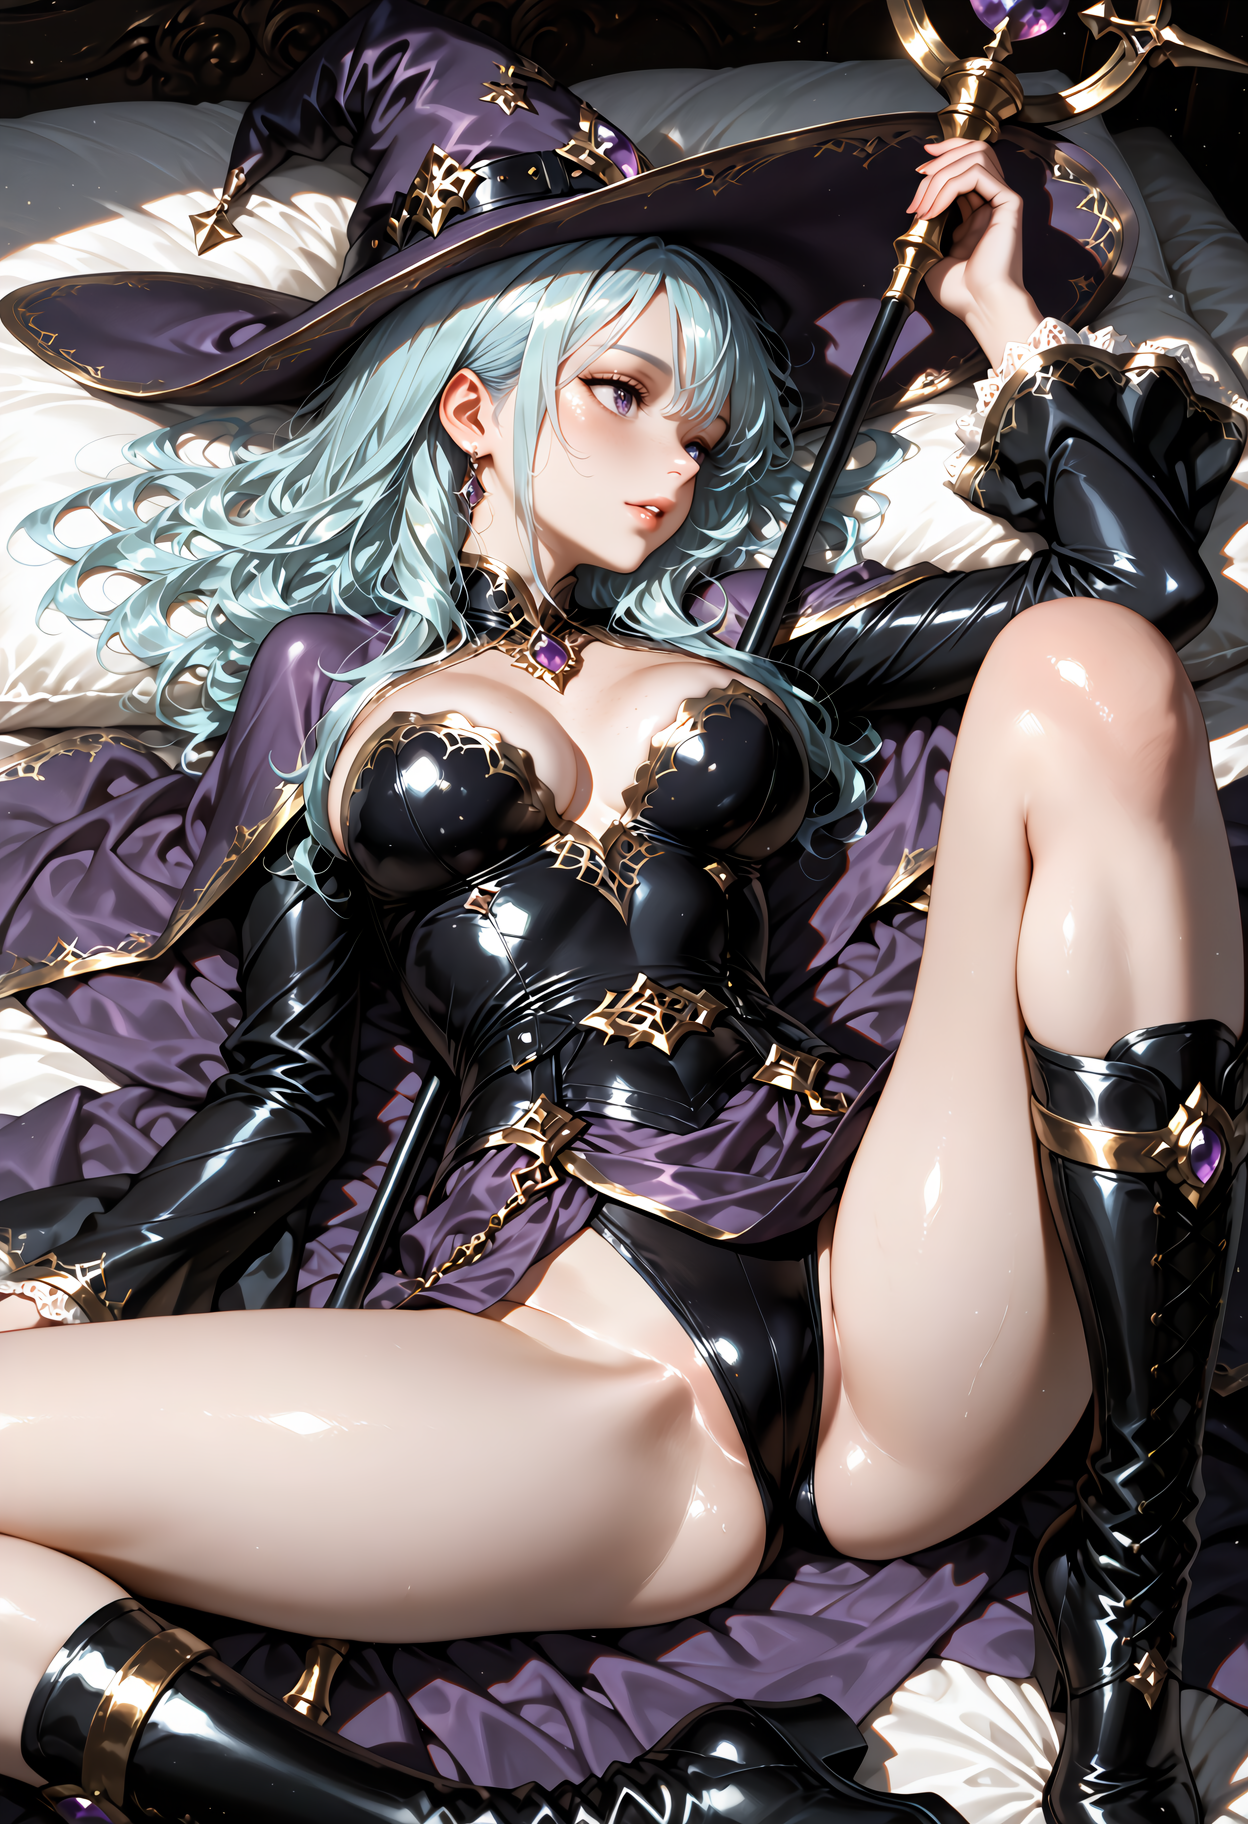
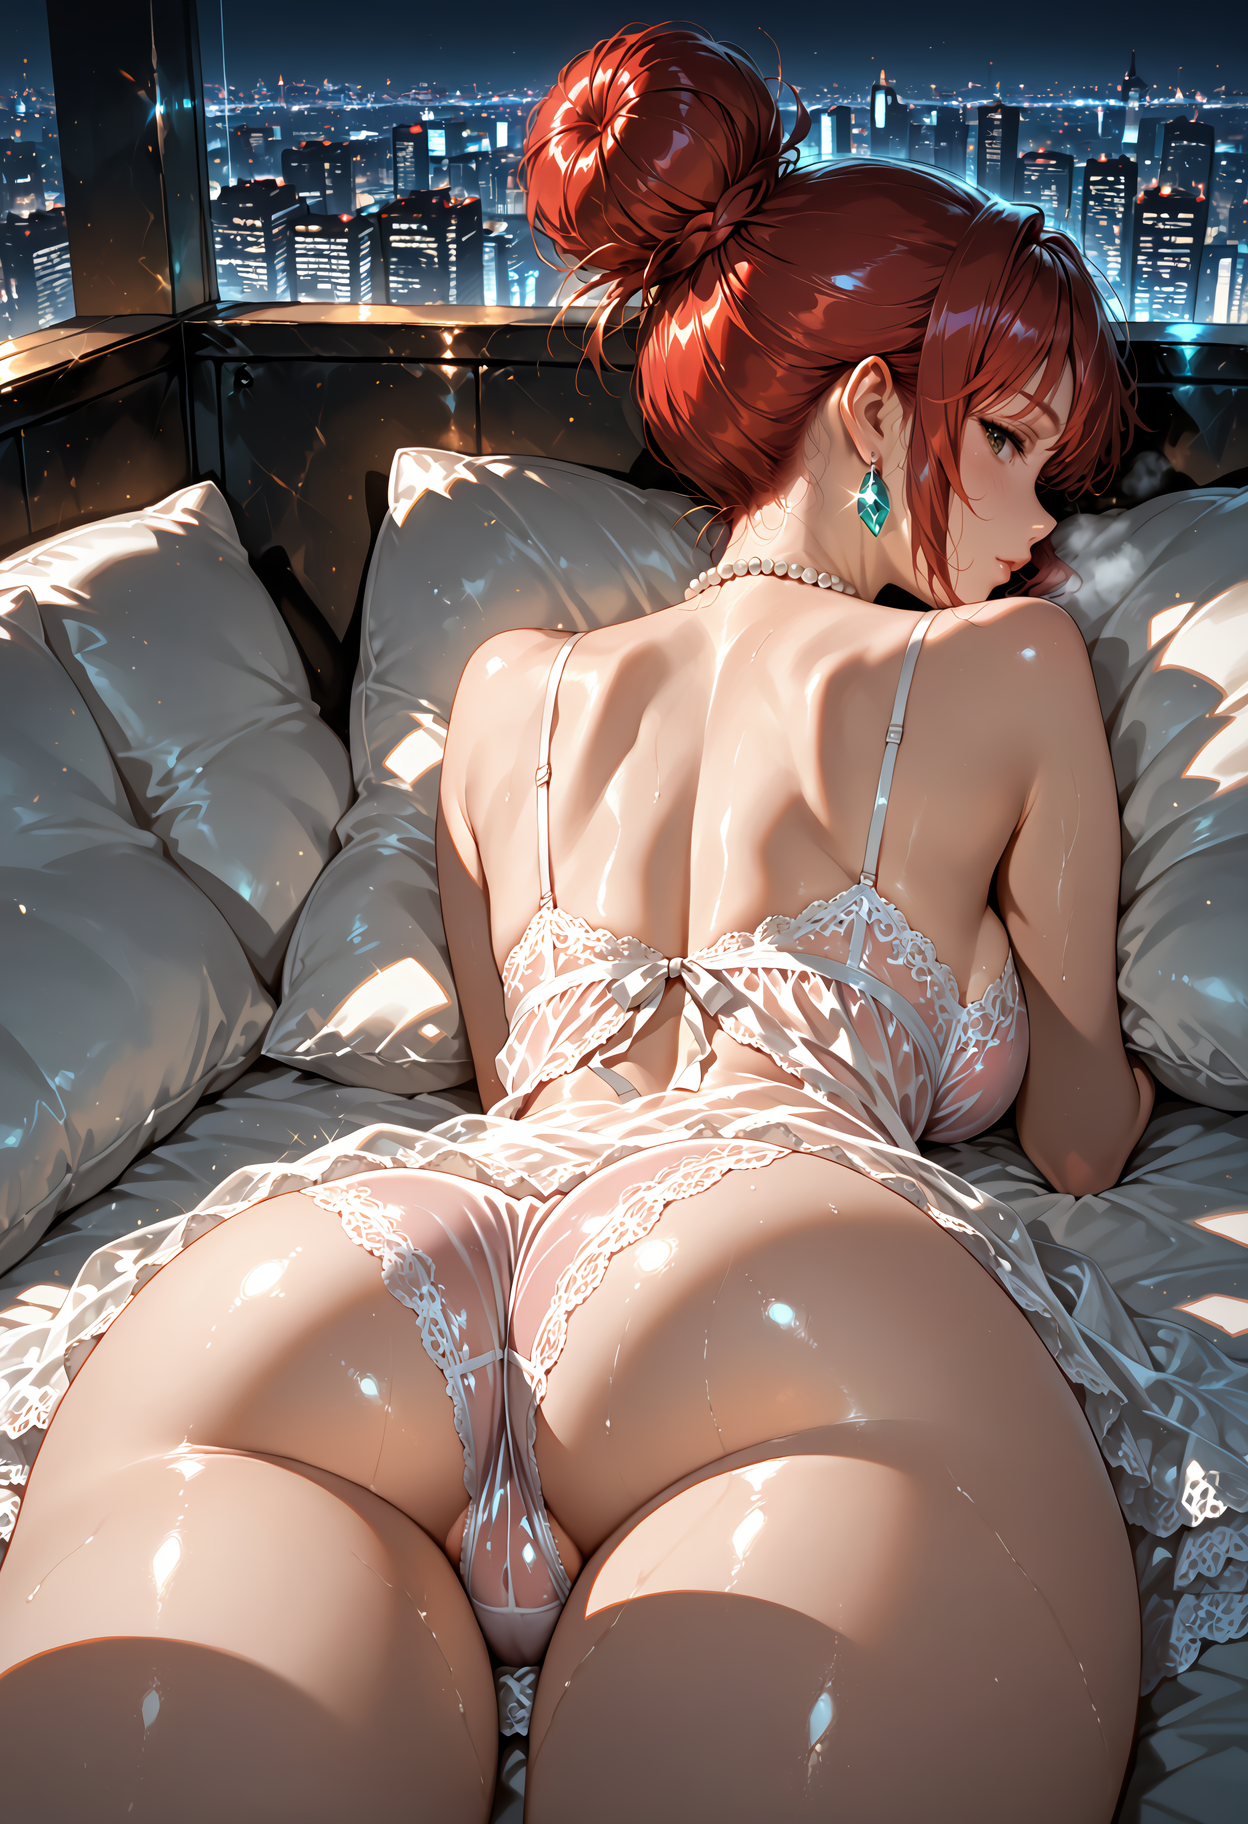
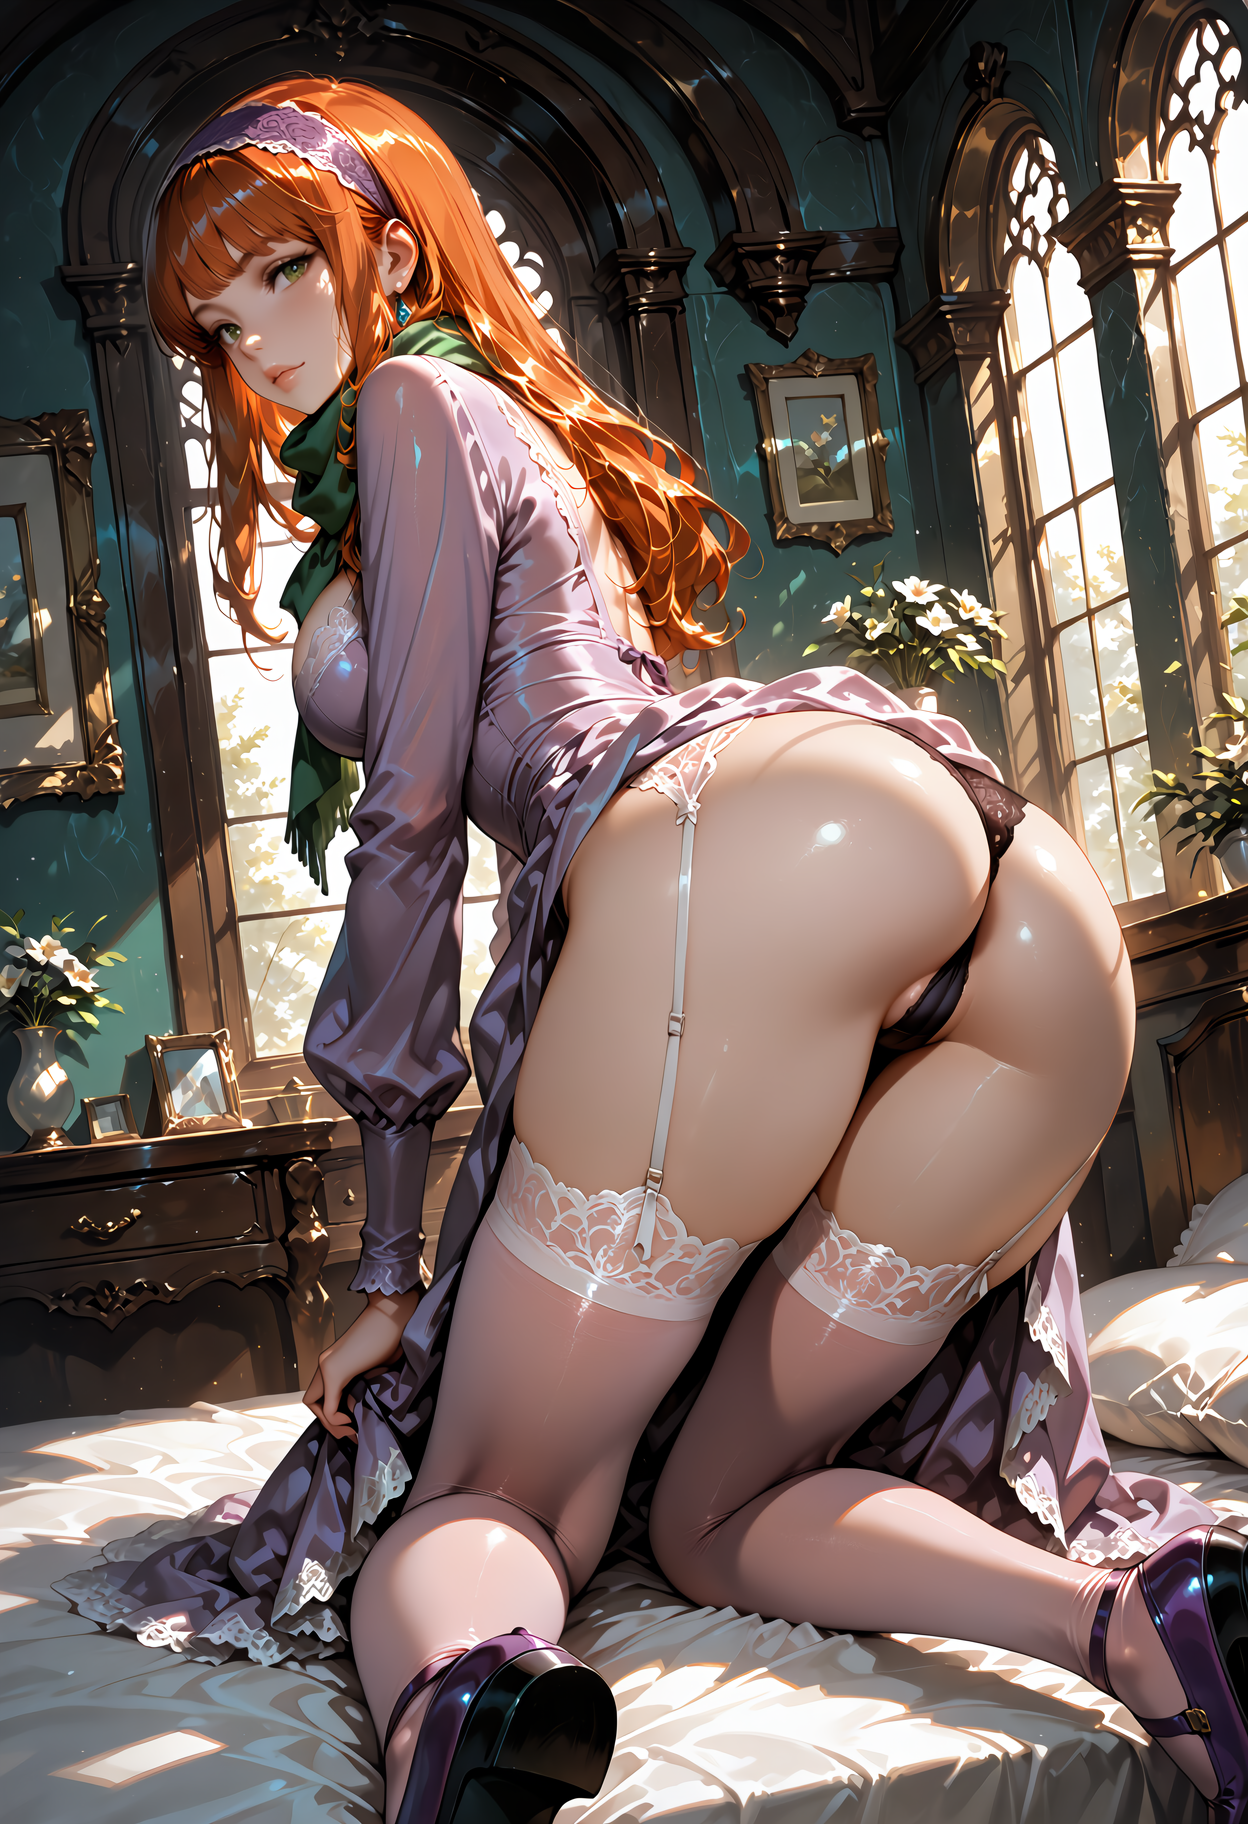
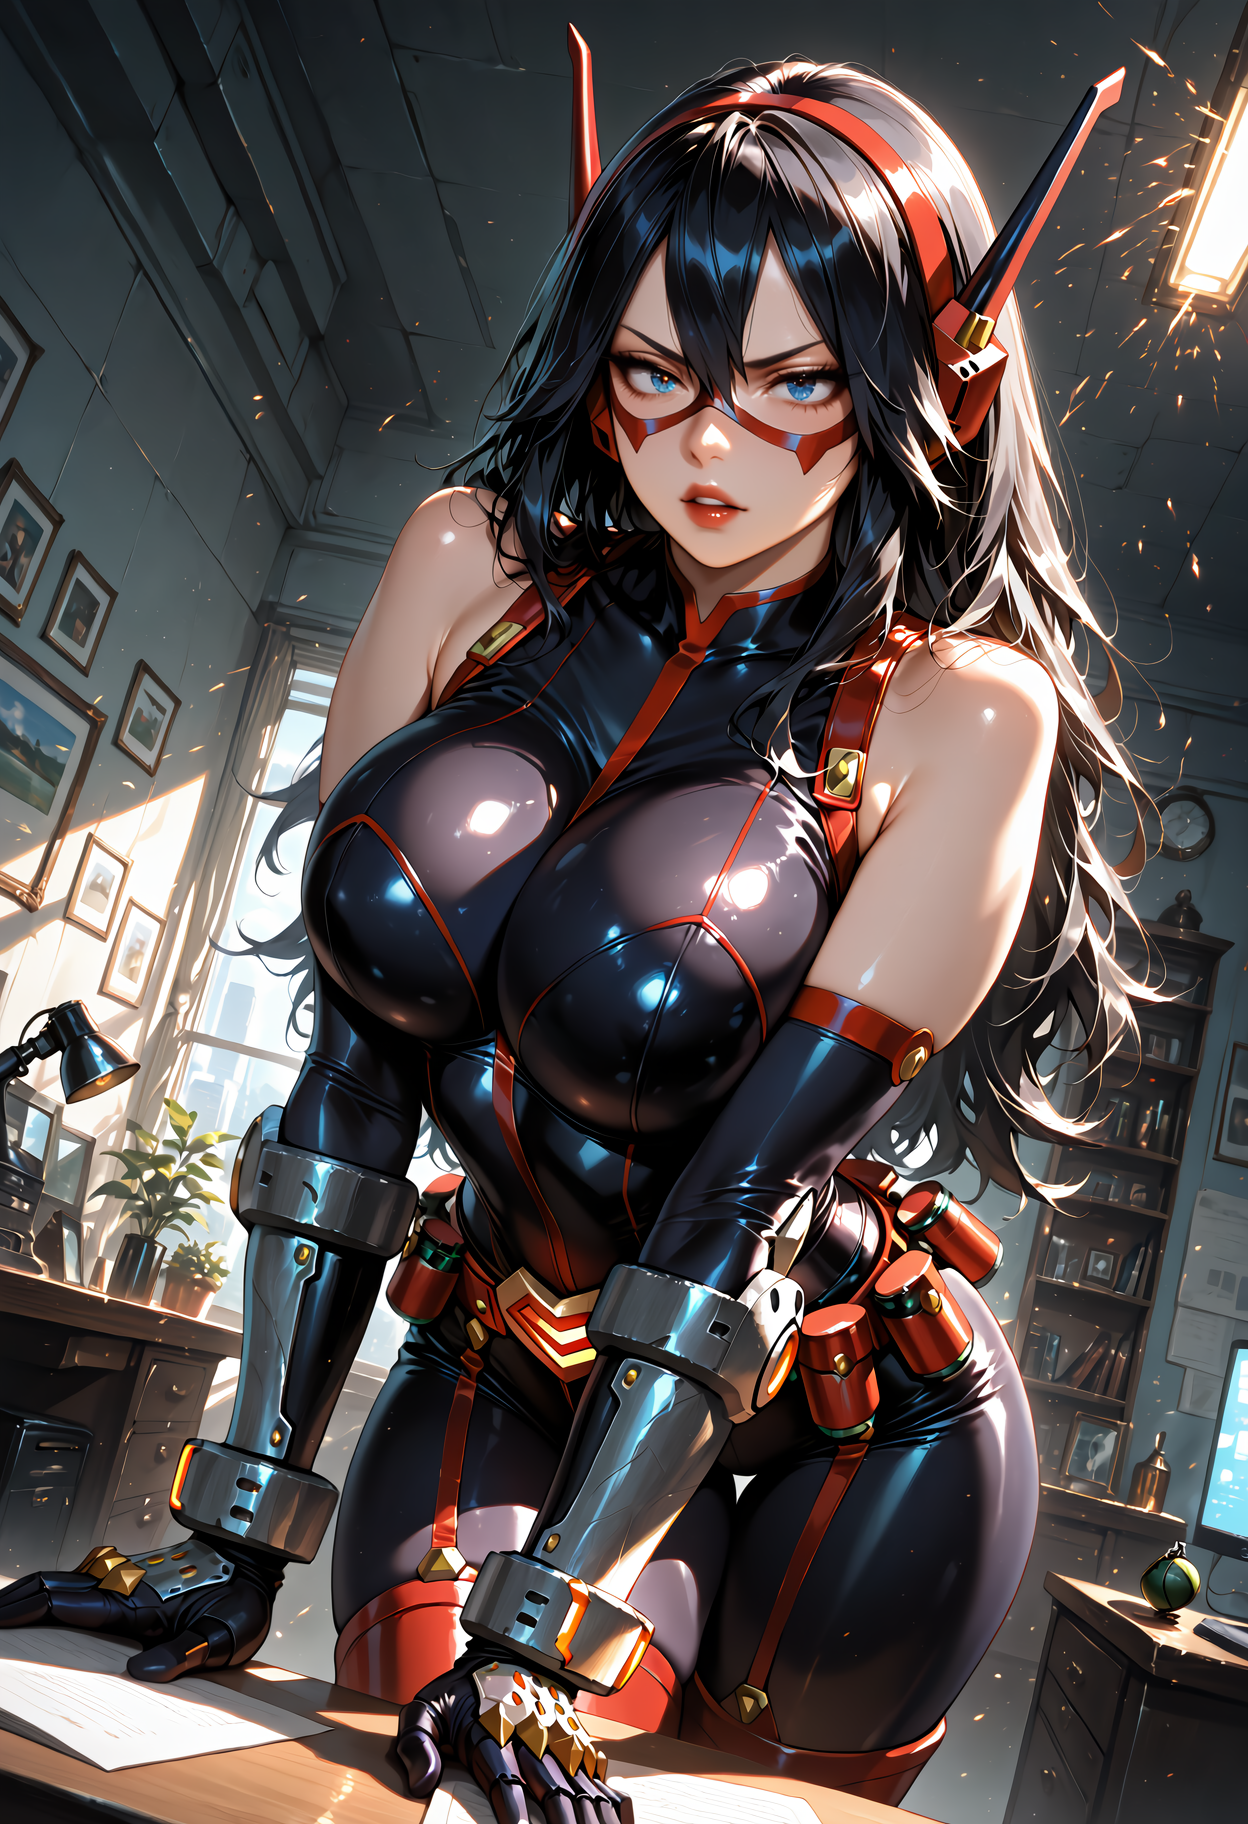
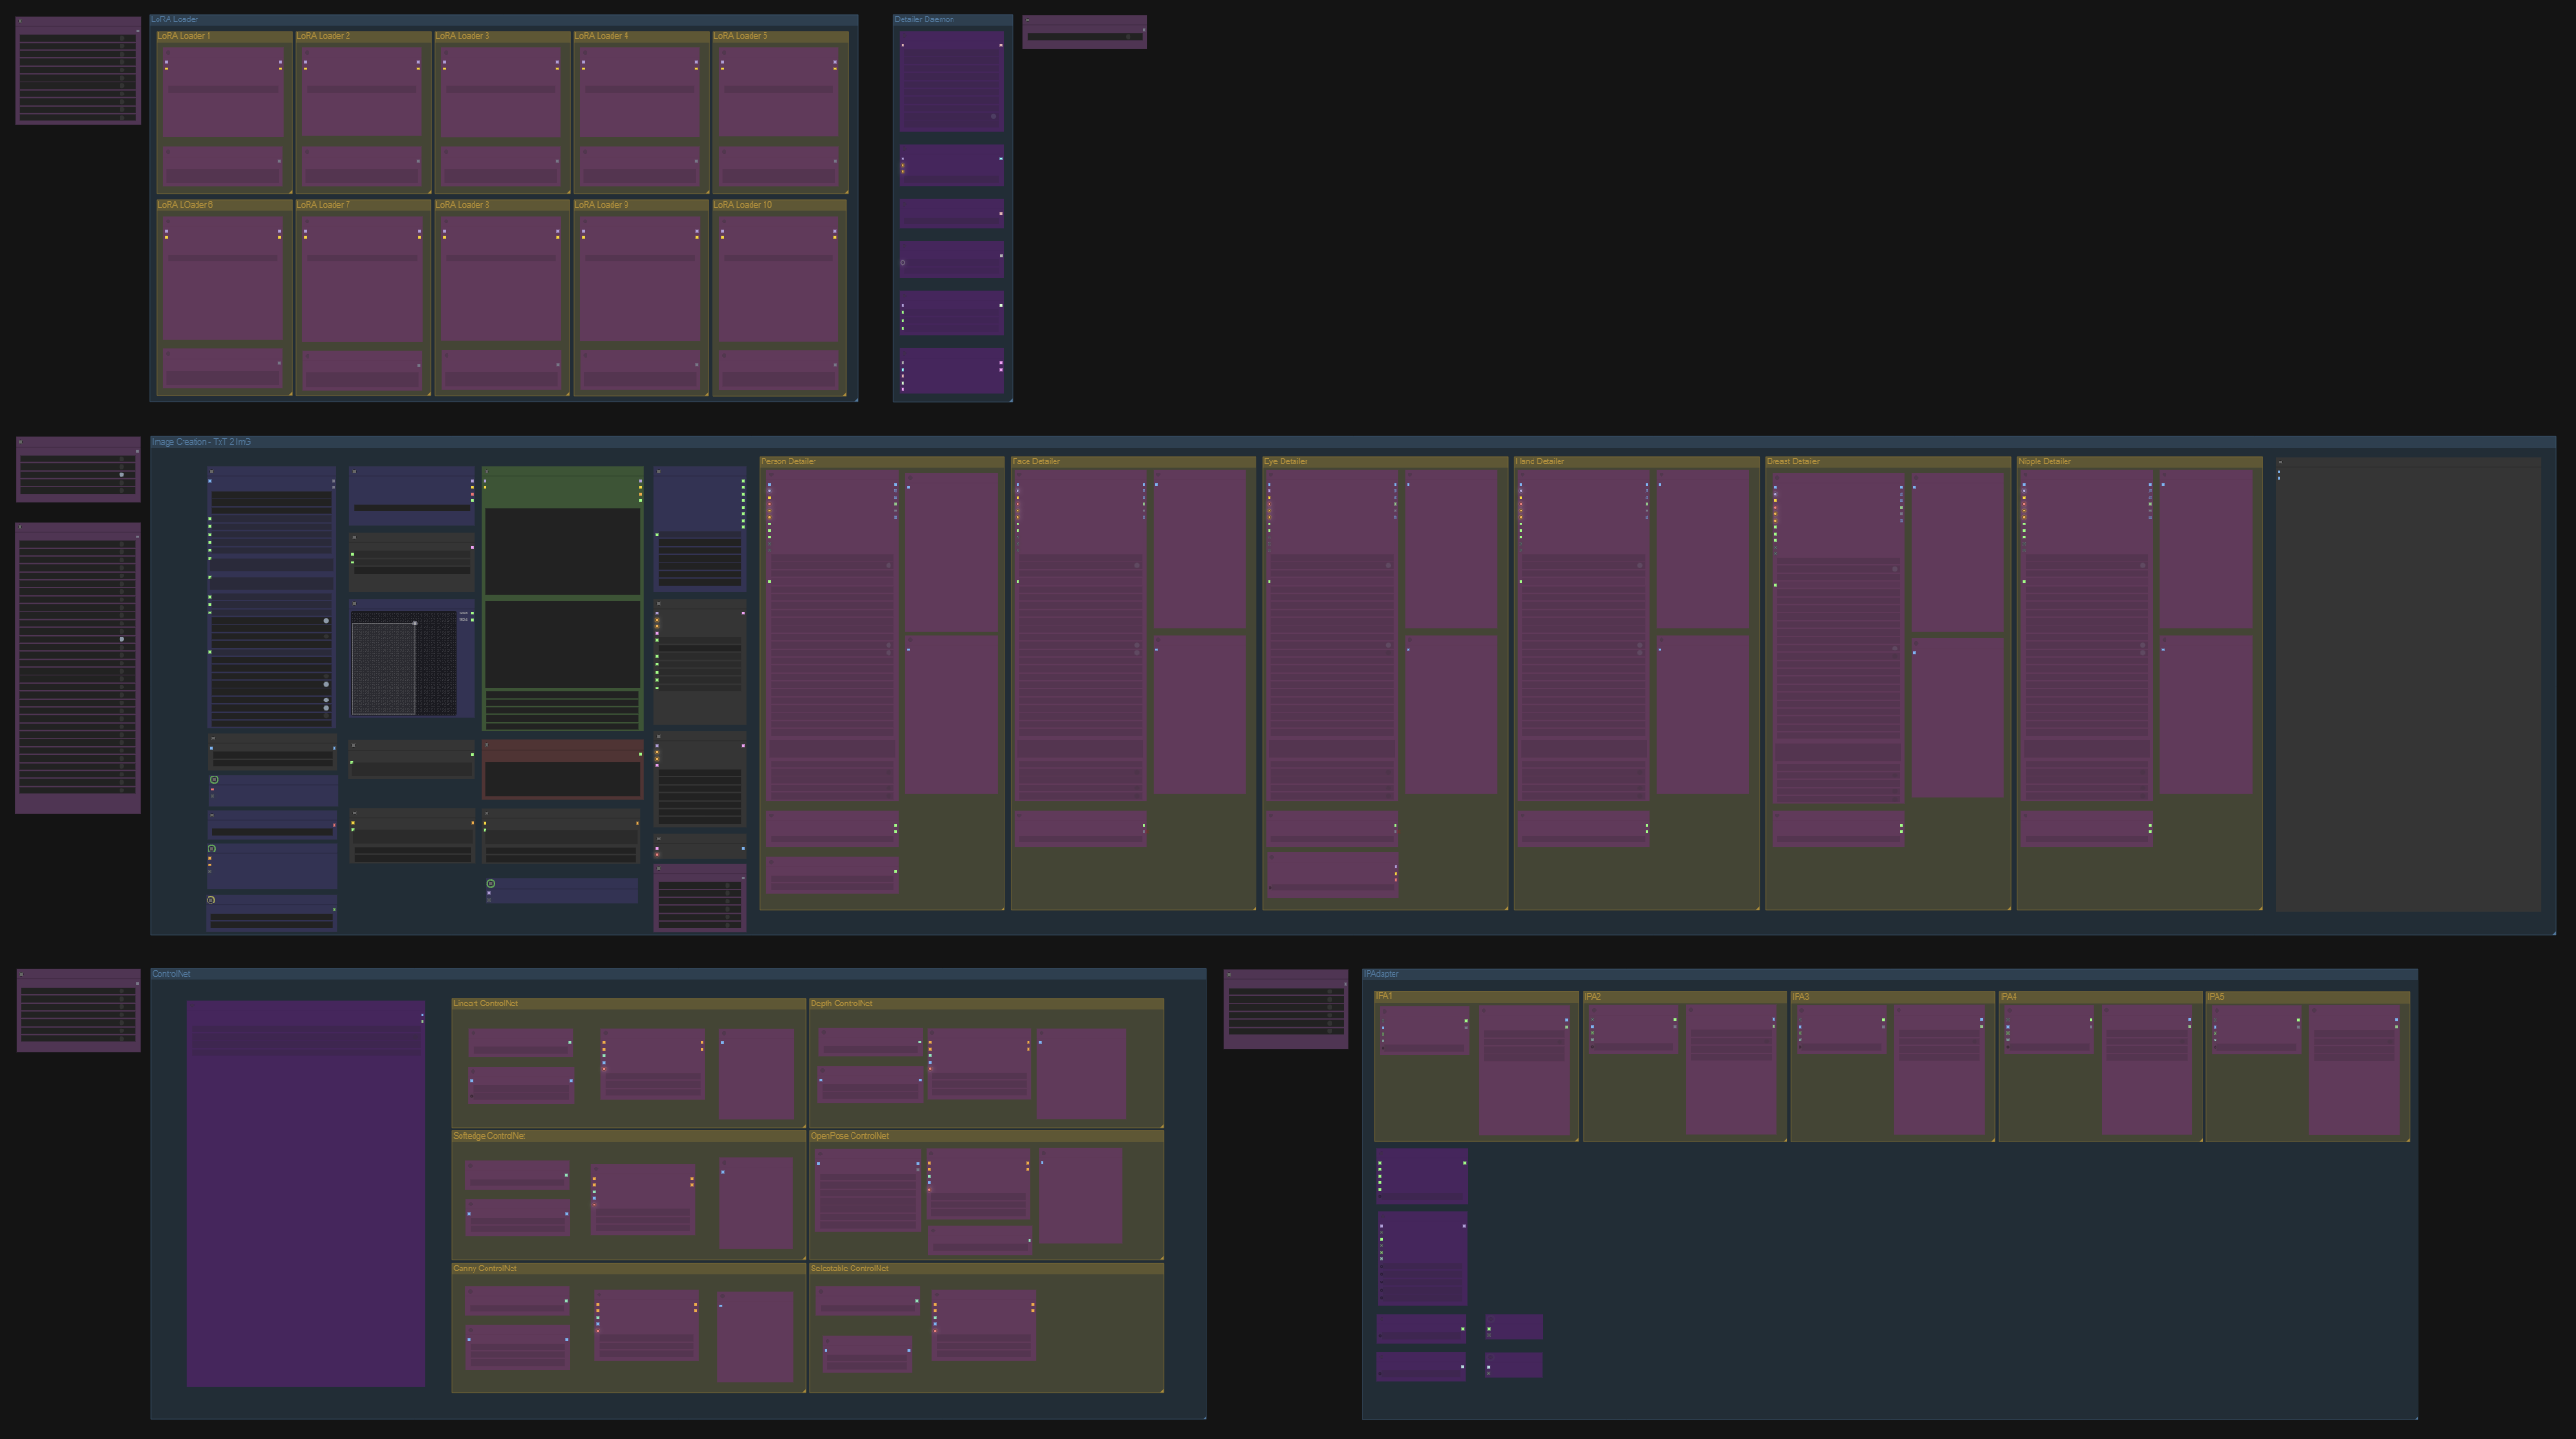
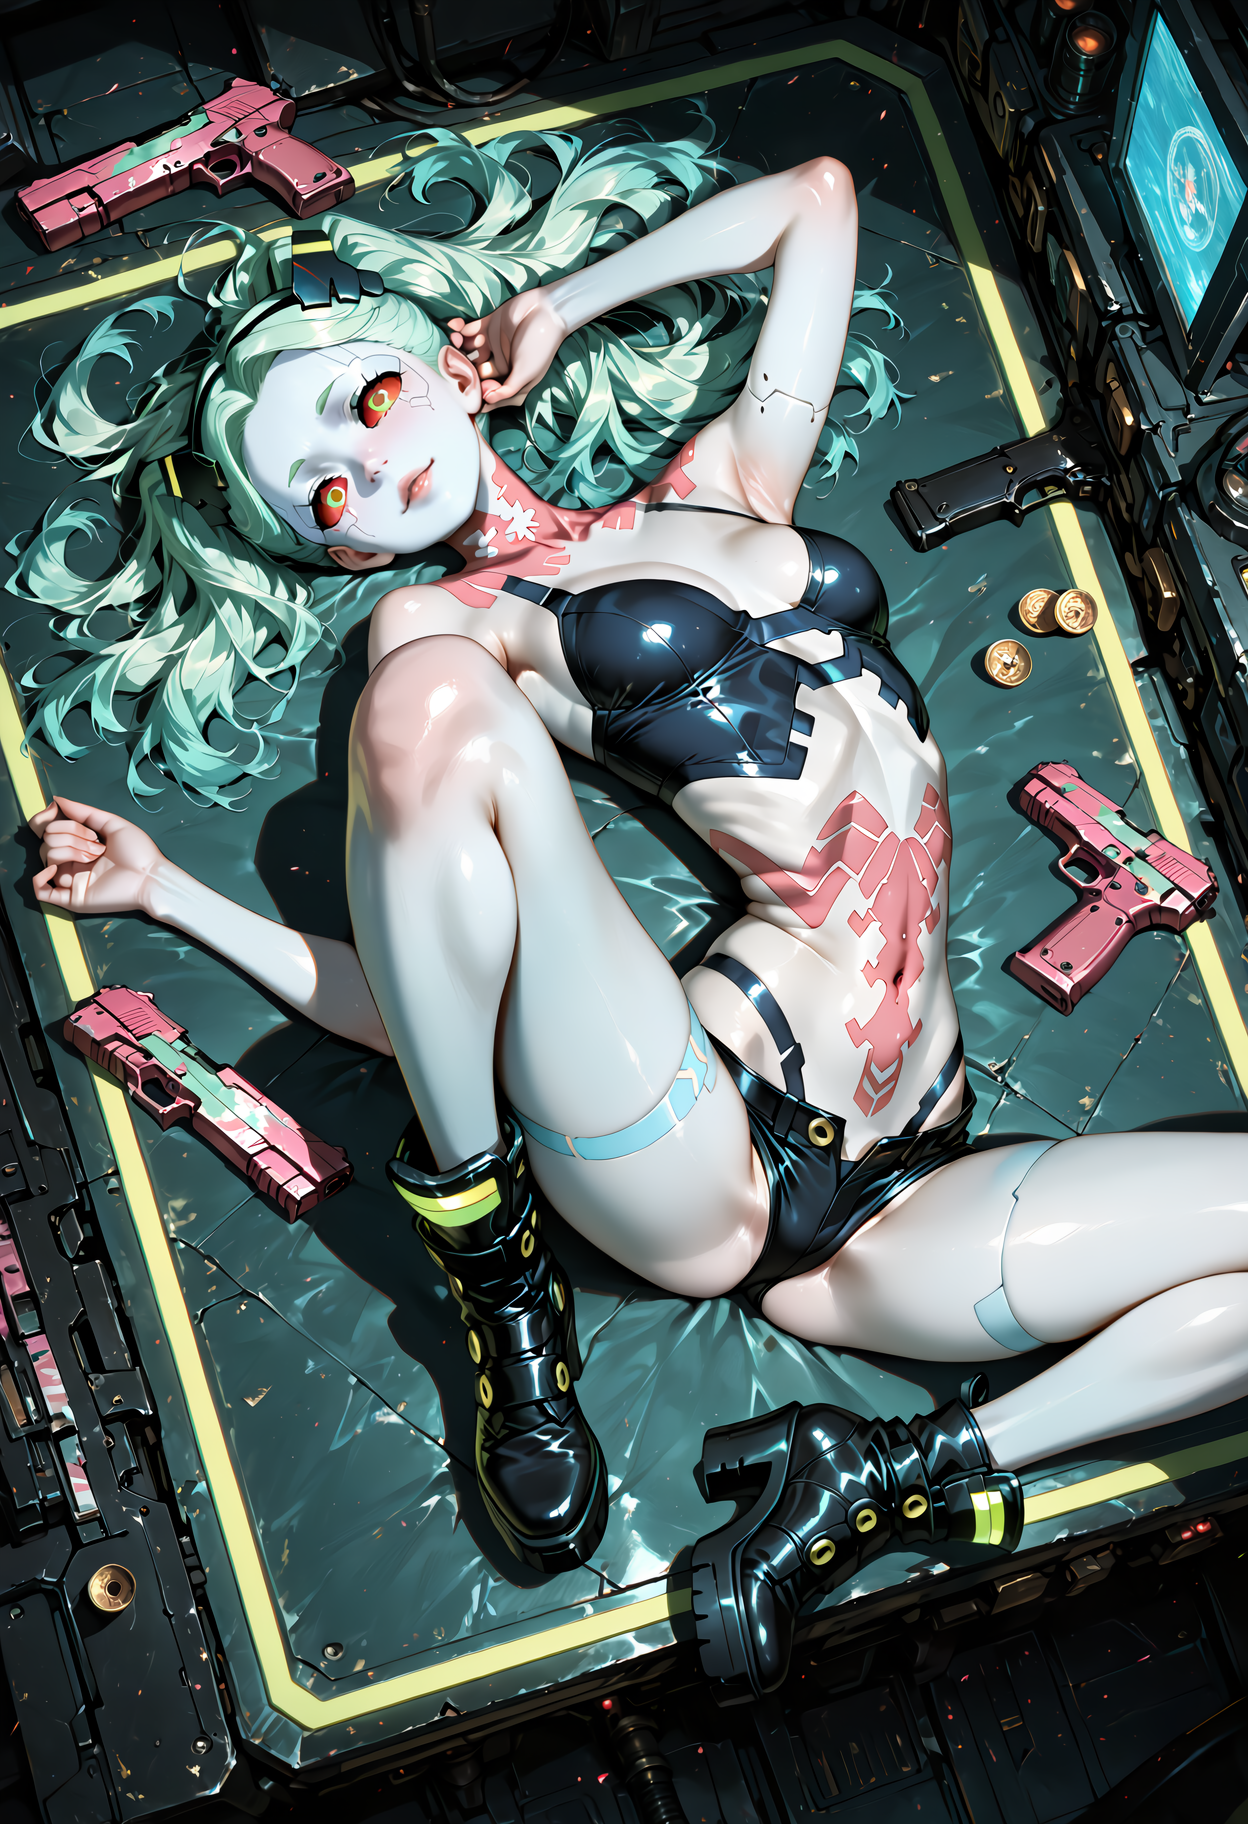
illustrious TxT2ImG with Controlnet, Detailer Deamon, Detailers and IPAdapters


详情
下载文件 (1)
模型描述
🗒️ My NEW Illustrious Workflow for ComfyUI
Hi, so I thought I’d share the Illustrious Workflow i've been using for a while now.
This is an evolution of my last workflow which you can find here .
Main Points of Function
Multiple Detailers: Person, Face, Eyes, Hands, Breast, and Nipples. Each individually toggleable using the bypassers, so you can fine-tune exactly what gets refined.
Selectable ControlNet System: Turn on/off entire ControlNet groups or activate specific nets when you need targeted structure or pose control.
IPAdapter Integration: Supports multiple reference images at once, each with adjustable weight, for style, lighting, and character consistency.
Group LoRA Loaders: Pre-load entire packs of LoRAs with weights, flip them on/off instantly
Detailer Deamon: Sharpen textures, enhance fine features, or smooth things out, without touching your samplers or prompts.
Two-KSampler Workflow: A flexible dual-sampler setup that gives you extra shaping control without complicating your workflow.
Full Metadata Saving: Automatically stores checkpoint, prompts, settings, and any LoRAs used in the prompt, ideal for sharing and CivitAI uploads.
Auto Saving: Add
%dateto your save path and ComfyUI will neatly organise your outputs into daily folders.Beginner-Friendly Bypass Architecture: Start simple, then switch on advanced features one at a time — ideal for learning without overwhelm.
SAM + Ultralytics Segmentation Support: High-quality segmentation models ensure your detailers see what they’re supposed to see — faces, hands, bodies, and more.
Disclaimer
I’m no expert, in fact, i'm a bit of a novice. This workflow evolved from my last workflow, which in turn came from looking at other great ones by DigitalPastel and Mittoshuras, then I linked things together until they worked.
Workflows I built from:
⚠️ That means if you have trouble running this workflow, I'm afraid I probably won’t be able to support you as much as I’d like to, or even at all really.
I’ll write a short a step-by-step guide below, but over the next week or two, I intend to write a full article detailing the workflow in full, but, in the mean-time, if you are running into issues, ChatGPT is your friend (that’s what I did) copy and paste your error into that, and stick with it.
Alternatively, if you look at this workflow and think “what the hell is this” I seriously suggest DigitalPastels Smooth-workflow, It was an absolutely great start for me.
⚡ Quick Start
Quickly start creating images in the most beginner friendly way:
1. Load the workflow into ComfyUI.
Hide links, this workflow is a birds-nest of noodles.
2. Leave everything OFF except the Image Creation section.
This keeps things clean and beginner-friendly, or just to test the workflow on your rig. Use the main Bypasser to make sure everything is off except for Txt2Img.

3. Set your Image Saver Path
In the imager saver node, set your image name, path and format to be saved.
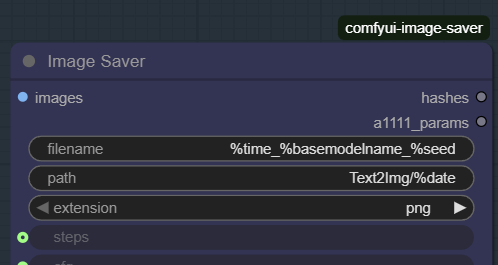
Currently, images will be saved in a folder named Text2Img and then in a sub-folder named as per the date the image was created, for example, Text2Img/2025-12-01/filename.png
4. Select your checkpoint.
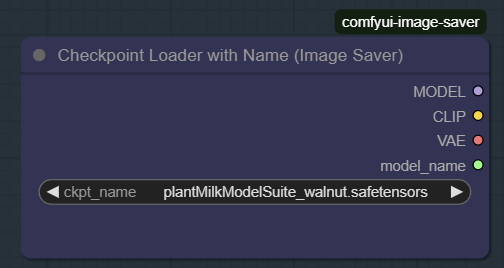
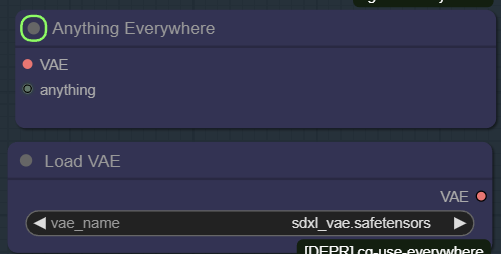
5.Load a VAE (Only If You Need To)
Load a VAE only if you actually need one. Do this by connecting the Load VAE node to the VAE Anything Everywhere node. (As default, this node will be connected the the Checkpoint loader)
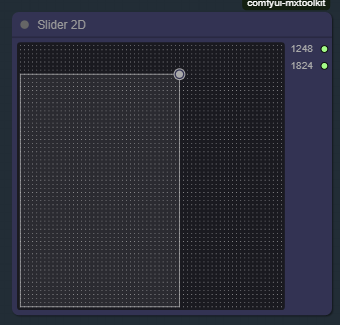
6. Set an image size using the 2D slider.
7. Write your positive prompt.
Use the Green Positive Prompt node. You can either keep it simple for a first test, e.g.
“a detailed portrait of a woman, soft lighting, photorealistic”
or if you'd like to go a little more advanced
The Positive Node is divided into 2 areas.
Top box = your positive prompt.
Use "Select to add LoRA" to insert LoRAs.
Format examples:
embedding:SmoothNoob_Quality<lora:Smooth_Booster:0.5>

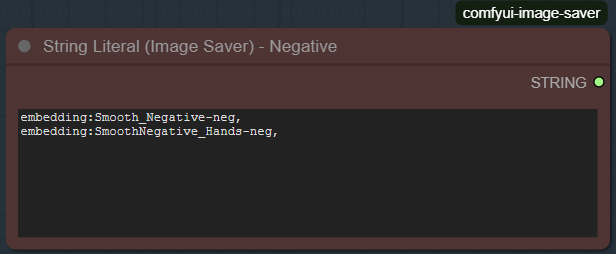
6. Add a basic negative prompt.
Use the Red Negative Prompt in the same way as positive including embeddings, or keep it simple to start, e.g.
“blurry, distorted anatomy, extra limbs, bad hands”
7. Press Queue Prompt.
Congrats, your first output is done.
8. Want more control?
Turn new sections on one at a time:
Detailers
ControlNets
IPAdapter
LoRA Loader Groups
This workflow is built so you can scale up gradually without breaking anything, or should I say when something does break, it should be easy to roll back.
Below is a breakdown of what each one does, and more importantly, when you should consider using them.
⭐ Detailers – What They Do & When to Use Them
This workflow includes six dedicated detailers designed to clean up and refine specific parts of your image. Each one can be toggled on/off using the bypassers, so you only activate the ones you actually need.
Think of detailers as your “post-process artists,” stepping in to refine the areas that models often struggle with.
👤 Person Detailer
The Person Detailer refines the whole character at once. It cleans up broad shapes, clothing edges, hair outlines, and major anatomical features before the more specialised detailers take over.
When should you use it?
Use the Person Detailer when:
• The overall character looks mushy or soft
• Clothing or body edges need sharpening
• Hair looks blobby or lacks structure
• The base render has good composition but weak definition
• You want a clean foundation before face/hands/eyes refine further
This is a great “first pass” detailer — especially for portraits or full-body shots.
🙂 Face Detailer
This one targets the entire face area: contours, nose, lips, jawline, expression, cheek details — the whole package.
When should you use it?
Use the Face Detailer when:
• The face looks blurry or undefined
• Expression clarity is important
• You want better skin detail without harsh artefacts
• You’re working with portrait-style shots
• The base model tends to give inconsistent faces
Almost always worth turning on if the character is important.
👁️ Eye Detailer
Eyes are the centrepiece of most images, and models often smudge or distort them. This detailer isolates and refines only the eyes and eyelids for maximum sharpness.
When should you use it?
Use the Eye Detailer when:
• Eyes look soft, uneven, or mismatched
• Iris details don’t pop
• Eyelashes turn into fuzzy shadows
• You want more expression or intensity in the gaze
• You’re generating close-ups or portraits
This detailer dramatically improves perceived quality with minimal processing.
There is also a checkpoint loader here, I have found that mixing Checkpoints when it comes to eyes can produce some great, dramatic, results.
✋ Hand Detailer
Hands may be the final boss of AI image generation. This detailer helps keep them under control by refining the mask and sharpening finger shapes.
When should you use it?
Use the Hand Detailer when:
• Fingers are smudgy, fused, or unclear
• You’re working with poses where hands are visible or prominent
• Jewellery, tattoos, or props are involved
• You want more realistic hand shading and structure
• Close-ups include hands near the face
If hands appear in frame — this detailer becomes your best friend.
⭐ Breast Detailer
Refines shapes, shading, and contours in the chest area. Helps correct deformities or modelling quirks, especially at higher resolutions or stylised character designs.
When should you use it?
Use the Breast Detailer when:
• You’re working with NSFW, glamour, or revealing outfits
• Clothing fabric bunches incorrectly
• The chest area has stretching, warping, or odd shadows
• You want smoother curvature and more natural highlights
Optional, but extremely helpful for figure-focused compositions.
🔸 Nipple Detailer
This detailer is highly dependent on the segmentation model and may require experimentation. It refines only the nipple region and can correct common texture or placement issues, but results vary between models.
When should you use it?
Use the Nipple Detailer when:
• You’re generating NSFW content
• The model’s default nipple rendering is inconsistent
• You need sharper detail or more realistic texture
• You’re using a checkpoint that struggles in this specific area
If your model already renders nipples well, you can leave this off. Otherwise — useful to experiment with.
🎛️ General Advice for Detailers
• You don’t have to use all detailers at once — activate only the ones relevant to your image
• For portraits: Face + Eyes gives the biggest boost
• For full-body shots: Person + Hands is often enough
• For NSFW: Breast + Nipple + Person creates the strongest refinements
• If the image looks over-processed, turn one or two off
Detailers shine brightest when used strategically — not constantly.
⭐ Detailer Deamon – The Secret Sauce for Smarter Detail
The Detailer Deamon (from Impact Pack) enhances image refinement by adjusting the sigma curve, the noise schedule your sampler follows during denoising. By shaping this curve, the Deamon gives you more control over when detail appears during the render.
This allows you to:
• Add structural detail earlier in the denoising process
• Add fine, crisp detail later for a cleaner finish
• Reduce oversharpening or muddy textures
• Improve overall texture handling across SDXL, SD1.5, FLUX, and more
Think of it as a detail timing controller: instead of relying solely on sampler settings, the Deamon fine-tunes the flow of detail so your images look smoother, cleaner, and more intentional.
When should you use this?
Turn on the Detailer Deamon when:
• Your images feel too soft or lack definition
• Your detailers are producing results that look harsh or oversharpened
• You want smoother, more consistent refinement without touching complex sampler settings
• You're working at high resolutions and want better control over fine textures
• You want more “polish” without increasing steps or using external upscalers
It’s optional — but once you get used to the cleaner detail flow, it’s hard to go back.
How to install it:
Download Impact Pack:
https://github.com/ltdrdata/ComfyUI-Impact-Pack
Place it into:
ComfyUI/custom_nodes/
Restart ComfyUI — and the Detailer Deamon is ready to refine your renders.
⭐ ControlNets – Installing and Understanding the Selectable System
ControlNets are your workflow’s “structure helpers.” They let you guide the model using external information like pose, edges, depth, lineart, or scribbles. Instead of hoping the model interprets your prompt correctly, ControlNets give it a gentle nudge (or a firm shove) in the right direction.
This workflow includes a Selectable ControlNet System, which keeps everything tidy and easy to manage:
• Toggle entire ControlNet groups on or off
• Enable only the individual nets you need
• Prevent your graph from turning into a ControlNet spaghetti monster
Where to download SDXL ControlNets:
• https://huggingface.co/lllyasviel
• https://huggingface.co/InstantX/
• https://huggingface.co/thibaud
• https://civitai.com — search “SDXL ControlNet”
Where to put them:
ComfyUI/models/controlnet/
Once installed, they’ll appear automatically in the dropdown menus inside each ControlNet Loader.
How the selectable system works
Main blue box → activate or disable the entire ControlNet section
Yellow boxes→ turn individual ControlNets on/off
Everything stays organised instead of stretching across half your screen
Start simple and switch on additional nets only when your project needs them.
⭐ When should you use ControlNets?
Turn on a ControlNet when:
• You want a specific pose and don’t want to fight the RNG
• You have a reference sketch or scribble you want the model to follow
• You need cleaner structure, straight lines, defined shapes, consistent silhouettes
• Your images keep drifting away from the composition you intended
• You want depth or edge information to guide lighting and shading
• You're working with character consistency and want them to stay on-model
• You want more control without writing enormous prompts
They’re optional, but, incredibly powerful once you get used to them.
And with the selectable system, they’re easy to toggle on and off as needed.
⭐ IPAdapter – What It Is & How to Install It
IPAdapter is your workflow’s reference interpreter. It allows you to feed an image into the pipeline and guide the model toward matching its style, composition, lighting, or character identity without overpowering your text prompt.
Unlike ControlNets, which enforce structure, IPAdapter works more like a gentle influence:
“Make it look a bit more like this.”
This workflow includes multiple IPAdapter slots so you can blend several references at once, each with its own weight for fine control.
Where to download IPAdapter (SDXL version):
• https://huggingface.co/h94/IP-Adapter/tree/main/sdxl
Download the .safetensors files for SDXL.
Where to download CLIP Vision models (required):
• https://huggingface.co/laion/CLIP-ViT-H-14-laion2B-s32B-b79K
Where to put them:
ComfyUI/models/ipadapter/
ComfyUI/models/clip_vision/
Once placed correctly, they’ll appear in the IPAdapter nodes automatically.
⭐ When should you use IPAdapter?
Turn on an IPAdapter when you want your image to follow visual cues from a reference rather than purely relying on text.
It’s especially useful when:
• You want to match a character’s face, hairstyle, or silhouette
• You want consistent character identity across multiple images
• You prefer a specific lighting style or colour palette
• Your prompt alone struggles to achieve the look you want
• You want to blend multiple influences (e.g., style from one image, lighting from another)
• You’re working with cosplay, portraits, or anything requiring recognizable likeness
IPAdapter is also great when you need guidance without strict ControlNet structure, it influences the overall feel of the image rather than forcing exact shapes.
If you only need style or vibe matching, IPAdapter is often all you need.
If you need pose or precision structure, pair it with a ControlNet.
⭐ LoRA Loader Groups – The Fastest Way to Use Multiple LoRAs
LoRA Loader Groups let you preload whole sets of LoRAs and toggle them on or off instantly, without cluttering your positive prompt. They’re ideal when you want to switch between styles, character identities, or thematic looks quickly and consistently.
Instead of manually typing LoRA weights like <lora:thinghere:0.8> each time, these loaders allow you to:
• Pre-load several LoRAs at once
• Adjust their weights in one place
• Turn the entire group on/off using bypassers
• Keep your main prompt clean and readable
Each group also includes a handy string box where you can store trigger words, tags, or character names associated with those LoRAs, making copy/paste into your prompt fast and painless.
This system is especially helpful in complex workflows where prompt clutter becomes a real issue.
⭐ When should you use LoRA Loader Groups?
Use LoRA Loader Groups when:
• You frequently switch between different styles (anime, realism, cinematic, painterly)
• You have multiple character LoRAs and want to swap them quickly
• You’re experimenting with theme bundles (e.g., “cyberpunk pack,” “fantasy armour pack”)
• You want consistent LoRA weights across multiple renders
• You want to avoid clogging your prompt with long LoRA syntax
• You’re running batch generations where different LoRA configurations are required
They’re especially powerful in workflows like this one, where modular toggling is a core design principle.
If you only need one LoRA occasionally, adding it directly in the positive prompt is fine.
But if LoRAs are a regular part of your generation process, Loader Groups save time, reduce inconsistency, and keep everything organised.