ComfyUI beginner friendly Z-Image Turbo ALL-in-One Fast Post Generation Face Swap Workflow by Sarcastic TOFU


詳細
ファイルをダウンロード (1)
モデル説明
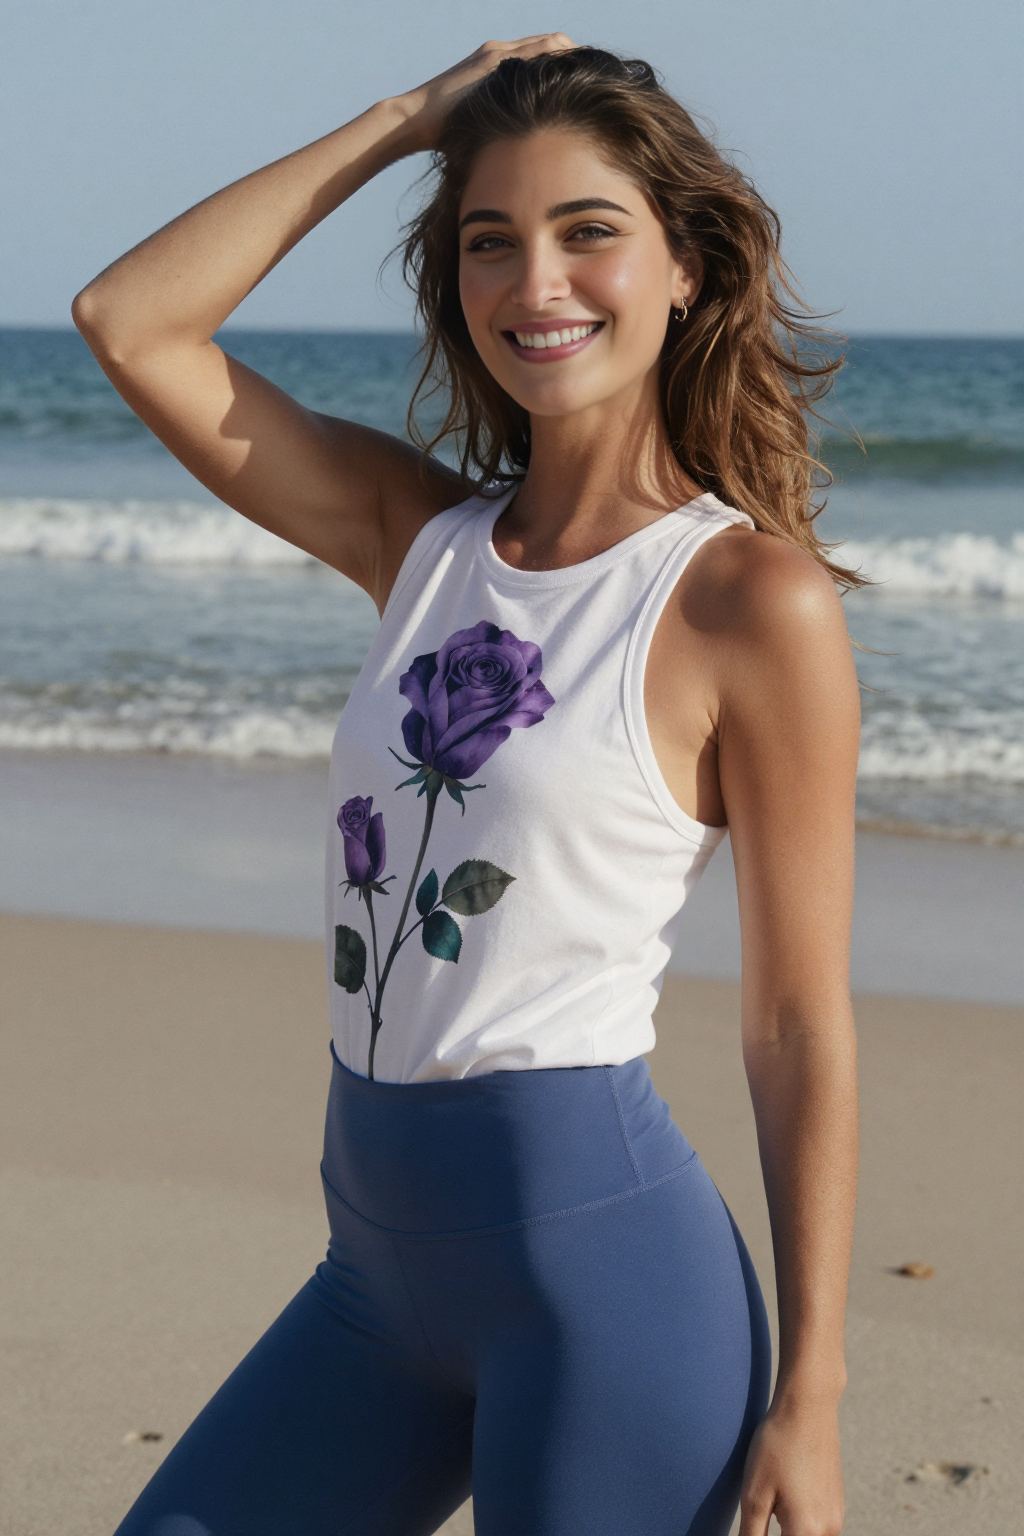
This workflow uses AI to swap faces between two images in a smart way. You load a source photo (the face you want to use) and describe a new scene with text prompts. It generates a fresh image of a person in that scene (like a woman on a beach) using Z-Image Turbo ALL-in-One model, then automatically replaces the generated face with the one from your source photo using the ReActor tool for a natural look. You can generate and do ultra Fast Post Generation Face Swap with one simple workflow very fast. This is very useful if you want to create many images for a LORA training for a unique consistent character you want. This is easier to follow for any early adopter of ComfyUI as it does not use sub-graphs or too complex processes. Make sure that you have latest enough versions of both ComfyUI and ComfyUI manager to manage and install any missing dependencies (missing nodes, patches etc.) to use this properly. This workflow by default uses Fp8 version of the Z-Image Turbo ALL-in-One Model which has Clip & VAE backed in, this will work well on base level Apple Silicon Mac M processors (like M3, M4, M5 etc.) with only 16GB unified memory or on a PC with low end Nvidia and AMD GPUs/eGPUs.. even on 8GB VRAM. But if you want to use bigger bf16 version of the Z-Image Turbo ALL-in-One Model on a more powerful system I also provided links in the readme file. Negative prompts will only work on this workflow if you use CFG of 1.2 and Steps 12 or higher (I have found CFG 1.2 & 12 Steps combo producing better results) to filter out what you don't want to see on your outputs (use the defaults of this workflow for optimized results, only change if you know exactly what you want).
How to use this -
#1. Just select your desired Z-Image Turbo model first and then
#2. Load your input face swap reference image file (.Png or .Jpg or anything supported )
#3. then input your prompts (positives and negatives).
#4. select how many images you want ( Change the number besides the "Run" button )
#5. select image sampling methods, cfg, steps etc. settings ( Default values - CFG 1.2 & 12 Steps gives most optimized outputs )
#6. finally press the run button to generate and image & get ultra fast post generation face swap.
That's it...
*** By Default is saves both Pre & Post face swap images. If you only want the face swapped image you can just bypass Pre face swap Image Saver Simple Node, it will then only generate the face swapped output. In some ComfyUI installations you may have to downgrade some python packages. If you use Stability Matrix this process is much easier to do, as you can share same common models with multiple setups of ComfyUI, WebUI Forge etc. and you can have multiple ComfyUI setup with different versions of python packages.
## Required Models
===================
### Download Links for Z-Image Turbo All-in-One Checkpoints (with baked in Clip & VAE)
https://huggingface.co/SeeSee21/Z-Image-Turbo-AIO/resolve/main/z-image-turbo-fp8-aio.safetensors
https://huggingface.co/SeeSee21/Z-Image-Turbo-AIO/resolve/main/z-image-turbo-bf16-aio.safetensors