ILL-to-REAL-Depth-2Pass


Details
Download Files (1)
Model description
You don't have to pay EA as you may just drop any of my samples into ComfyUI window. But if you enjoy this workflow please consider the small BUZZ donation. Thanks in advance.
Intro
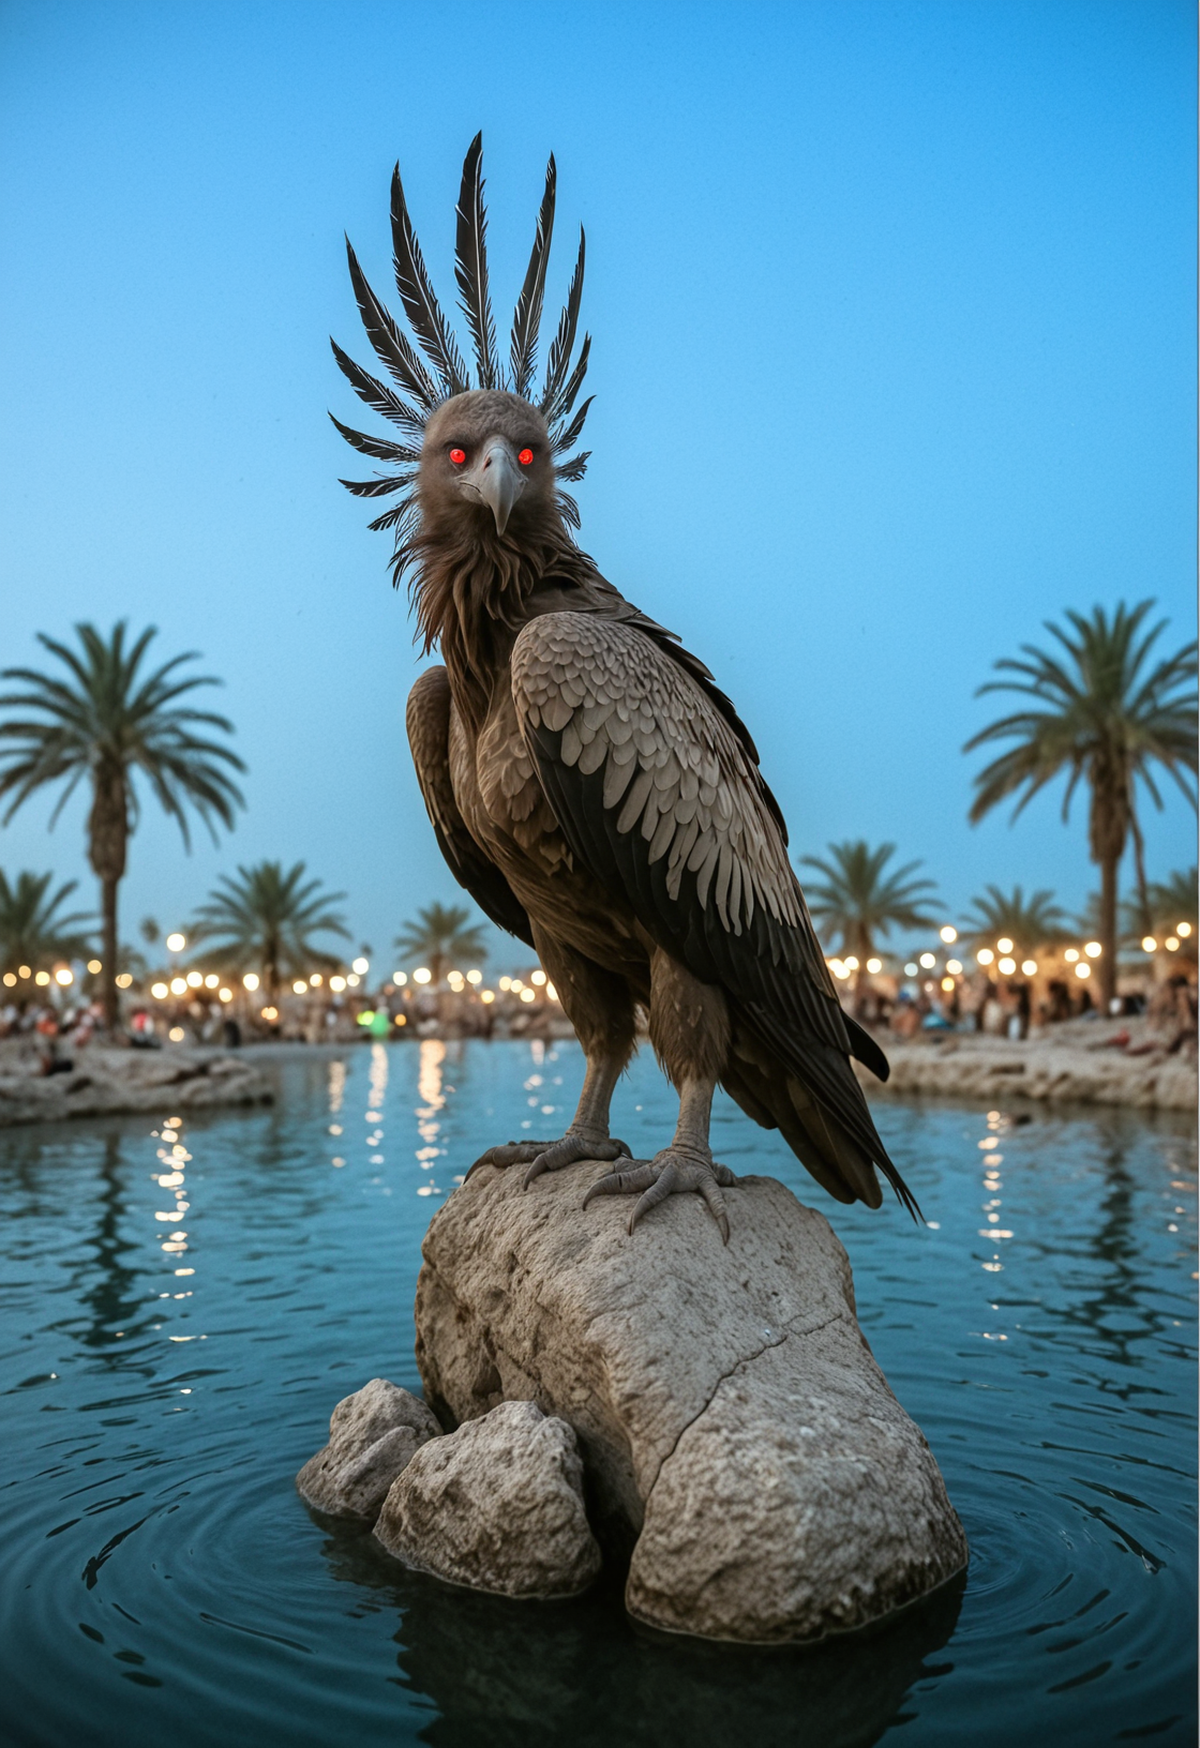
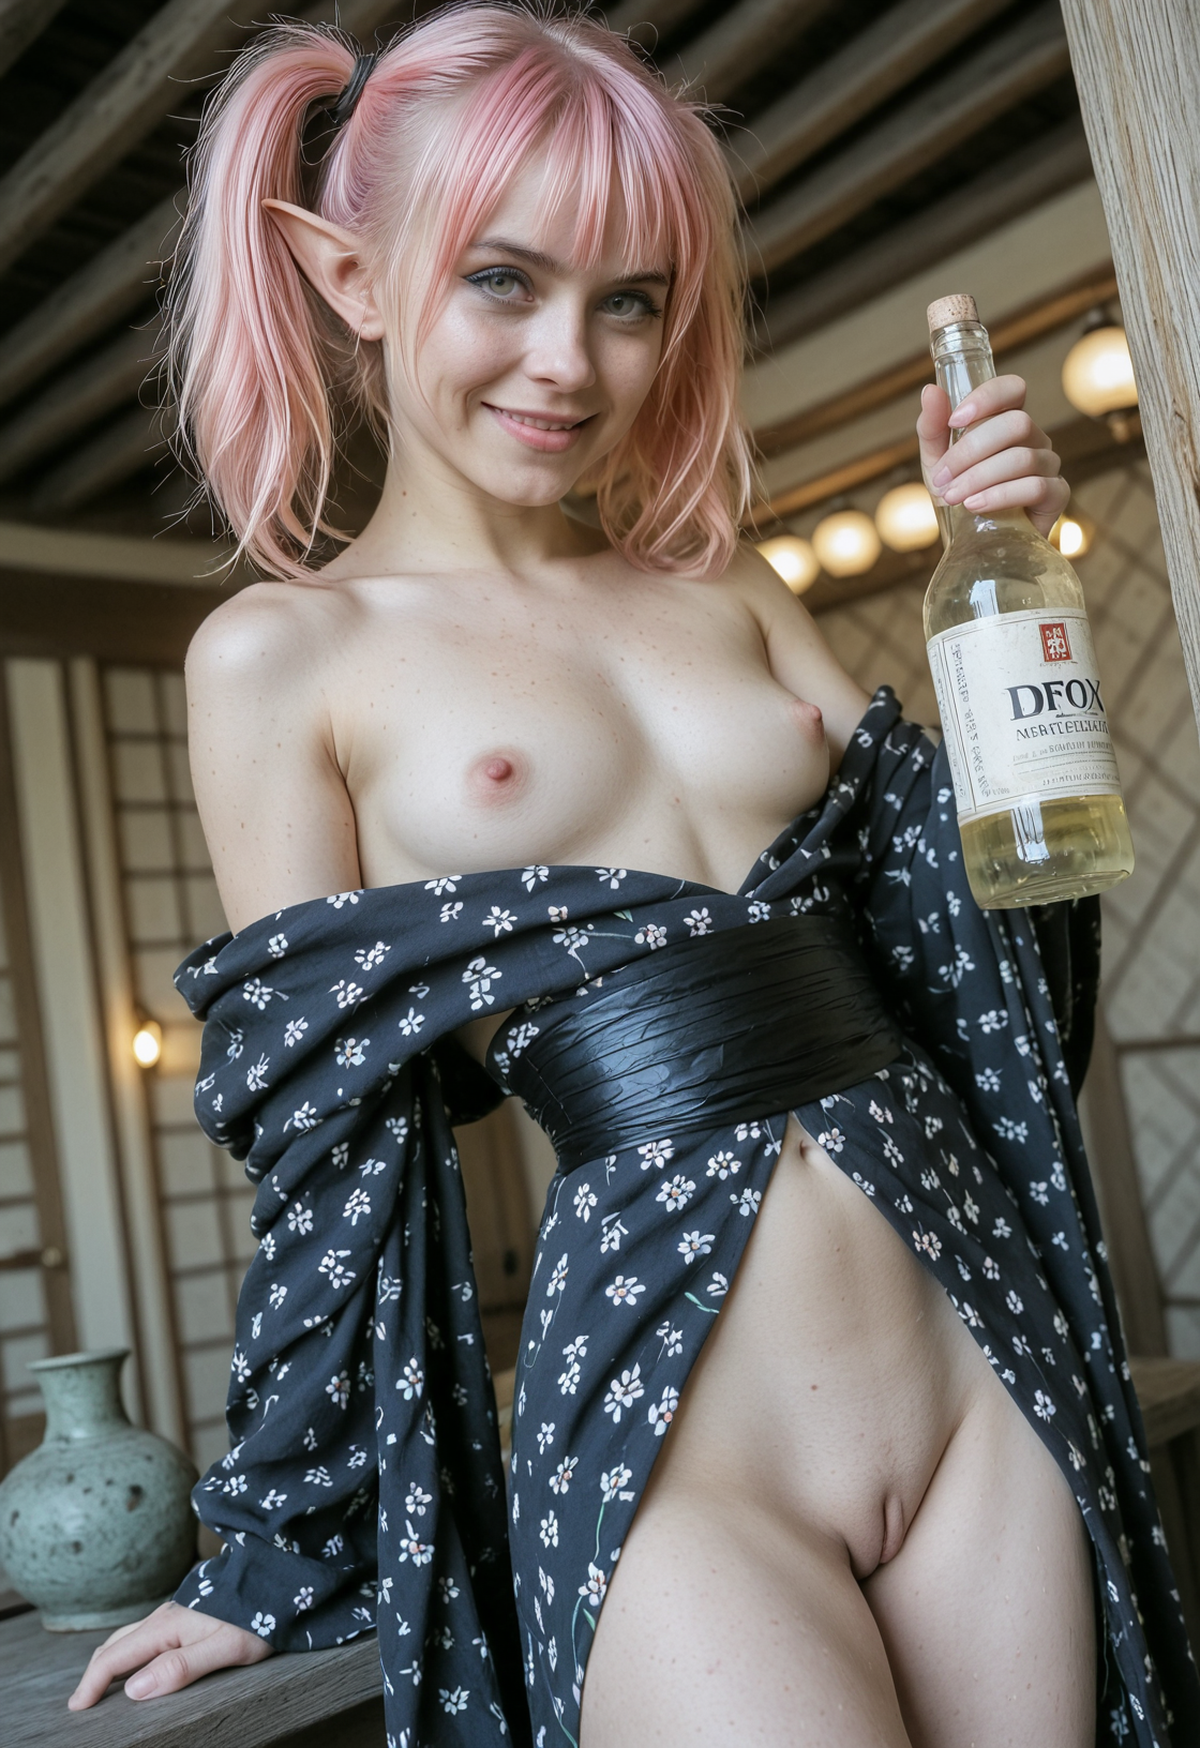
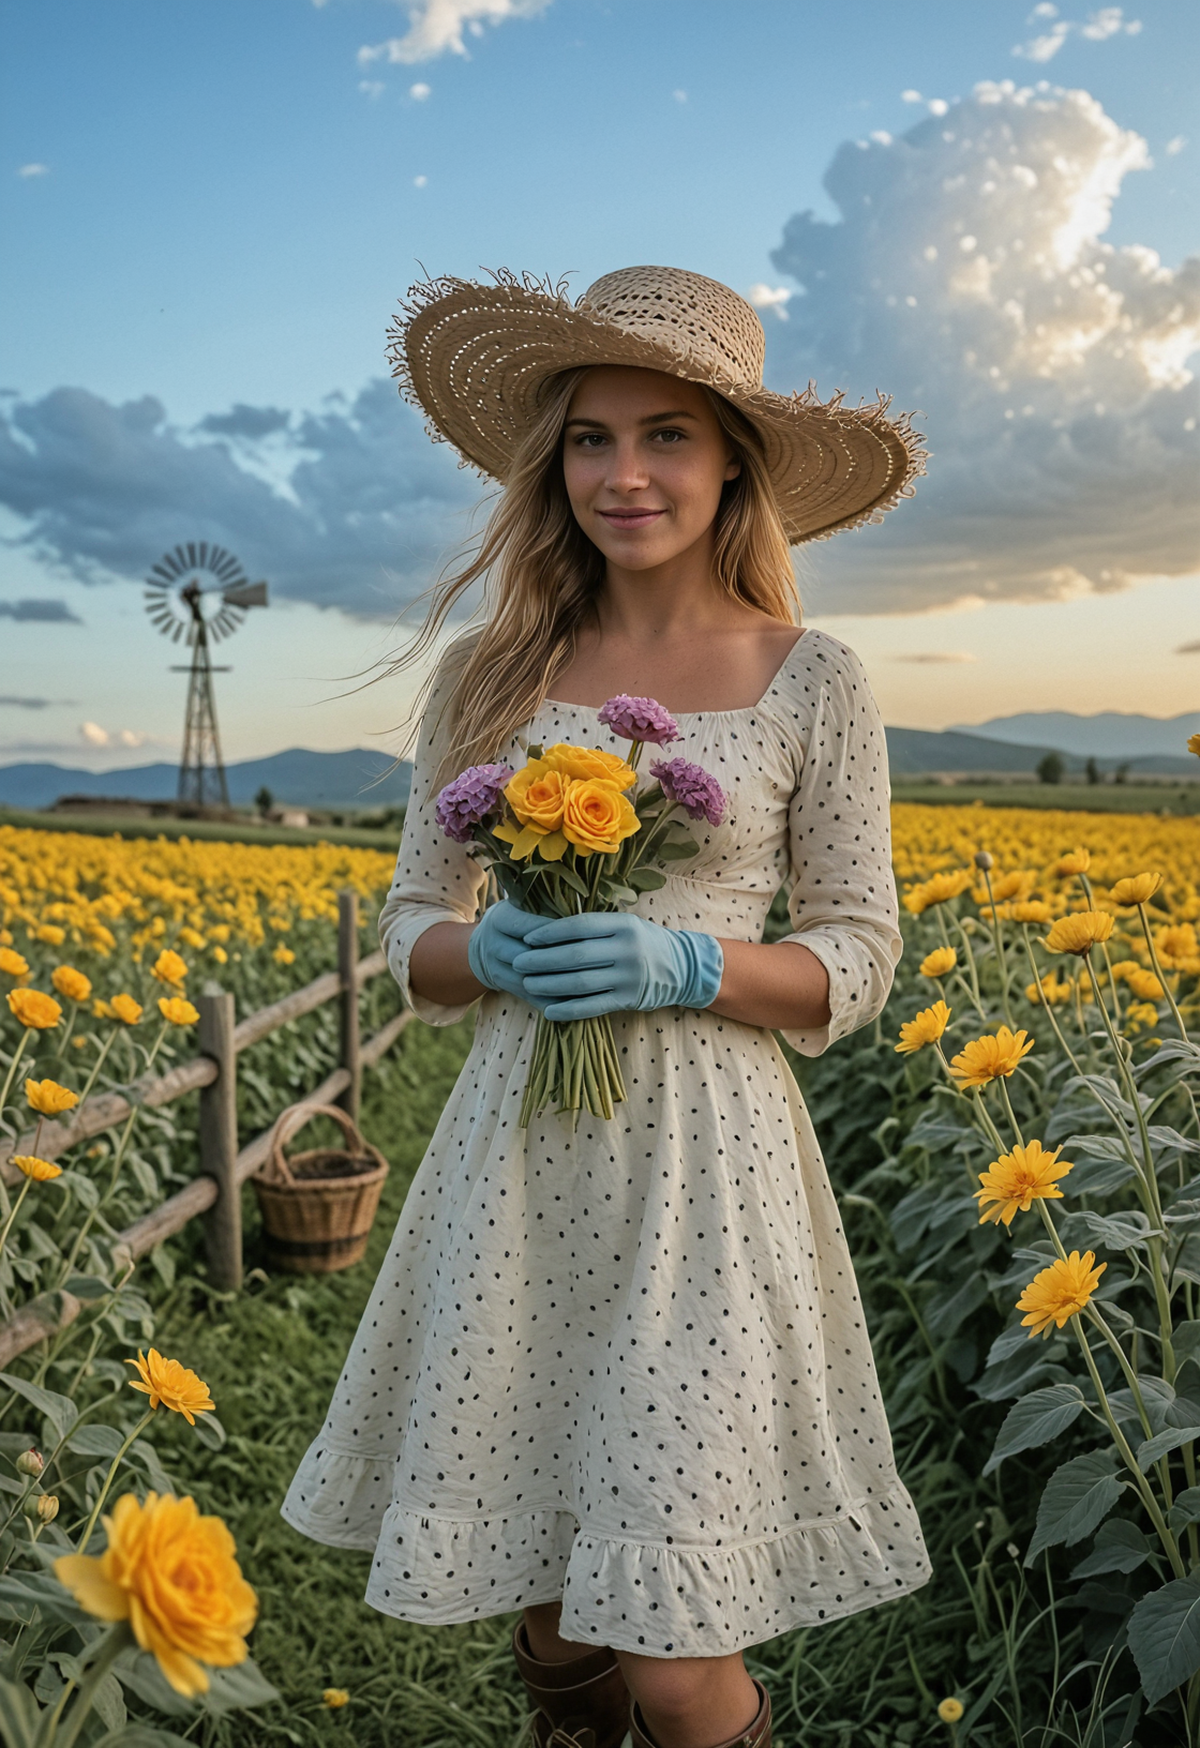
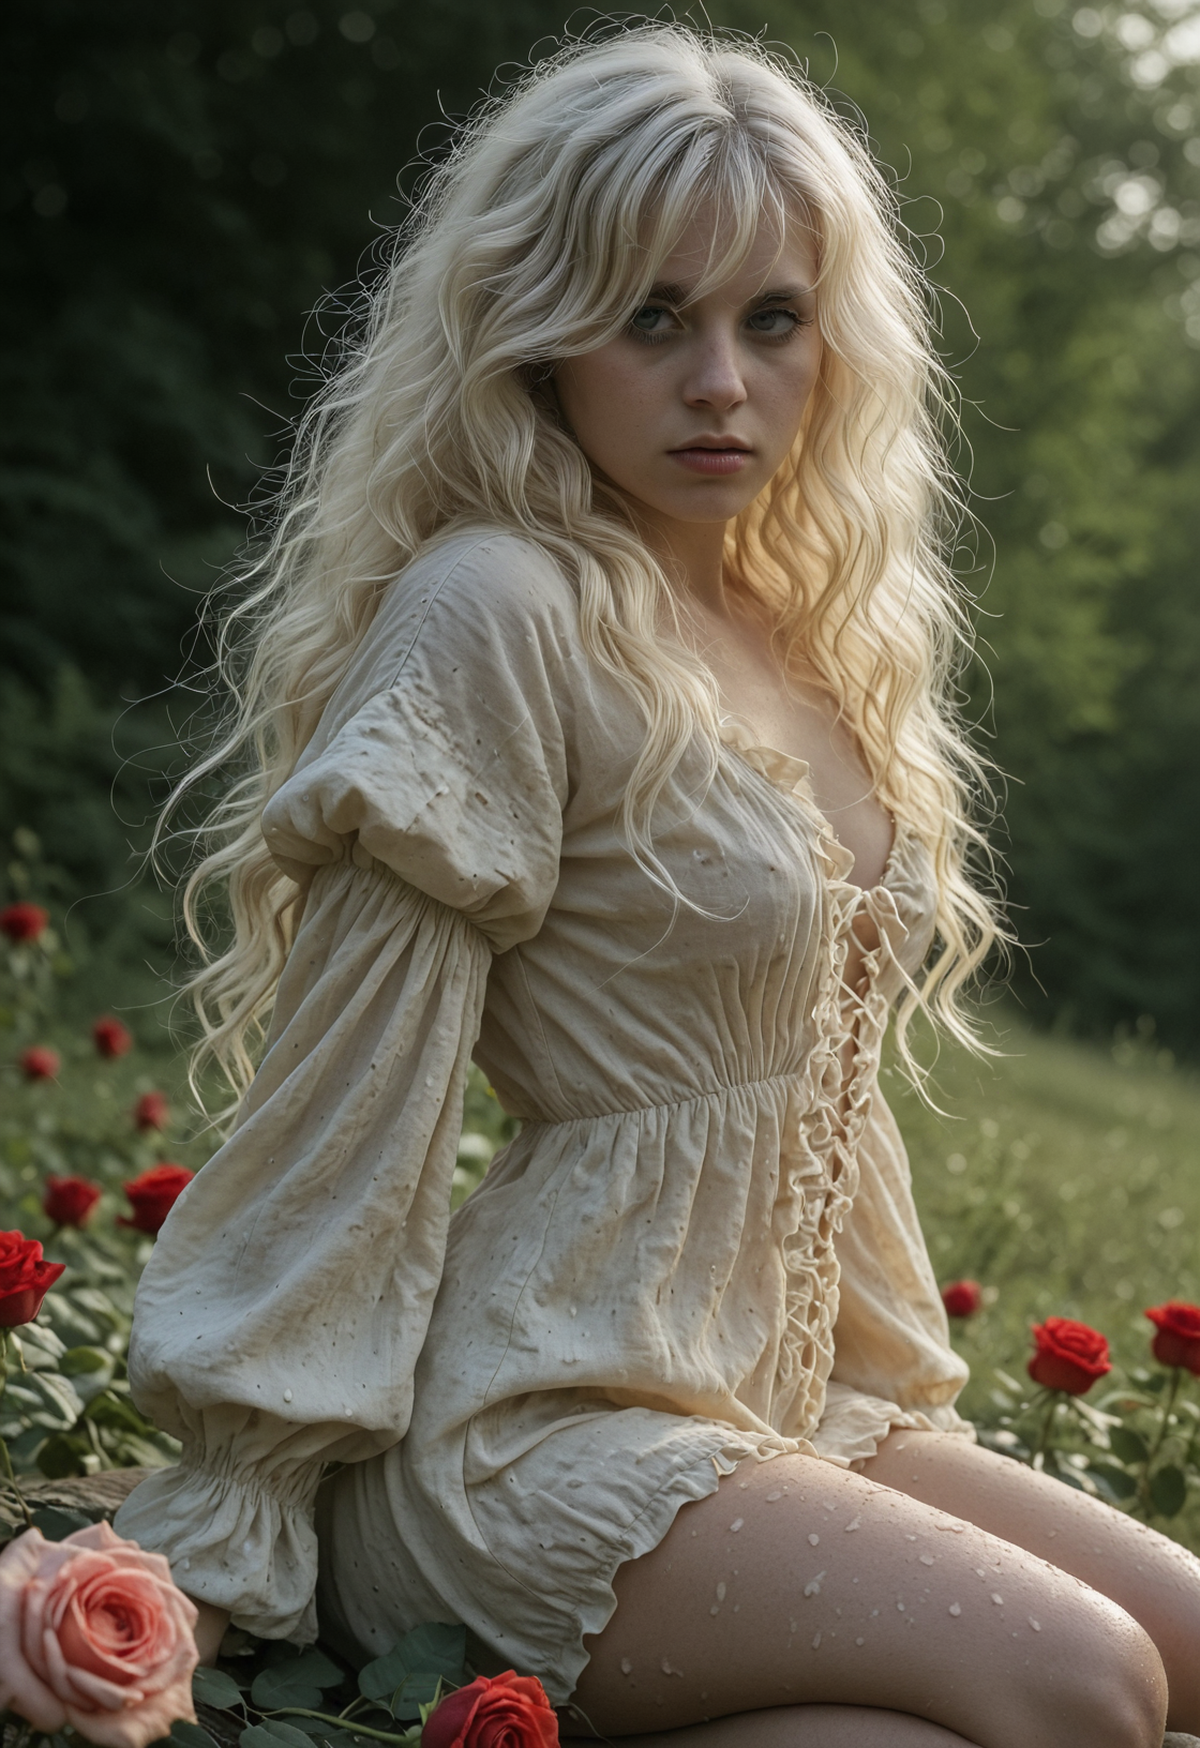
This workflow showcases the effective approach to make realistic dataset pare (image + caption) from any Anime-ish checkpoint. With minimal modifications you can implement a hybrid workflow that combines any different checkpoint architectures in one pipeline. You can convert anime into realistic image (as I did) or make a reverse, realistic images into anime. You can replace the Illustrious prefab checkpoint with Flux or Qwen Image or Z-Image (if you have enough of VRAM) and use realistic SDXL checkpoint to amplify the textures and improve colors and lighting.
Quick start
Modify the primary prefab prompt in "ANIME. PONY / ILL T2I POSITIVE PROMPT." box.
Modify shared negative prompt in "ANIME. PONY / ILL T2I POSITIVE PROMPT." box.
Modify the realism style and quality prompt in "Realism. Quality / Style prompt" box.
Select the proper checkpoints for prefab and realistic render.
Press run.
You can also tune the KSampler and ControlNet parameters according to selected models and desirable degree of anime-realism conversion rate.
How it works
Realistic render stage starts with ControlNet driven drafting. I used the Depth controlnet as it works better than Lineart or SoftEdge controlnets. Be aware that Depth driven conversion is not 100% stable. Sometimes Depth reconstruction breaks the anatomy especially in a very complex multi-character compositions, but it works much much better than lineart. You can also try Normal driven ControlNet conversion.
So, realistic 1PASS is a draft which is also a Text-to-Image. I don't use the prefab anime-ish image as input for realistic draft pass as even with denoise 1.0 cartoonish colors and style affects too much the drafting result. You can use draft image as input for realistic draft if, for ex., you replaced the Illustrious model with Flux or other checkpoint that gives realistic colors. Then you might also need to adjust the denoise of the 1st pass of realistic stage KSampler. Please experiment and give a feedback.
Second pass in realistic stage is boring. It is basically an I2I HiRes pass that fixes the anatomy and improves the textures.
PS: [AD] In this workflow I use my latest CinEro NoiceAI checkpoint (R7j RC2) as I tried hard to make it render a super realistic textures and details. Give it a try and tell me if it works or not for you. Constructive feedback is welcome and desirable. [/AD]