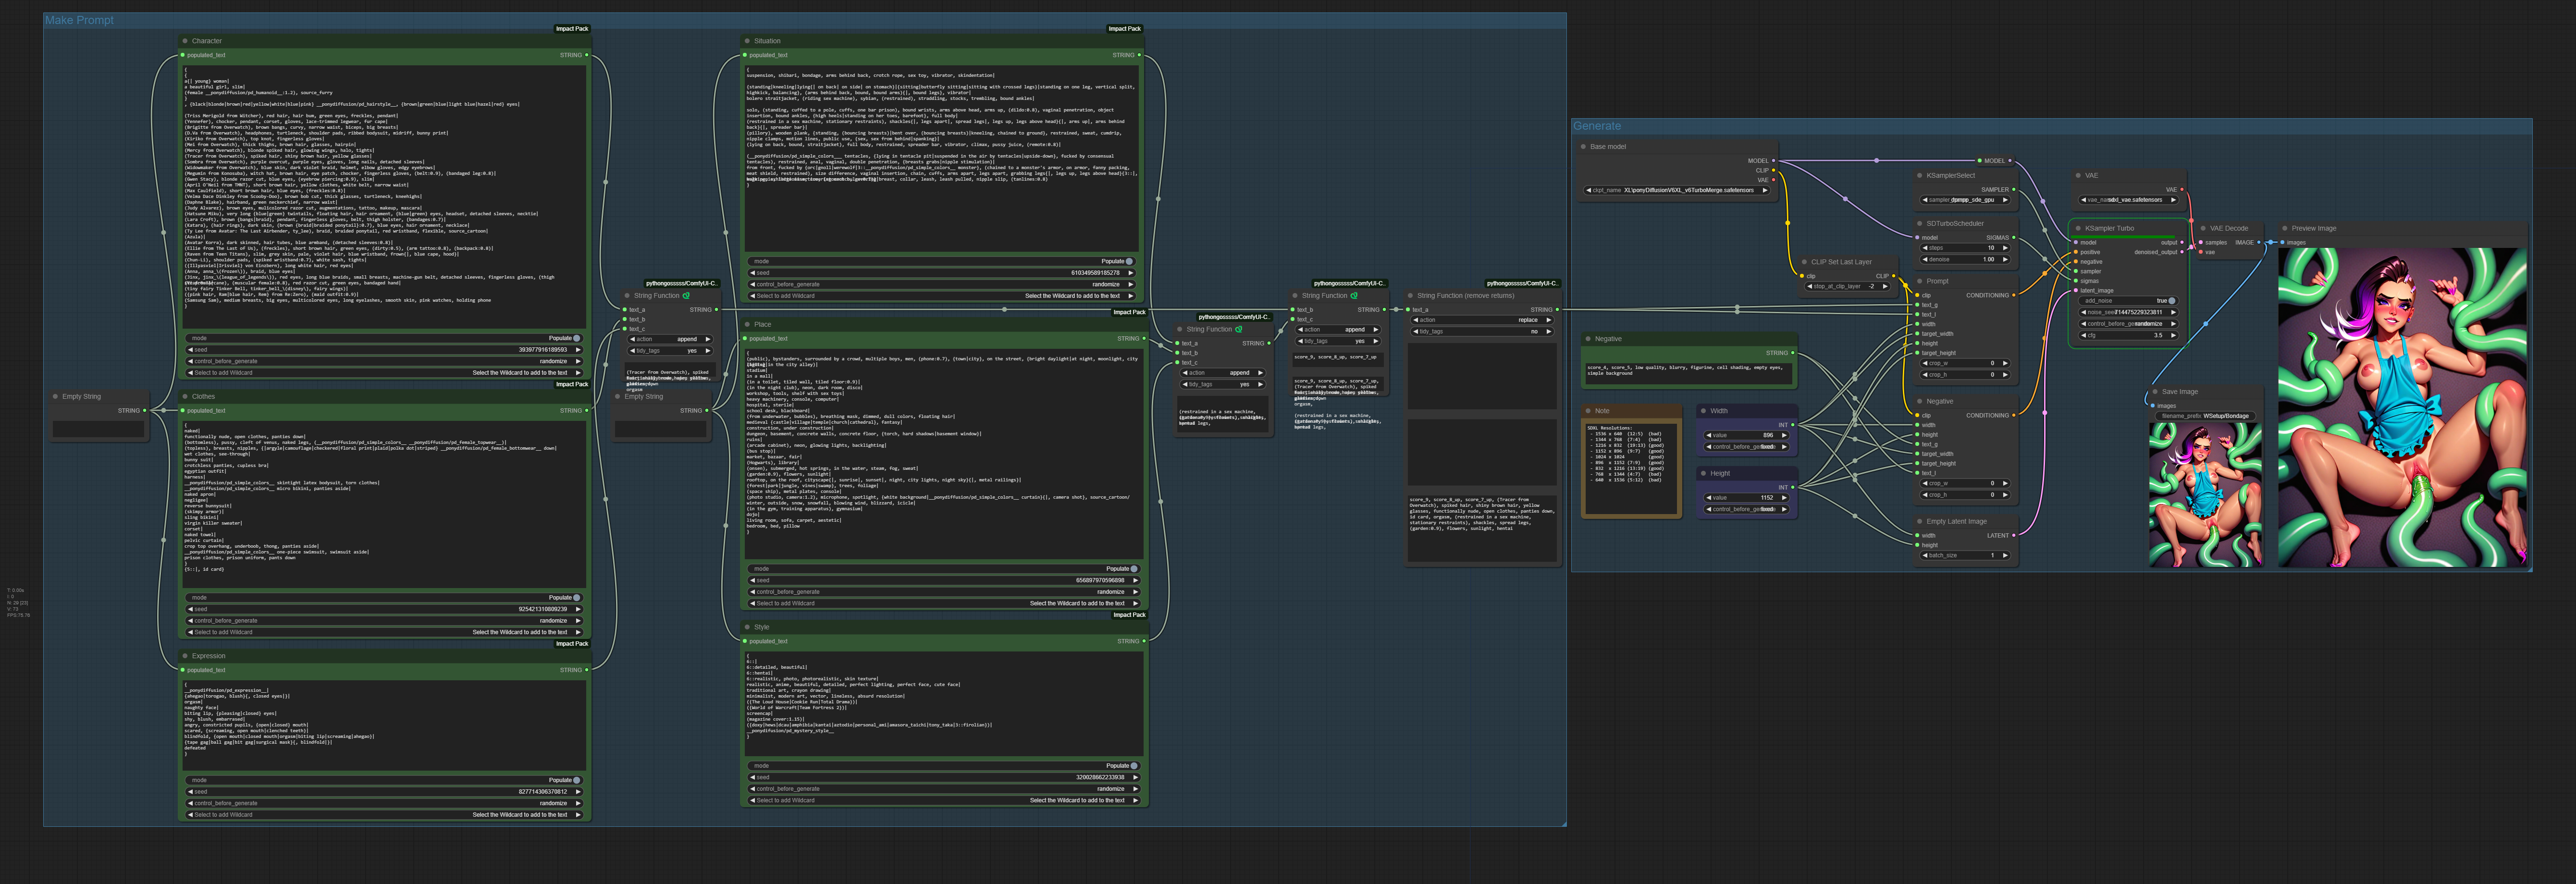
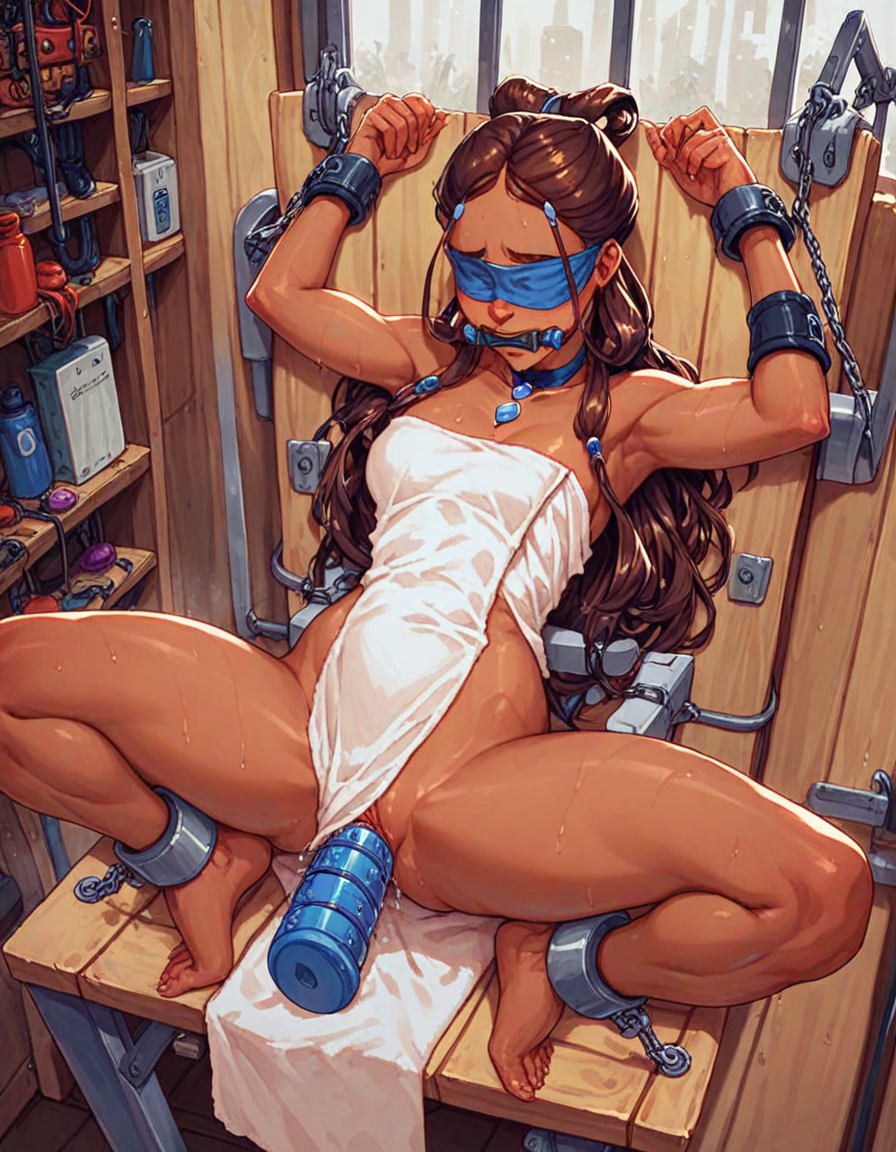
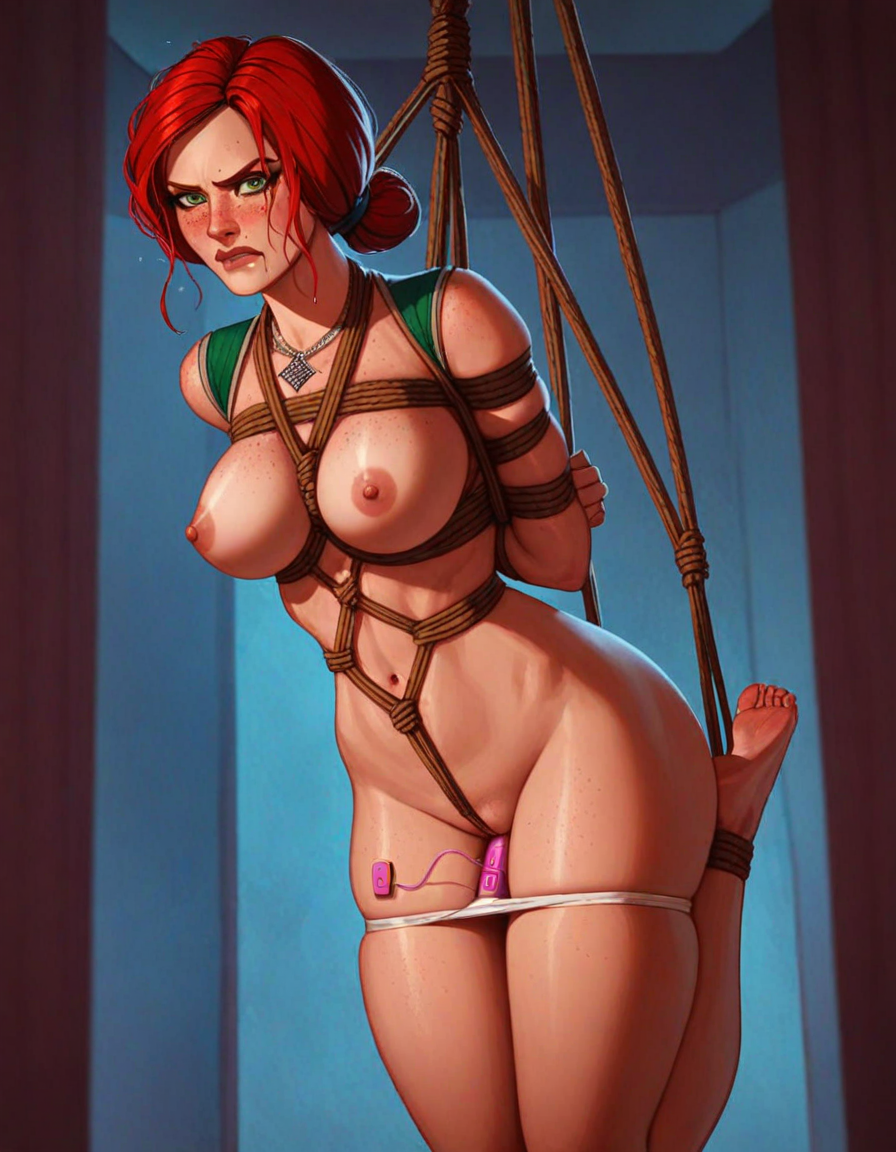
Wanking Setup (Bondage Edition & Lesbian Edition) | ComfyUI workflow


Details
Download Files (1)
About this version
Model description
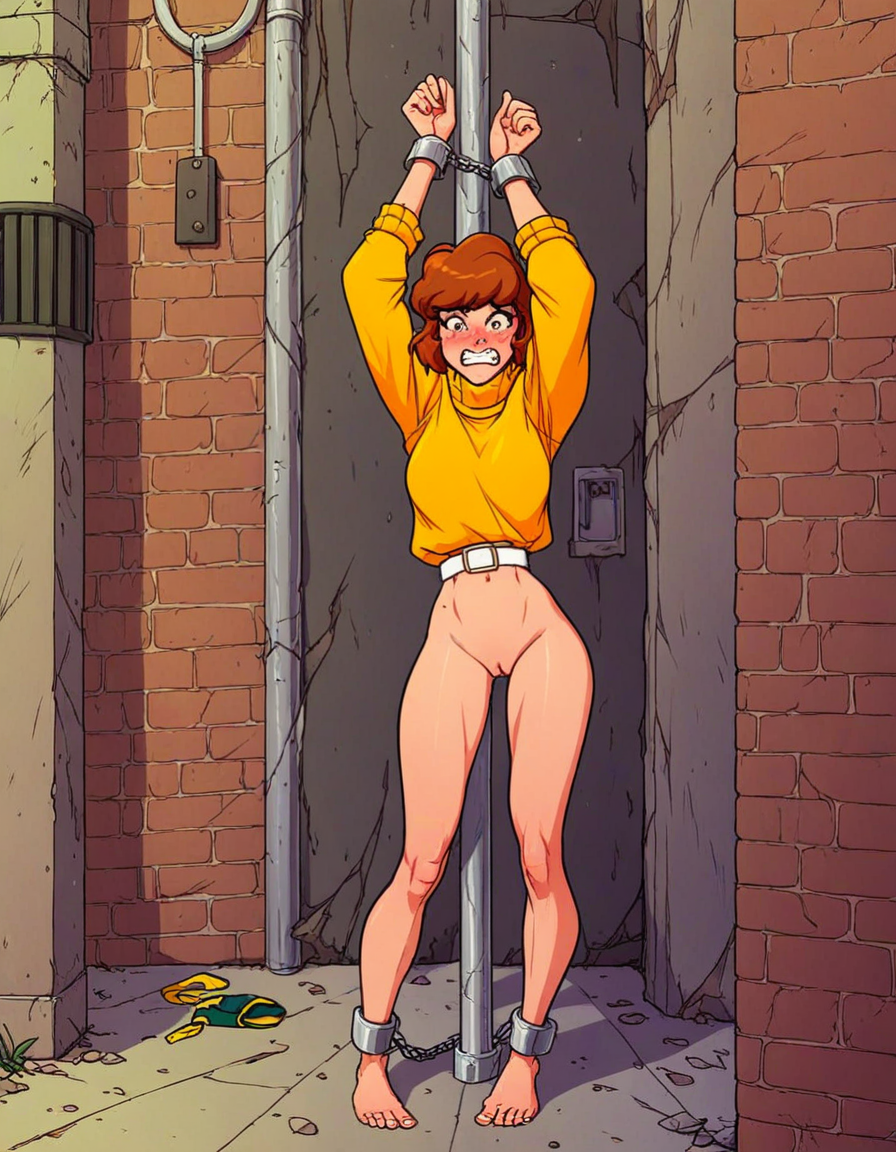
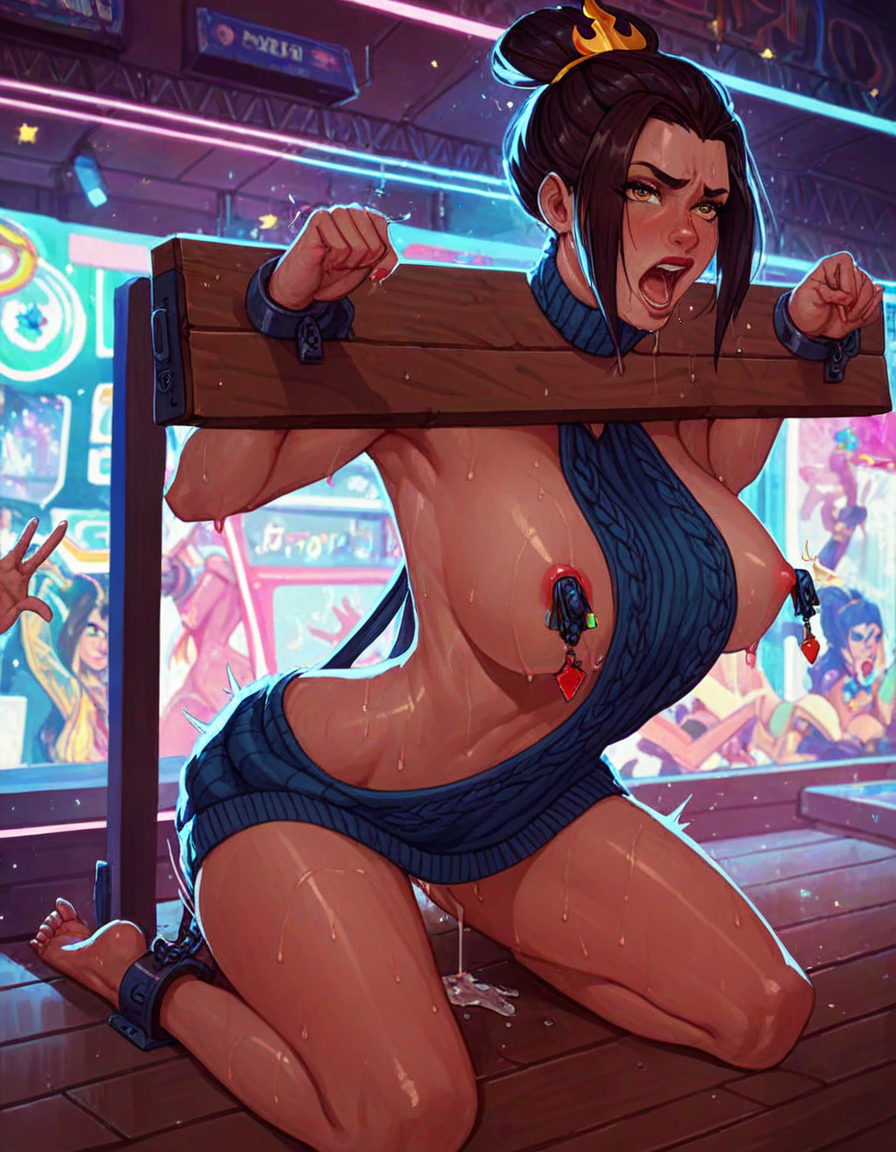
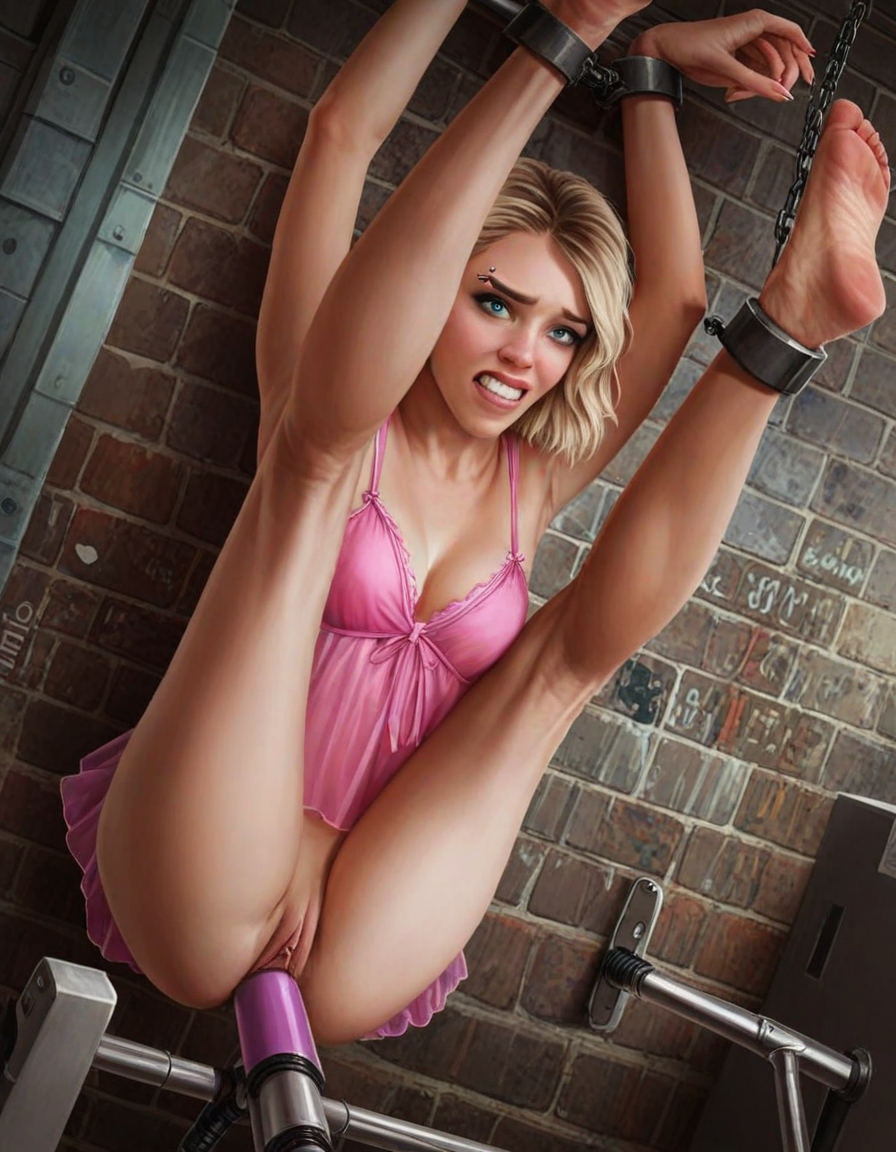
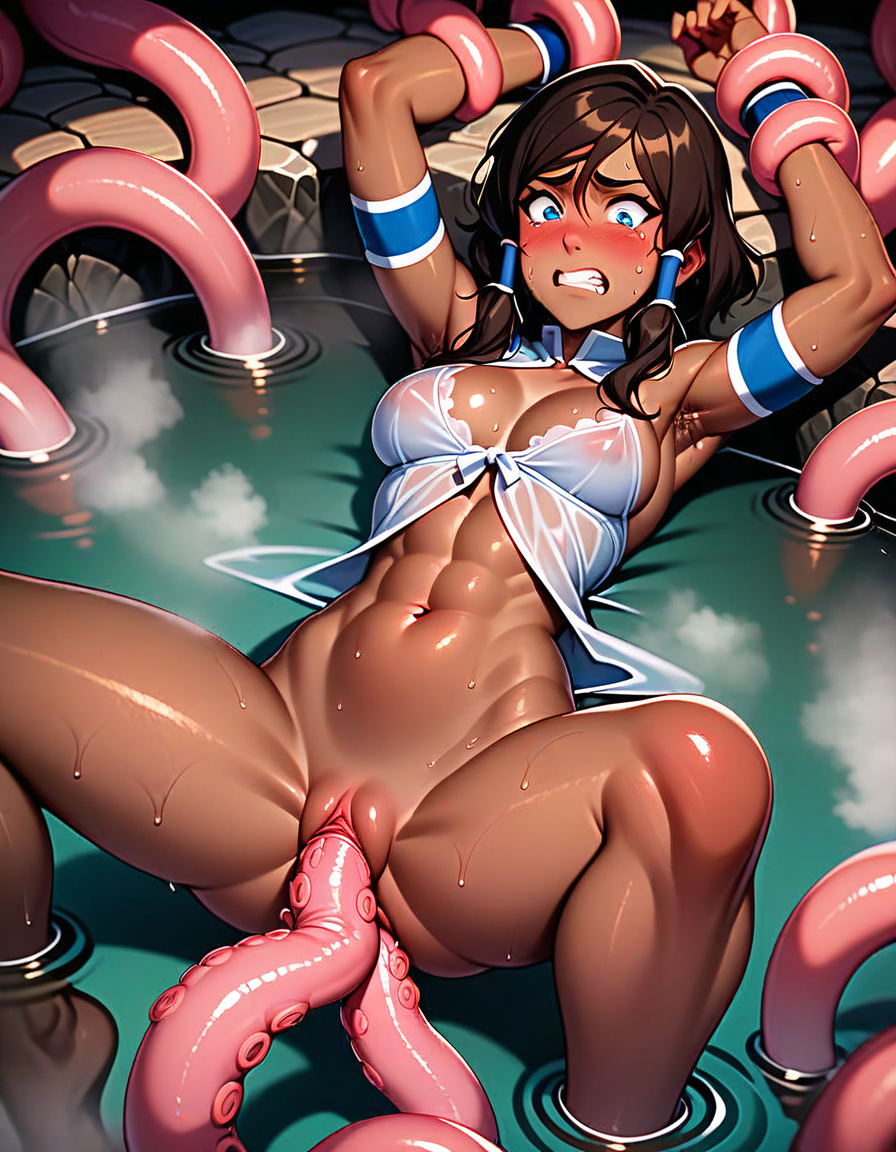
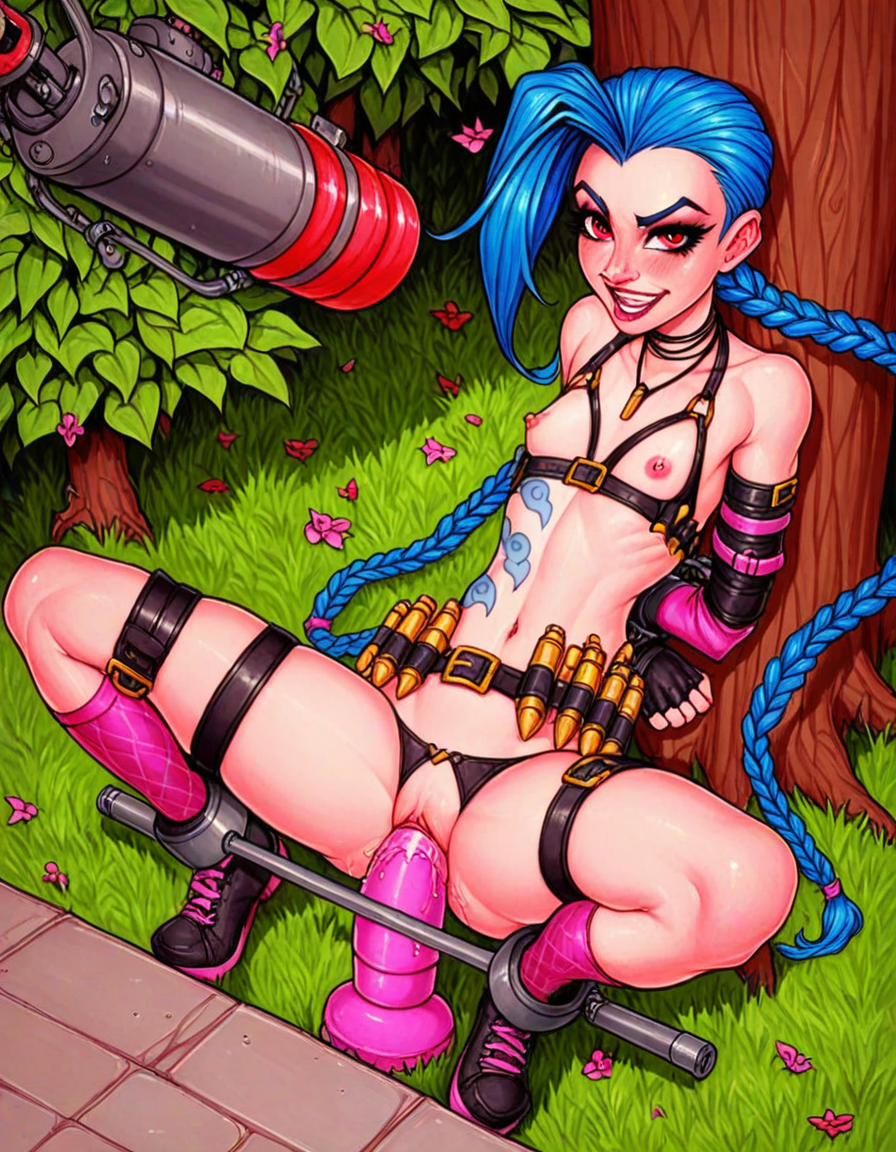
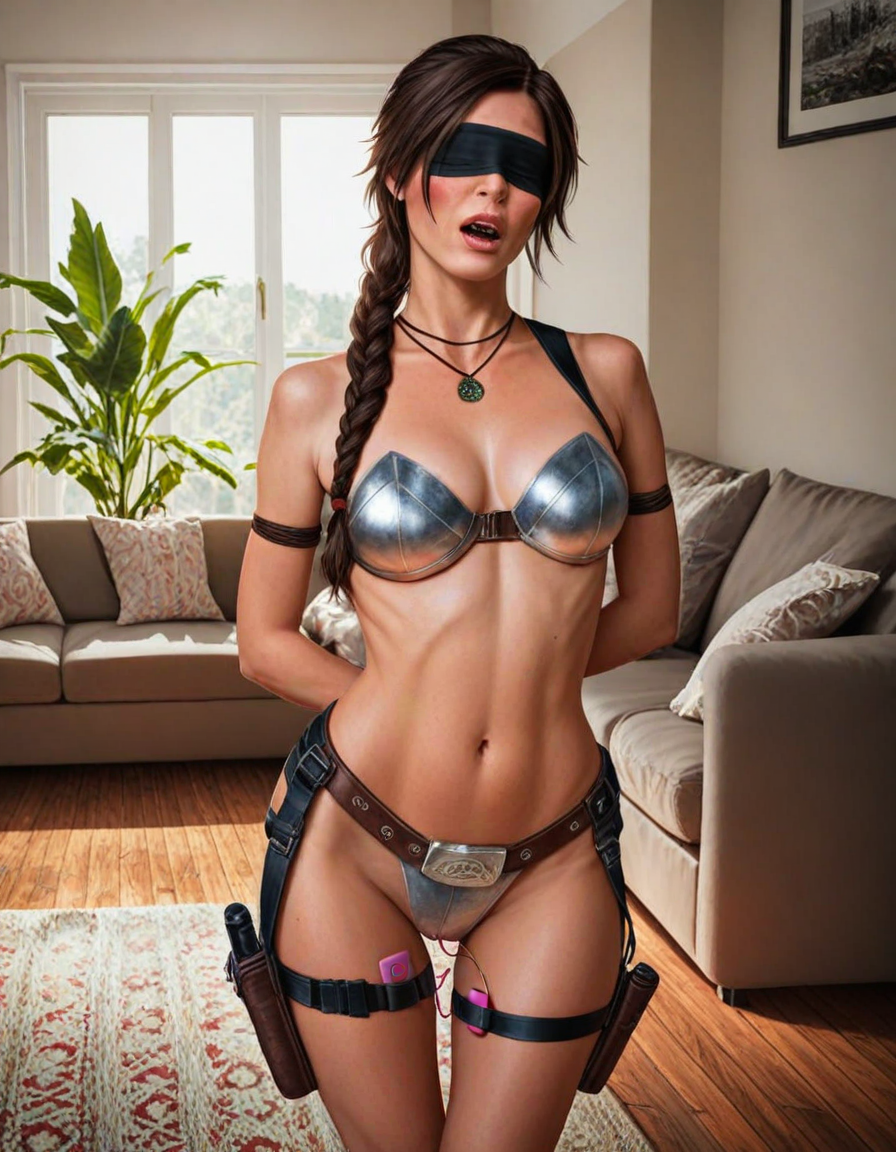
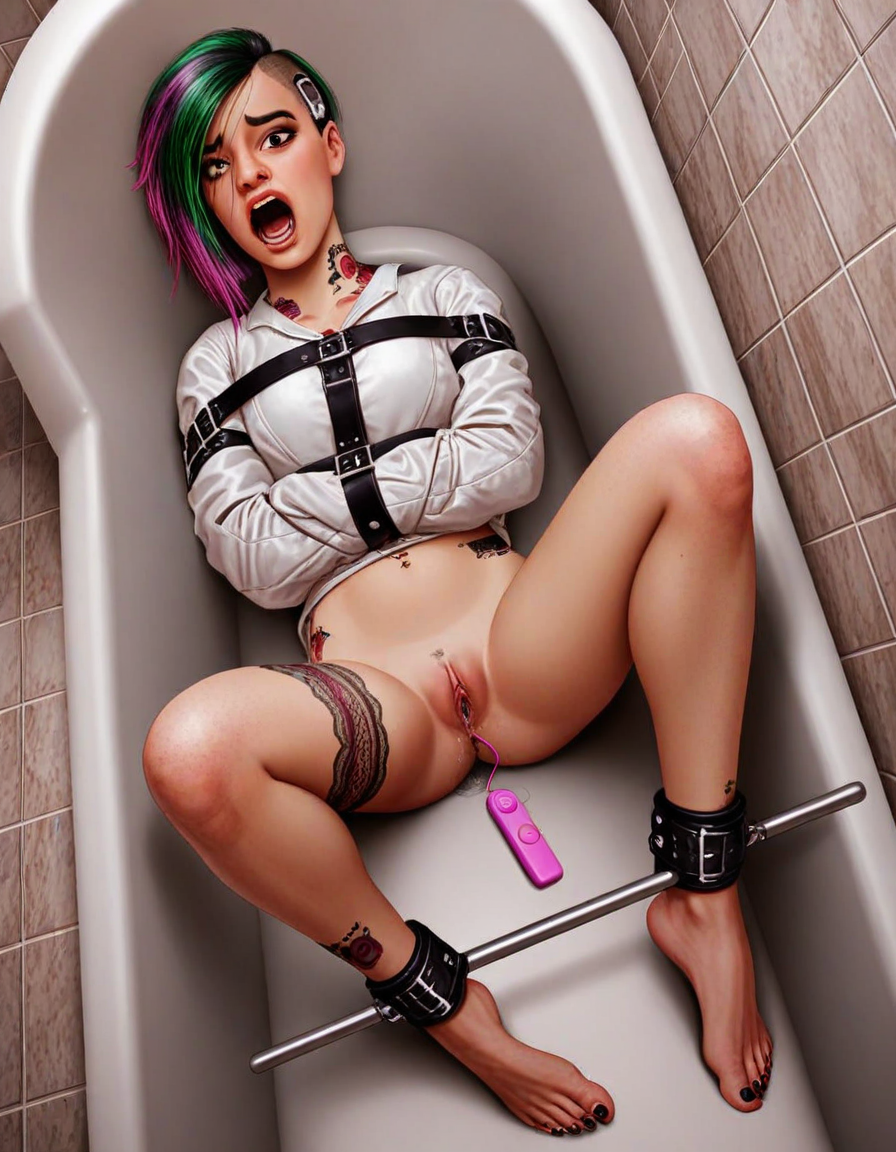
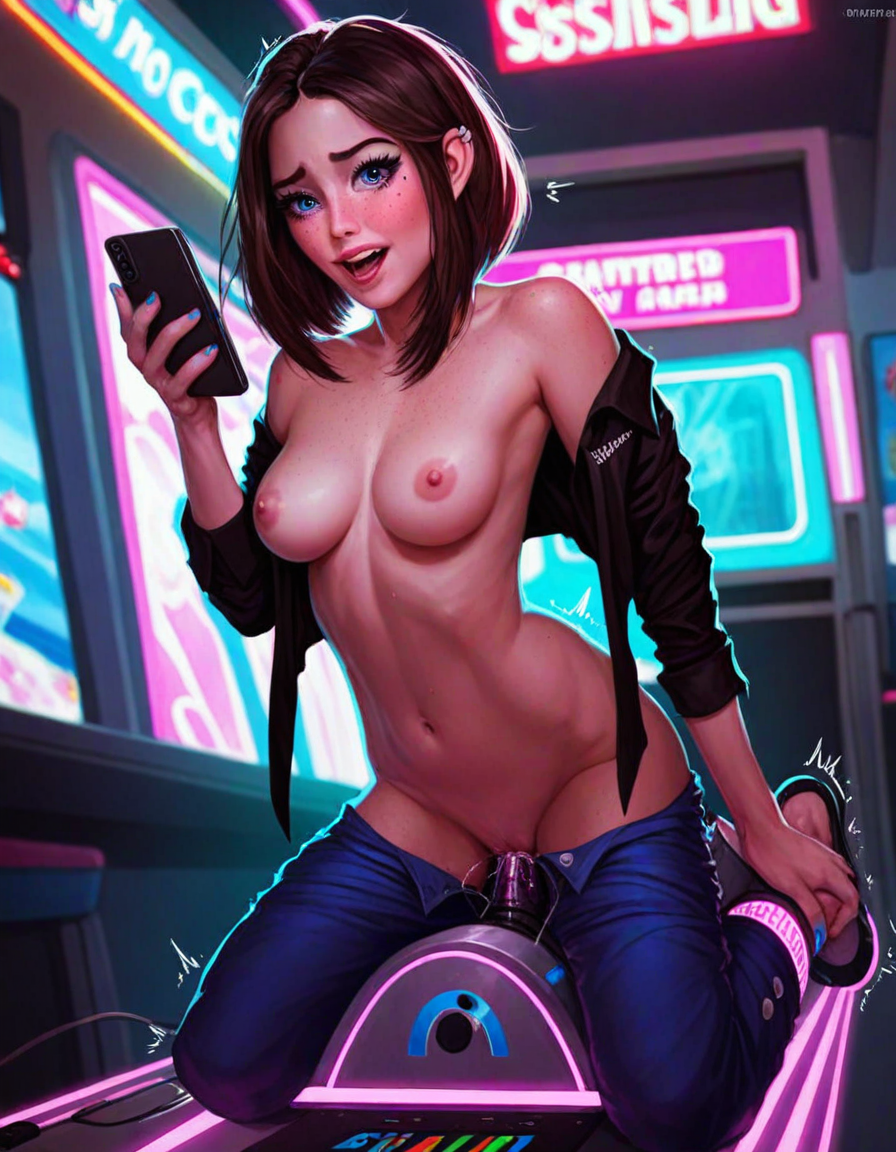
The non-stop lewd pictures generator.
How it works
random character + random clothes + random expression + random pose + random location + random style = image
This is a big prompt combinator. Every single word, including wildcards, is tested to work with PonyDiffusion Turbo.
How to use
Go through installation (guide below);
Check "Extra Options" and "Auto Queue" checkboxes in ComfyUI menu;
Press "Queue prompt".
Installation
Install Impact Pack custom nodes;
Install Custom Scripts custom nodes;
Download PonyDiffusion Turbo model and put it into your model folder (probably "\ComfyUI\models\checkpoints");
Move the "ponydiffusion" folder from the archive into your wildcard folder (probably "\ComfyUI\custom_nodes\ComfyUI-Impact-Pack\wildcards");
Run it!
How to modify
The workflow is mainly the collection of prompt parts. It is made to be easily customized. The syntax is fully explained here.
For example, adding this line in the middle of "Character" node (Bondage Edition) will make Tinker Bell randomly appear in generations:
(tiny fairy Tinker Bell, tinker_bell_\(disney\), fairy wings)|Note that Bondage Edition uses a small amount of characters with keywords to guide their appearance, while Lesbian Edition uses a huge wildcard "pd_female_character.txt". You can easily modify both workflows, choosing your preference between quality and diversity.
You can also use LoRAs, dynamically! Right LoRA will be selected only when the right part of the prompt is selected. For that, you'll need to:
Replace "ImpactWildcardProcessor" nodes with "ImpactWildcardEncode";
Connect model and CLIP to them;
Put your LoRAs inside according to syntax;
Join outputs together with "ConditioningCombine" nodes (you can use "ConditioningConcat" for Place & Style. It might or might not improve results);
Connect the resulting condition to "KSampler Turbo" node.
Notes
"Save Image" node is disabled by default (Ctrl + M).
It is tricky to recover a prompt from an image. I genuinely recommend using "SD Prompt Saver" node from SD Prompt Reader custom nodes to easily save and load the prompt for further processing. It's quite trivial, but there is a guide in comments anyway.