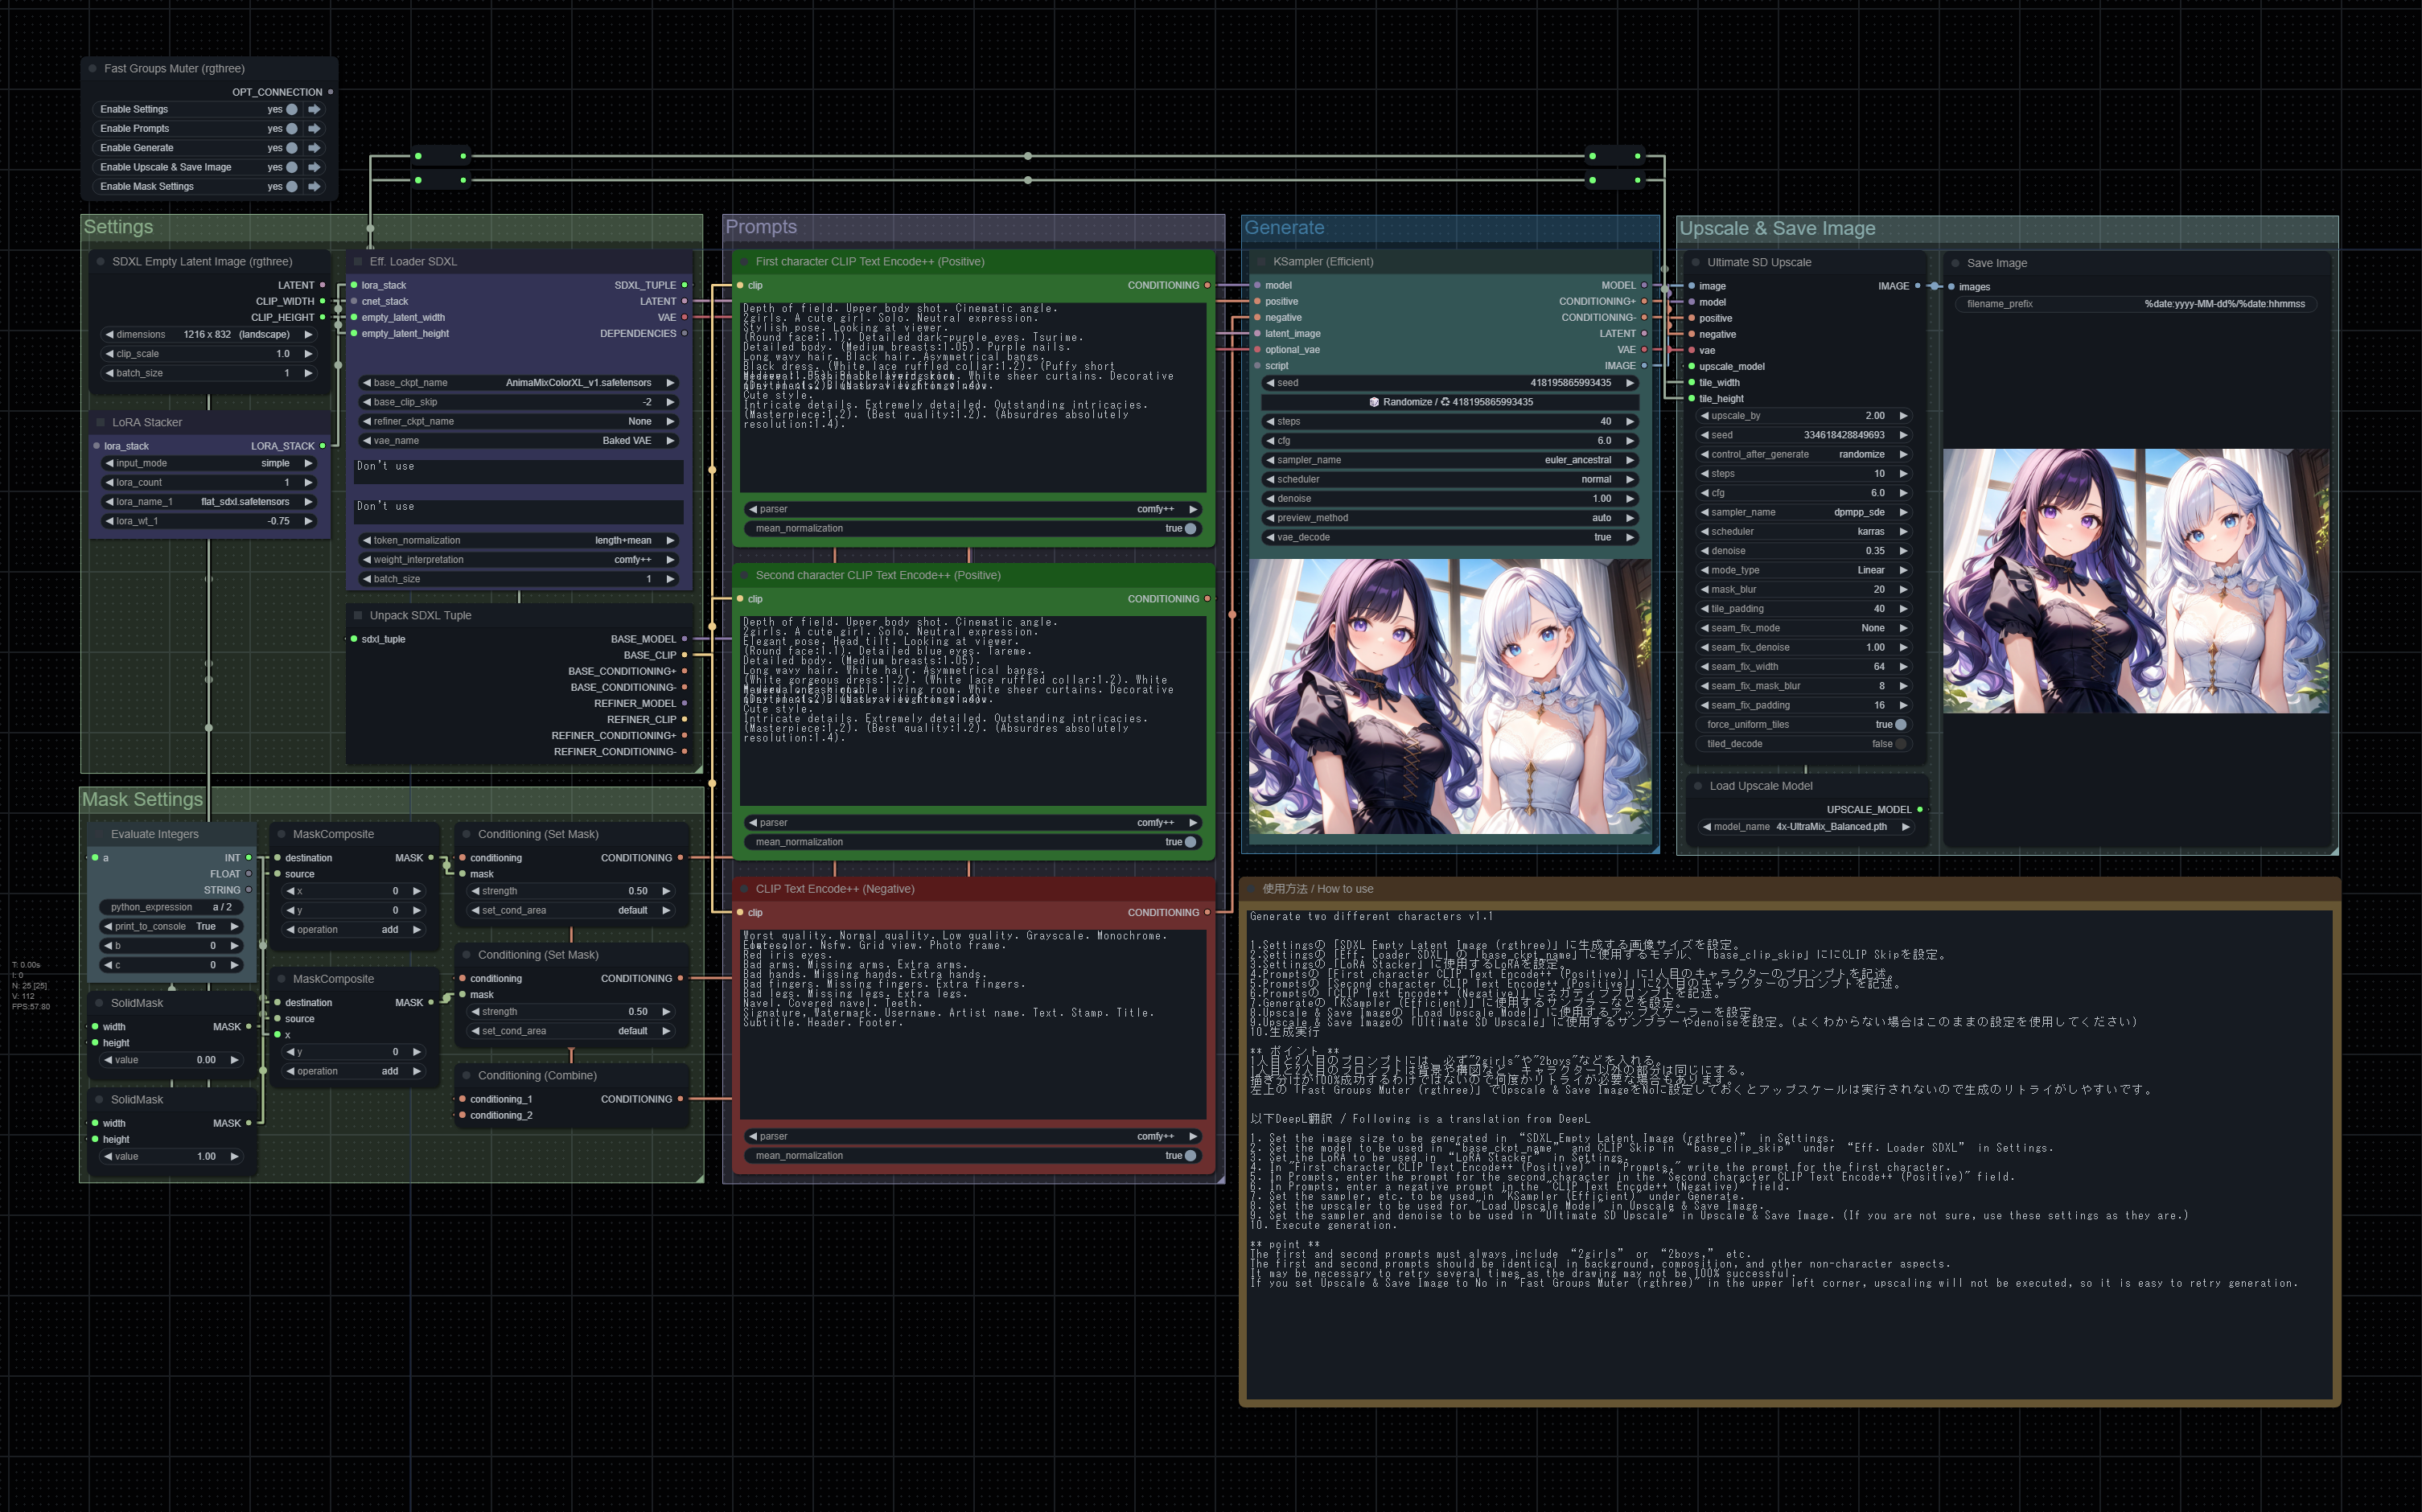
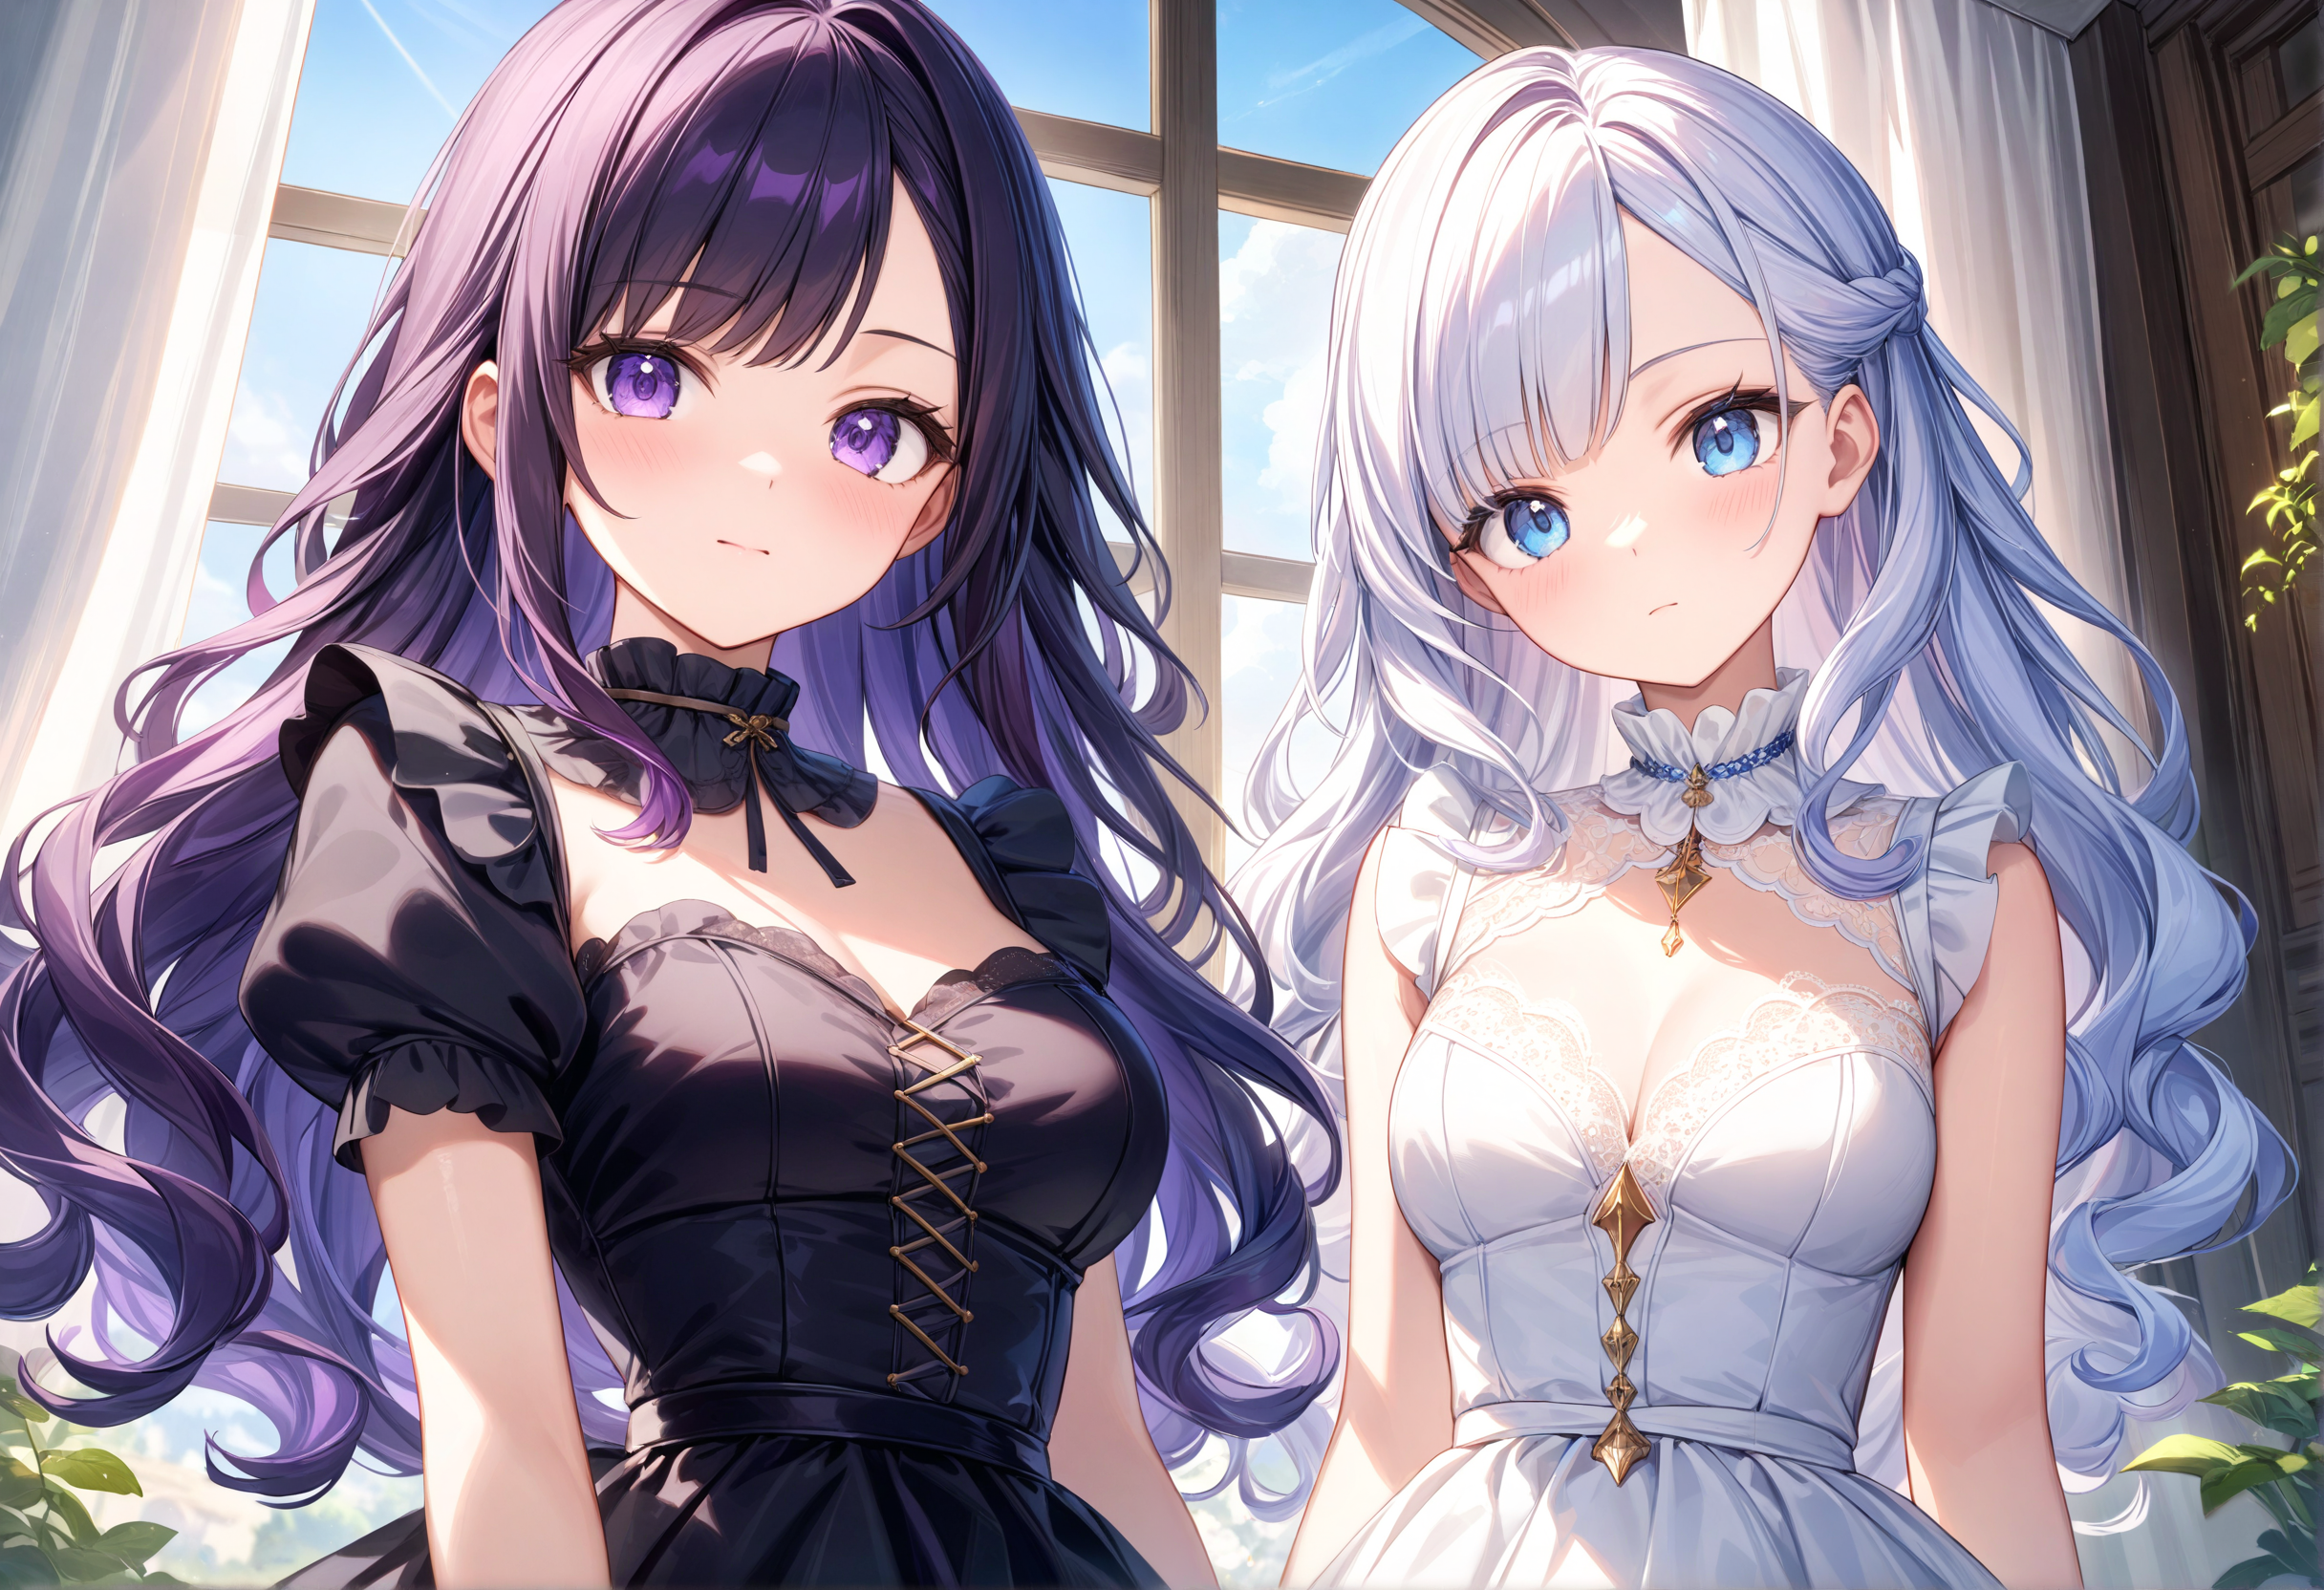
2人のキャラクターを描き分け / GenerateTwoDifferentCharacters

세부 정보
파일 다운로드 (1)
이 버전에 대해
모델 설명
1枚の画像に異なる2人のキャラクターを生成するComfyUIのサンプルワークフローです。生成からUltimateSDUpscaleによるアップスケールまで対応しています。ご自由にカスタマイズしてお使いください。
This is a sample workflow for ComfyUI that generates two different characters in one image. It supports everything from generation to upscaling with UltimateSDUpscale. Please feel free to customize it to your needs.
v1.1でLoRAの設定が追加されました。
LoRA settings are added in v1.1.
前提条件 / Prerequisites
ComfyUIがインストールされている。
ComfyUI-Managerがインストールされている。
ComfyUI installation.
ComfyUI-Manager installation.
カスタムノード / Custom nodes
以下のカスタムノードを使用しています。
The following custom nodes are used.
使用方法 / How to use
同じ内容がワークフロー内のNoteにも記載されています。以下の使用方法ははv1.1のものです。v1の説明はv1のワークフローを参照してください。
The same information can be found in the "Note" node in the workflow. The following usage is for v1.1. See v1 workflow for a description of v1.
Settingsの「SDXL Empty Latent Image (rgthree)」に生成する画像サイズを設定。
Settingsの「Eff. Loader SDXL」の「base_ckpt_name」に使用するモデル、「base_clip_skip」ににCLIP Skipを設定。
Settingsの「LoRA Stacker」に使用するLoRAを設定。
Promptsの「First character CLIP Text Encode++ (Positive)」に1人目のキャラクターのプロンプトを記述。
Promptsの「Second character CLIP Text Encode++ (Positive)」に2人目のキャラクターのプロンプトを記述。
Promptsの「CLIP Text Encode++ (Negative)」にネガティブプロンプトを記述。
Generateの「KSampler (Efficient)」に使用するサンプラーなどを設定。
Upscale & Save Imageの「Load Upscale Model」に使用するアップスケーラーを設定。
Upscale & Save Imageの「Ultimate SD Upscale」に使用するサンプラーやdenoiseを設定。(よくわからない場合はこのままの設定を使用してください)
生成実行
Set the image size to be generated in “SDXL Empty Latent Image (rgthree)” in Settings.
Set the model to be used in “base_ckpt_name” and CLIP Skip in “base_clip_skip” under “Eff. Loader SDXL” in Settings.
Set the LoRA to be used in “LoRA Stacker” in Settings.
In "First character CLIP Text Encode++ (Positive)" in "Prompts," write the prompt for the first character.
In Prompts, enter the prompt for the second character in the "Second character CLIP Text Encode++ (Positive)" field.
In Prompts, enter a negative prompt in the "CLIP Text Encode++ (Negative)" field.
Set the sampler, etc. to be used in "KSampler (Efficient)" under Generate.
Set the upscaler to be used for "Load Upscale Model" in Upscale & Save Image.
Set the sampler and denoise to be used in "Ultimate SD Upscale" in Upscale & Save Image. (If you are not sure, use these settings as they are.)
Execute generation.
ポイント / Point
1人目と2人目のプロンプトには、必ず"2girls"や"2boys"などを入れる。
キャラクターのプロンプトを除いて、背景や構図などのプロンプトは1人目と2人目で同じにする。あえて背景を別にして意外性を試すのはあり。
描き分けは100%成功するわけではありません。何度かリトライが必要になる場合もあります。
左上の「Fast Groups Muter (rgthree)」でUpscale & Save ImageをNoに設定しておくとアップスケールは実行されないので生成のリトライがしやすいです。良い画像ができたらシード値を固定してアップスケールを行ってください。
The first and second prompts must always include “2girls” or “2boys,” etc.
Except for character prompts, background, composition and other prompts should be the same for the first and second character. It's a good idea to try and create an element of surprise by using a different background.
Drawing different characters is not 100% successful. You may need to retry several times.
If you set Upscale & Save Image to No in "Fast Groups Muter (rgthree)" in the upper left corner, upscaling will not be executed, so it is easy to retry generation. Once you have a good image, fix the seed value and upscale.
英文はDeepL翻訳またはGoogle翻訳を使用して翻訳されています。
The English text was translated using DeepL Translate or Google Translate.