NcProductions Wan2.2 All-In-One I2V-T2V A14B Workflow

Details
Download Files
Model description
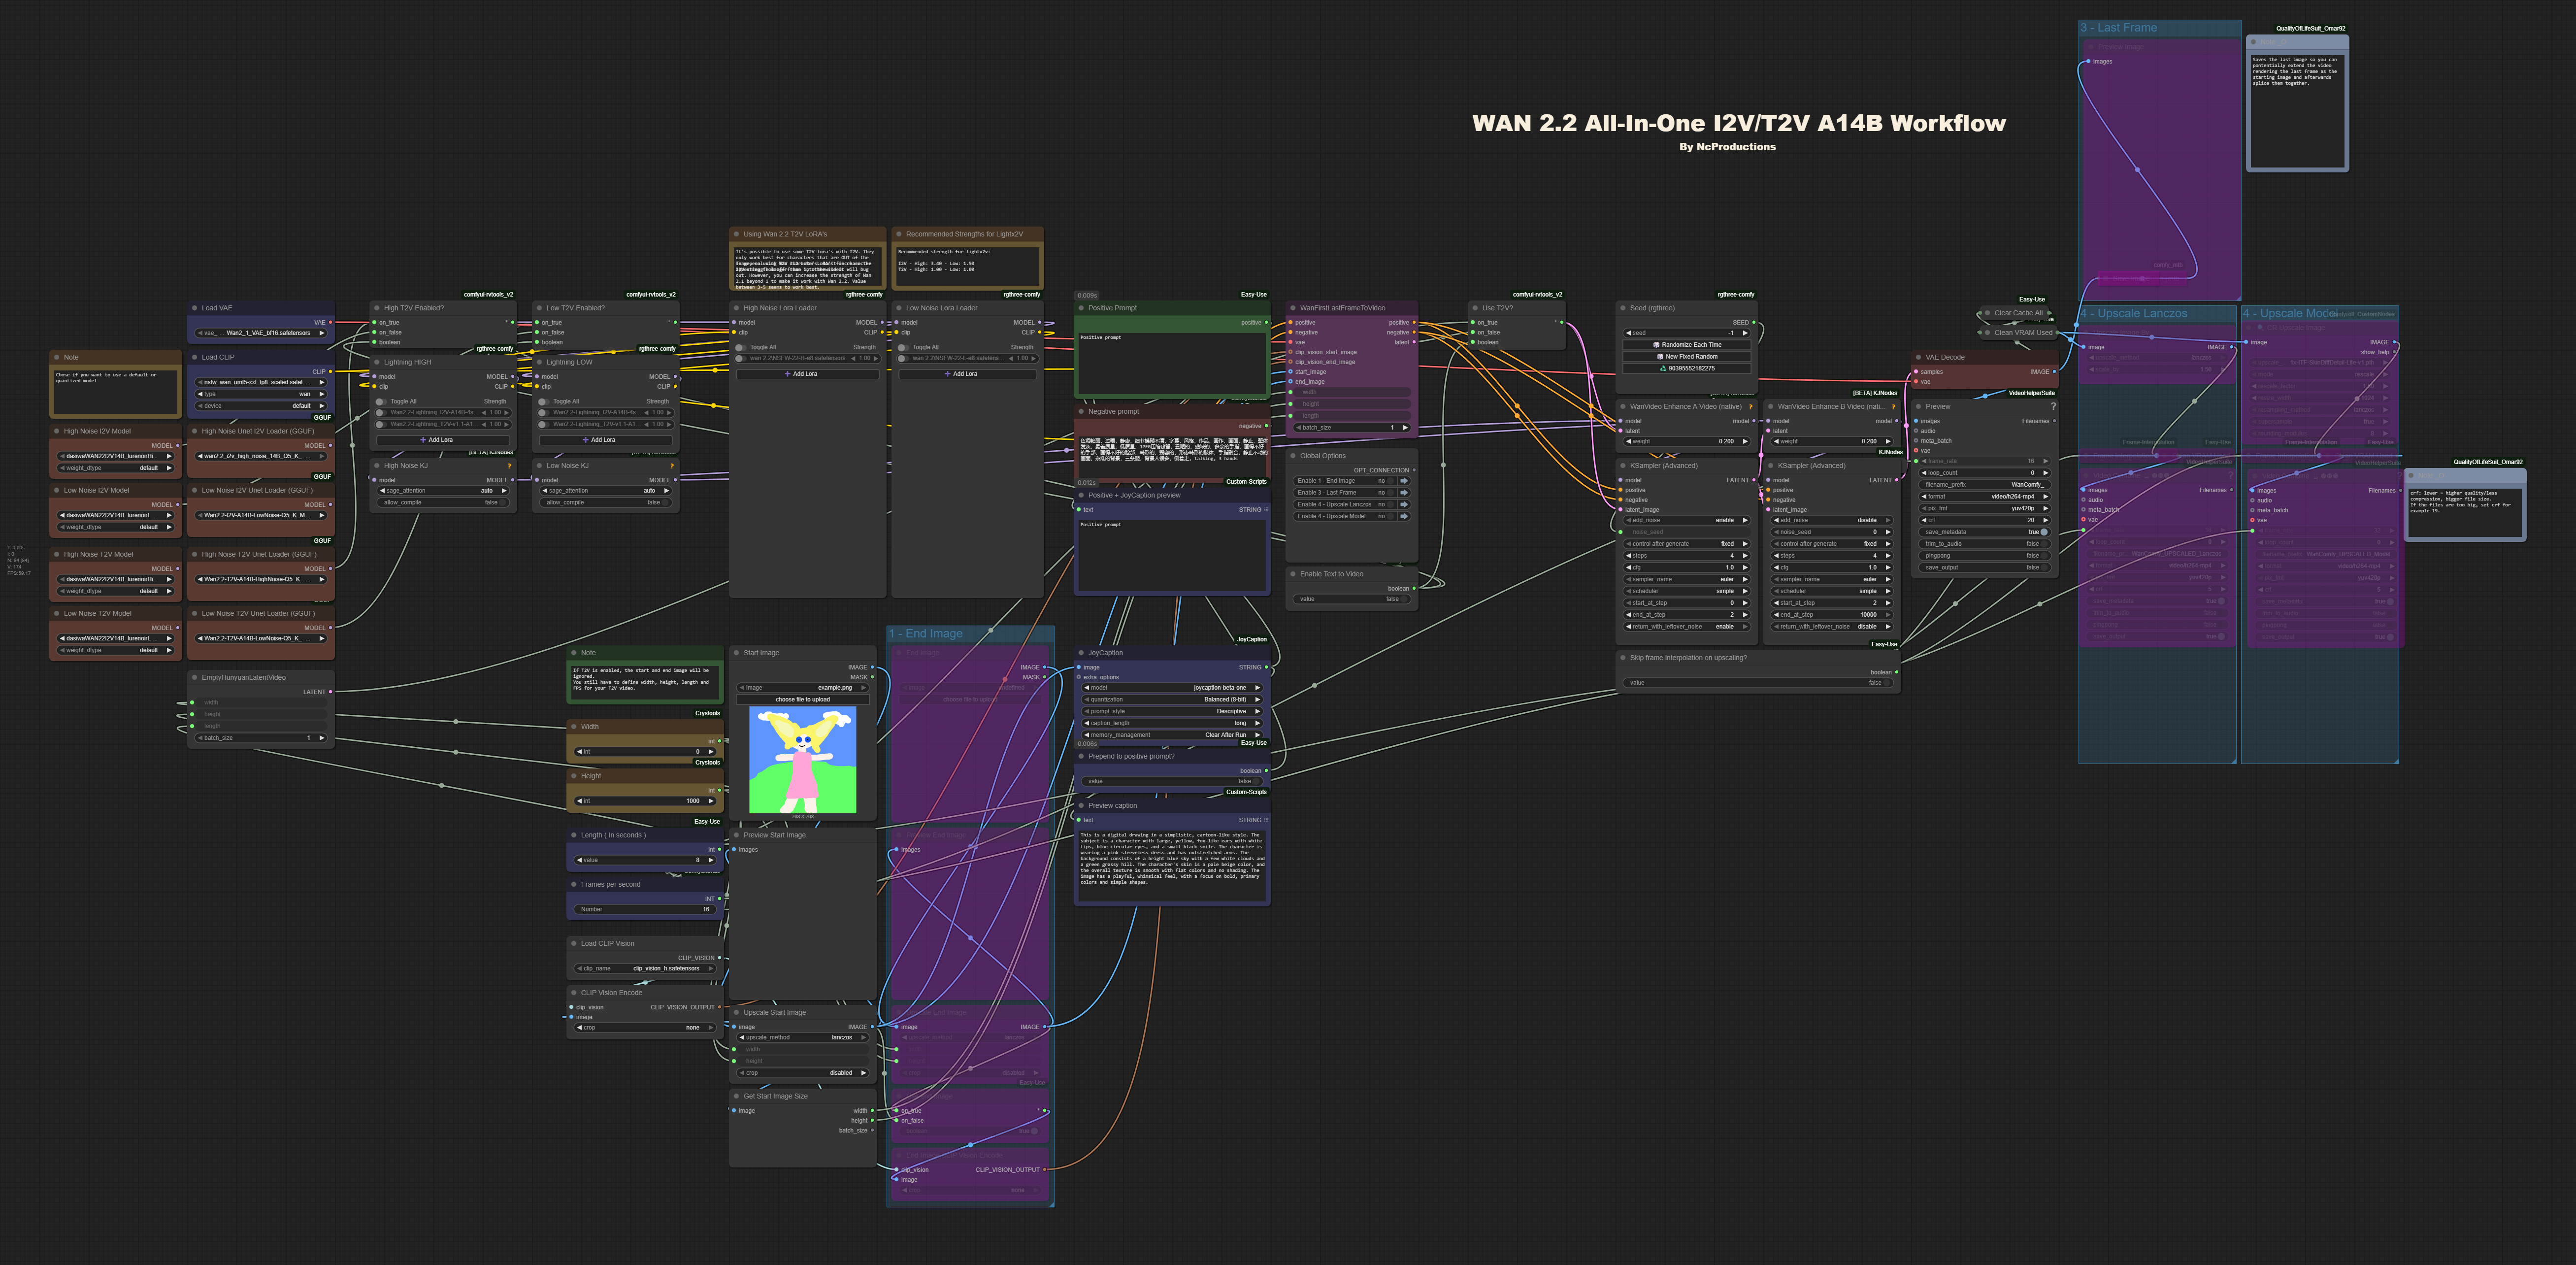
NcProductions Wan2.2 All-In-One I2V-T2V-T2I A14B Workflow
This is the workflow I’m using with Wan 2.2 to create videos. It supports both T2V and I2V by simply toggling a switch, which is useful if you want to switch between I2V and T2V without changing workflows.
This workflow uses quantized models of I2V and T2V (GGUF).
I borrowed the upscaling flow from Astraali_accWAN_GGUF, a workflow I previously used with Wan 2.1.
Update V. 1.2
Removed T2I
- It's best to use another workflow specifically made for T2I.
Removed Florence
- Florence has been replaced with Joycaption Beta One - A better I2T for NSFW.
Added load diffusion models nodes
You can chose to load your model as a regular diffusion model or a quantized model, just make sure the correct node is linked to High T2V Enabled? and Low T2V Enabled? node.
I use DaSiWa WAN 2.2 I2V 14B Lightspeed in my workflow.
Lightning lora's are seperated from the main lora node selectors
Update V. 1.1
Added T2I option.
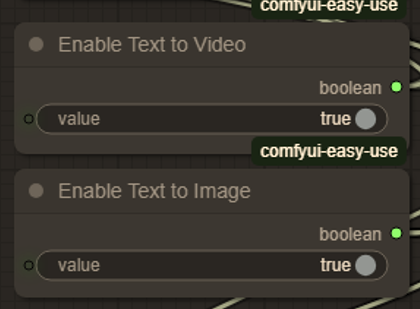
- The “Enable Text to Image” toggle is located below the “Enable Text to Video” toggle. It must be enabled alongside “Enable Text to Video”. This allows Wan 2.2 to generate an image for you. To save the previewed image, right-click on it and select “Save image”.
Fixed a latent problem issue with T2V.
- Previously, T2V still used the width and height of an uploaded image. This has been fixed, and it should now properly use the dimensions you define.
Option to enable Florence input before your input.
- A new toggle, located above the positive prompt, lets you enable Florence input before your custom positive input. This can be useful when using T2V character LoRAs with I2V for off-frame apperances.
Features
I2V / T2V in the same workflow
- As mentioned earlier, you can easily toggle between the two with a simple switch.
Start image and Last Frame.
- Available only for I2V. Allows you to set both a start and end image for your video.
Florence
- Available only for I2V. Lets the AI describe your image, and this description is then concatenated before or after your own positive prompt.
Last Frame
- Saves the final frame of your generated video as an image, making it possible to extend the video if desired.
Video upscaling
Lanczos
Performs basic Lanczos video upscaling. Width and height are multiplied by 1.5x.Custom Model
Uses a custom upscaling model instead of Lanczos. You can chose your own upscaling model if desired. I am using 1x-ITF-SkinDiffDetail-Lite-v1.pth in this workflow. Width and height are multiplied by 1.5x.
Installation
Before installing, make sure you have the latest version of ComfyUI installed:
ComfyUI: v0.3.51-1-gfe01885a (2025-08-20), Manager: V3.36 as of uploading this workflow.
Next, drag “NcProductions Wan2.2 All-In-One I2V-T2V A14B Workflow.json” into a running instance of ComfyUI. Install any missing nodes if prompted, then refresh. If everything is set up correctly, all custom nodes should be ready to use.
Be sure to use the correct quantized models of I2V and T2V for your GPU. For example, I’m using an RTX 5080, so I have Q5_K_M installed. Also, ensure you’re using the matching quantized CLIP model.
(e.g., umt5-xxl-encoder-Q5_K_M.gguf in my case).
Link to quantized models can be found here:
I2V - https://huggingface.co/QuantStack/Wan2.2-I2V-A14B-GGUF/tree/main
T2V - https://huggingface.co/QuantStack/Wan2.2-T2V-A14B-GGUF/tree/main
These goes to models/unet folder in your comfyUI directory.
Link to quantized clip models can be found here: https://huggingface.co/QuantStack/Wan2.2-T2V-A14B-GGUF/tree/main and goes to your models/clip folder.
How to use
First, you’ll need the high and low noise LoRAs. Currently, I have Wan21_T2V_14B_lightx2v_cfg_step_distill_lora_rank32.safetensors installed in my LoRAs folder. This LoRA speeds up the generation process, and it should be the first one you select.
Recommended strength i'm using for lightx2v:
I2V
High: 3.40
Low: 1.50
T2V
High: 1.00
Low: 1.00
Both I2V and T2V uses the same high and low noise lora nodes in this workflow.

UPDATE:
Lightning LoRA now exists for Wan 2.2, you can download and use the corresponding LoRa for I2V and T2V - /model/1585622/self-forcing-causvid-accvid-lora-massive-speed-up-for-wan21-made-by-kijai?modelVersionId=2090344
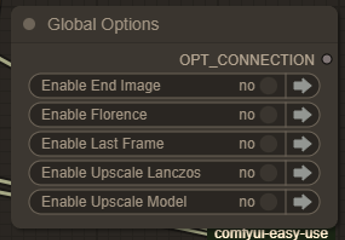
Global Options
Next are the global options. These are simple on/off toggles that let you choose which features to enable in the workflow. The available options may vary depending on whether you’re using I2V or T2V. Each option is explained in more detail further down in the description.
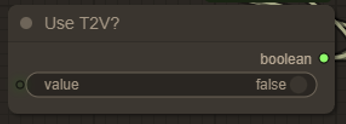
Toggling between I2V - T2V
To enable T2V, simply toggle this node on (located below the global options). When T2V is enabled, the start image, end image, and Florence options will be ignored and bypassed.
Enabling T2I
When enabling T2I, make sure T2V is also enabled. Otherwise, you’ll essentially just get a copy of your uploaded image.
T2I also lets you generate high-resolution images (e.g., 2560x1440px), which isn’t possible without T2I enabled—even if length and FPS are set to 1 or 0.
This feature is also useful for quickly creating drafts when planning to use T2V, allowing you to test prompts faster before generating a full video.
Video composition settings
T2V: Define both the width and height for your video.
I2V: You can leave the width or height set to
0. This allows the uploaded image to be scaled while maintaining its aspect ratio.Length and FPS: These are mostly self-explanatory, but you can redefine them if desired. Keep in mind that if Upscale (Lanczos) or Upscale (Model) is enabled, the FPS will be doubled from the initially defined value. For example,
16 × 2 = 32 FPS.

Start and end image
I2V only: Upload a start image for your I2V workflow.
You can also enable the End Image option from the global options to use an end image in your I2V workflow.

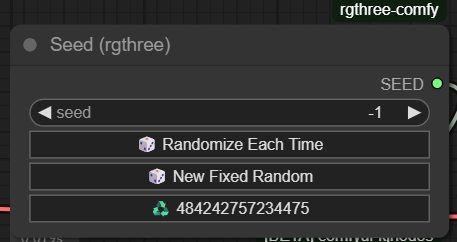
The Seed
This workflow uses the RGTHREE Seed Generator. If you’re already familiar with this custom node, you can skip this section.
If you’re not familiar, this node manages the seed number for each generation:
A seed value of
-1randomizes the seed every time you run a generation.The current seed value is displayed in the bottom field.
To reuse the same seed, click the bottom field and set a fixed seed value.