Dead-Simple Ultimate SD Upscale Workflow (Illustrious/Pony/SDXL)


Details
Download Files (1)
Model description
I've tried to create the easiest Ultimate SD Upscale workflow possible.
SFW/NSFW, doesn't matter.
This workflow is intended for upscaling the already-awesome images you've created.
I looked around CivitAI for a workflow like this without spaghetti noodles. I guess I have a way of making workflows where all the nodes are close together in a box, kinda like an Automatic1111 or SwarmUI interface. Because once everything is configured correctly, why should you have to move around an enormous canvas? Anyway...
This workflow assumes you have a general understanding of what you're doing. That includes things like:
Why you're using SD Ultimate Upscale in the first place
What upscale models you like to use
The checkpoint/LoRAs/sampling parameters you want to use
I usually use identical model/LoRA/cfg/sampler/scheduler as my original image with a 0.30 denoise. Positive prompt is just quality tags for me, like '8k, absurdres, masterpiece', but this depends on what you're aiming for.
All of the parameters in the Ultimate SD Upscale node below the sampler/scheduler stuff( mask_blur, tile_padding, etc etc), are intended to be modified to get your desired output. What I have in the workflow is what works for my images but YOU need to tweak it and iterate.
What models does it work with?
This workflow is intended for any SDXL-based model that uses the standard checkpoint file you find on CivitAI. I use Illustrious exclusively but I don't see why it shouldn't completely work 100% with Pony, NoobAI, etc.
Custom nodes
As always, I try to use core ComfyUI nodes as much as possible to reduce bloat and annoyance. This workflow requires 4 custom node packs to work:
ComfyUI-Custom-Scripts (for the math expression nodes in the Backend subgraph):
https://github.com/pythongosssss/ComfyUI-Custom-Scripts
rgthree-comfy (for the awesome LoRA loader and image comparer):
https://github.com/rgthree/rgthree-comfy
ComfyUI_UltimateSDUpscale (for the upscaling node):
https://github.com/ssitu/ComfyUI_UltimateSDUpscale
ComfyUI_tinyterraNodes (for the positive and negative prompt nodes):
https://github.com/TinyTerra/ComfyUI_tinyterraNodes
How to use it
Drag any image onto “Load Input Image” (or choose a file).
Add LoRAs as needed.
Choose your upscale model (e.g., Real-ESRGAN, NMKD Siax, UltraSharp, etc.)
Change “Upscale By…” to 2 (default = 2×), 4 (4×), 1.5, 3, whatever you want. This node increments in steps of 0.5.
Add your positive and negative prompts.
In the Ultimate SD Upscale node, change around the steps/cfg/sampler/scheduler/denoise as you wish.
Hit Queue Prompt → Done.
What you get instantly:
An upscaled image that respects your original aspect ratio exactly.
Saves the final upscaled image straight to your output folder.
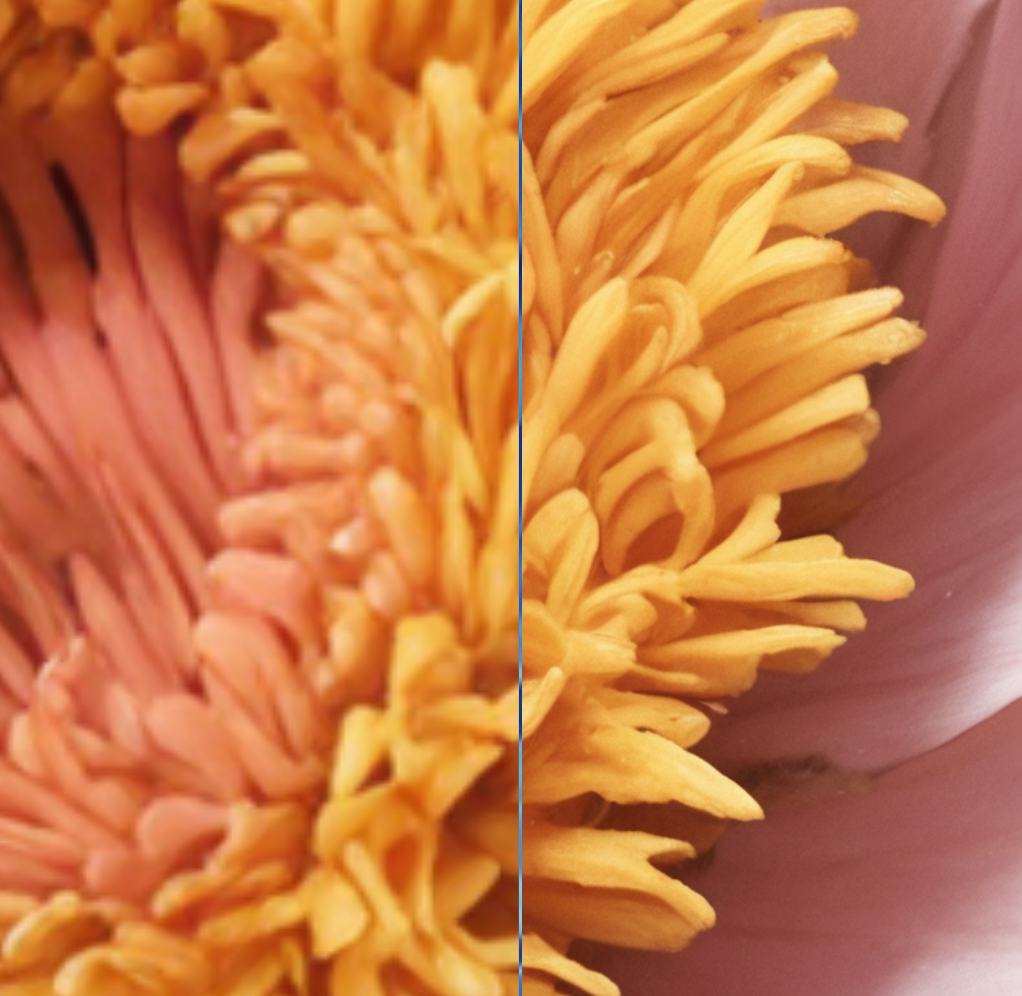
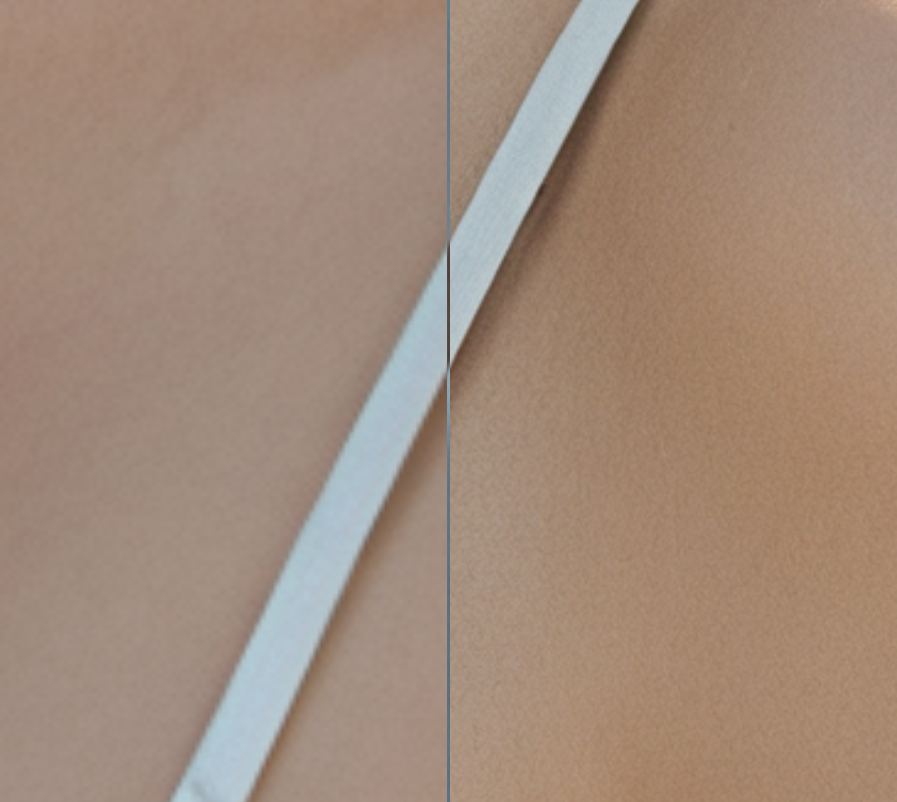
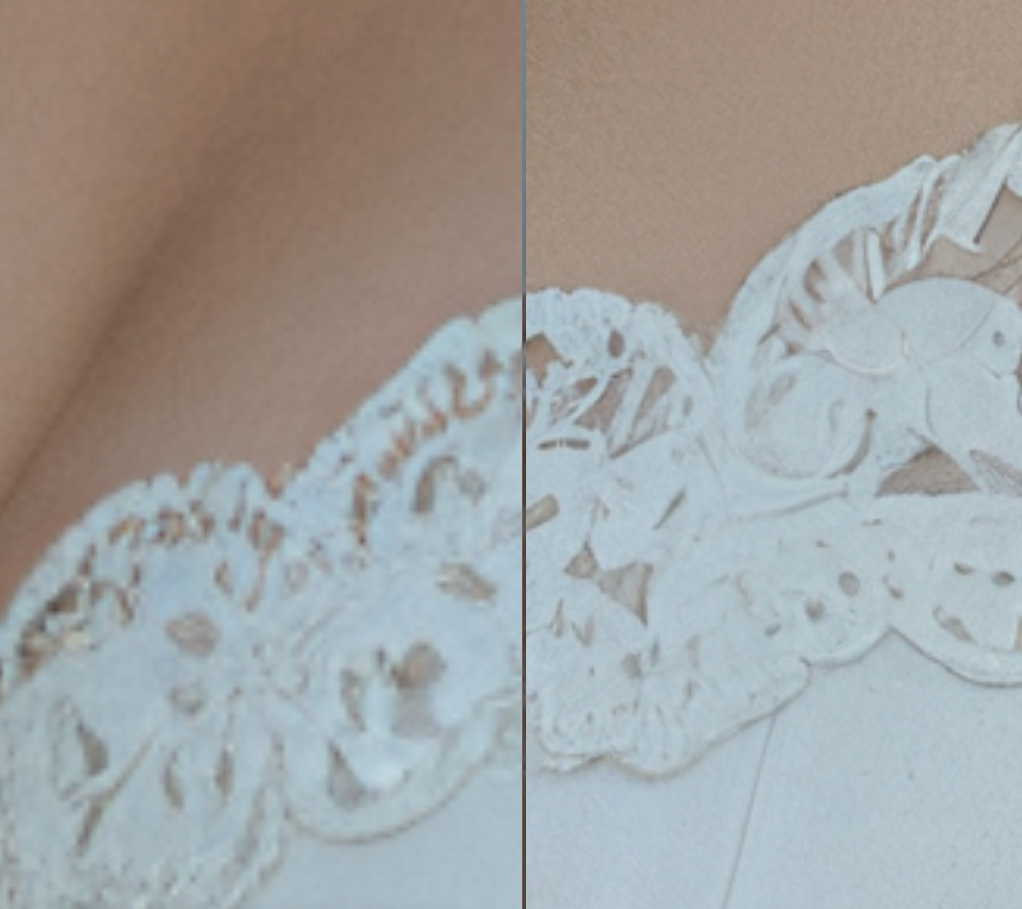
Built-in side-by-side slider (rgthree Image Comparer) so you can see before/after instantly.
What happens behind the scenes
There’s one tiny orange “Backend” box that does all the magic automatically:
Detects your input resolution
Multiplies width & height by your upscale factor → calculates exact target dimensions
Feeds those target dimensions into proper SDXL-style conditioning (positive + negative)
Gives the tiling sampler perfect knowledge of the final size it’s aiming for
Feel free to open or expand the subgraph as needed.