Comfyui, basic node demo & 1 organized t2i workflow for beginners.


Details
Download Files (1)
About this version
Model description
V1.1, Below content added
Add wildcard support to daily workflow
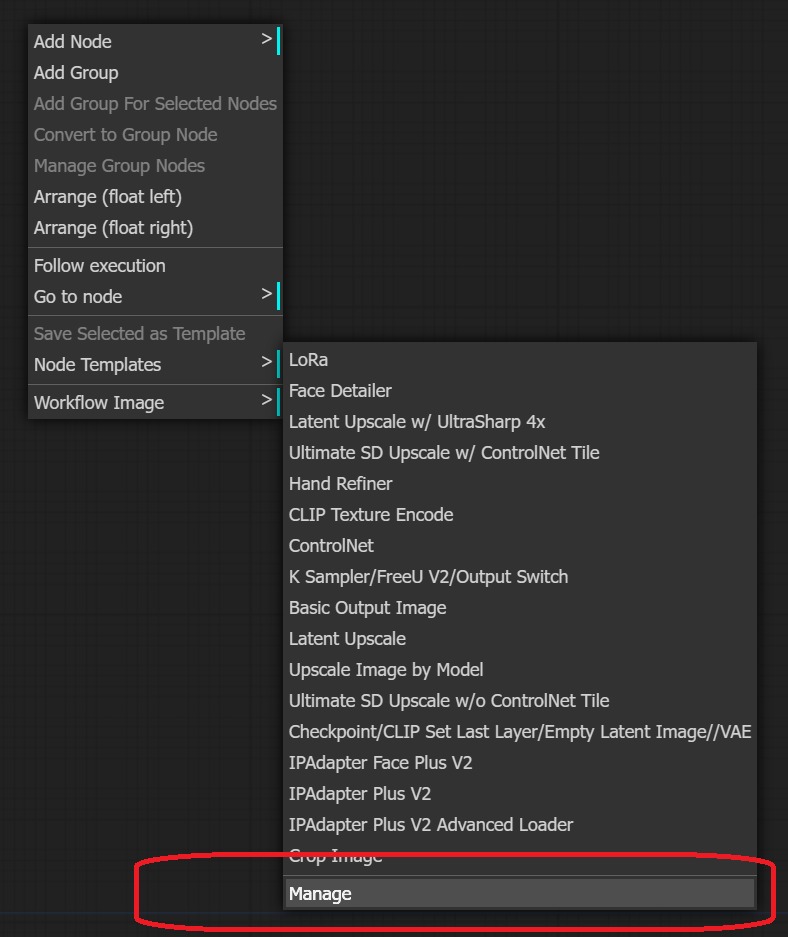
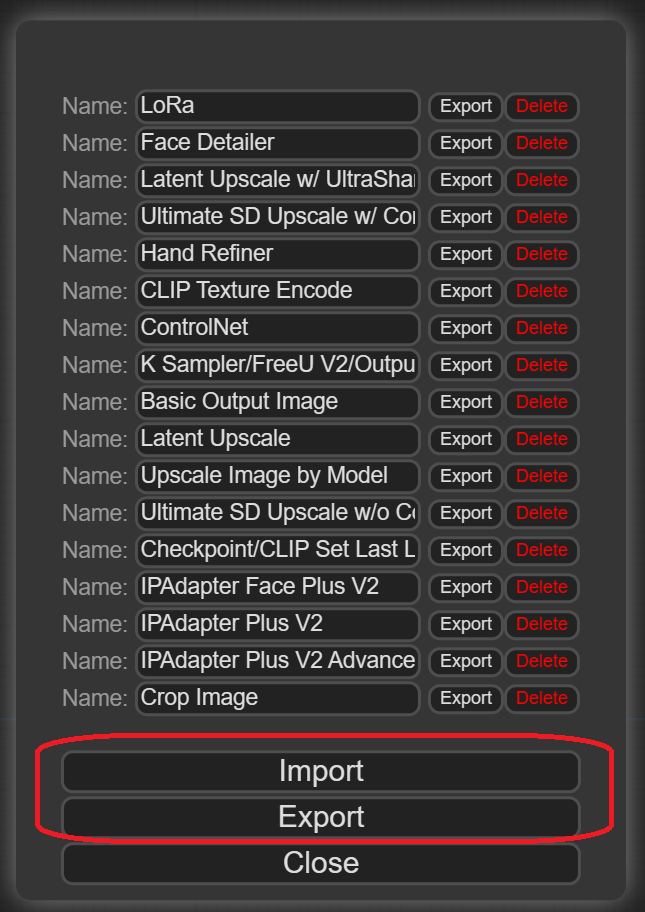
Add some node templates
"Node template" is nothing new in Comfyui, but it took me several weeks to find it.
-->It's the way to reuse the "node group" you made/have.
Just import "node_templates.json" and then you can use them as the instruction shown in Model showcases.
V1.0, Initial Release
I'm new in Comfyui, and share what I have done for Comfyui beginner like me.
The model includes 2 content below:
Demo: some simple workflow for basic node, like load lora, TI, ControlNet...etc.
Daily workflow: 1 text to image workflow at this moment.
Feature of daily workflow:
Output image selector:
Basic output
Upscale + Face Detailer
Upscale + Face Detailer + SD Upscale
Upscale + Hand Refiner + Face Detailer + SD Upscale
ControlNet:
Enable/Disable Selector
3 input selector
2-1. Input existing image
2-2. Input ControNet file, like bone skeleton, depth map, lineart
2-3. Input ControNet file from a folder, for batch run
Lora Selector: achieved by "CR Lora Stack" node
TI Selector: achieved by "embedding picker" node, and switch node for CLIP Texture Encode
Build in FreeU V2 in workflow
Color Definition:
Red: The node need your input/selection
Green: Output Image Area
It takes me several weeks to build my 1st dayily workflow for Comfyui, and it is nothing special, just same as what I did in webui a1111.
Although it costs much time to learn how to build a workflow, It's worthy for daily "work".
You can easily share/learn workflow through either .json file or the image made by workflow, then everyone can generate image through exactly same process.
Other than share my workflow, I think this model is a record of my Comfyui study result.
Never download workflow before, since I basically understand how it works, can't wait to take advantage from advanced workflow people uploaded here.